Installation Instructions
ISTEP IOA] (continued)
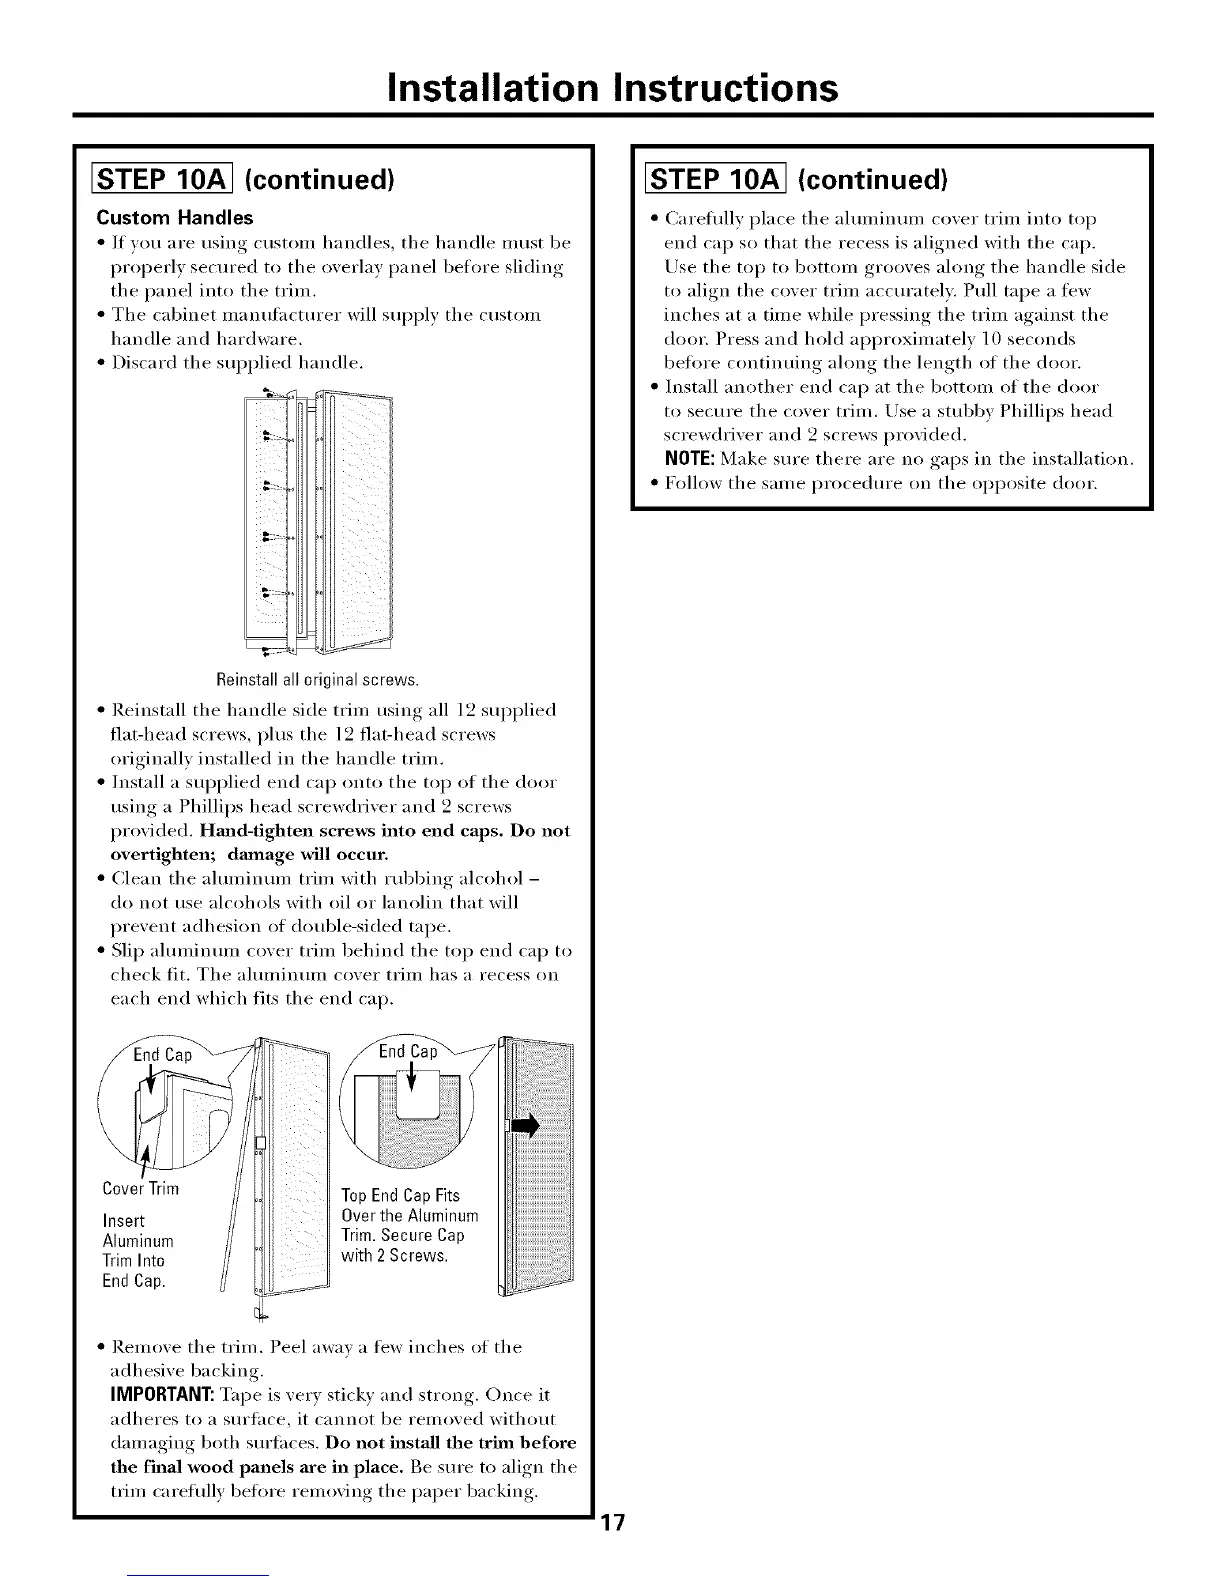
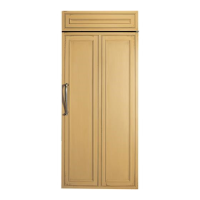
Custom Handles
• If )'ou are using custom handles, the handle must be
properly secured to the overlay panel before sliding
the panel into the trim.
• The cabinet manufacturer will supply the custom
handle and hardware.
• Discard the supplied handle.
Reinstall all original screws.
• Reinstall the handle side trim using all 12 supplied
flat-head screws, plus the 12 flat-head screws
originally installed in the handle trim.
• Install a supplied end cap onto the top of the door
using a Phillips head screwdriver and 9 screws
provided. Hmld-tighten screws into end caps. Do not
overtighten; damage will occur.
• Clean the aluminum trim with _ubbing alcohol -
do not use alcohols with oil or lanolin that will
prevent adhesion of double-sided tape.
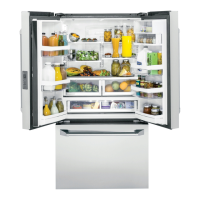
• Slip ahuninuln cover trim behind the top end cap to
check fit. The aluminum cover trim has a recess on
each end which fits the end cap.
Cover Trim
Insert
Aluminum
Trim Int0
End Cap.
+
• Remove the trim. Peel away a ti_w inches of the
adhesive backing.
IMPORTANT: Tape is very stick}' and strong. Once it
adheres to a surthce, it cannot be removed without
damaging both surlaces. Do not install the trim before
the final wood panels are in place. Be sure to align the
t_im careflfllv befl)re removing the paper backing.
17
ISTEP IOA] (continued)
• Carefully place the aluminum cover trim into top
end cap so that the recess is aligned with the cap.
Use the top to bottom grooves ahmg the handle side
to align the cover trim accurately: Pull tape a tew
inches at a time while pressing the trim against the
door. Press and hold approximately 10 seconds
befl)re continuing ahmg the length of the door.
• Install another end cap at the bottom of the door
to secure the cover trim. Use a stubby Phillips head
screwdriver and 2 screws provided.
NOTE: Make sure there are no gaps in the installation.
• Follow the same procedure on the opposite door.