9
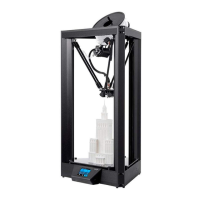
2. Use the included 2.5mm hex wrench and 4x M5x20 screws to secure the vertical
frame to the horizontal frame from the bottom.
3. Use the included 2.5mm hex wrench to loosen the screw marked with the red circle.
Remove the screw rod, then re-tighten the screw.
4. Use the included 3mm hex wrench to loosen the screw on the top side.
5. Insert the screw rod into the hole on top of the printer, then tighten the screw from
step 4.
6. Use the included 2.5mm hex wrench and 2x M4x6 screws to attach the LCD module
to the printer, then insert the plug into the back of the LCD module.
7. Use the included 2.5mm hex wrench and 2x M4x6 screws to attach the filament
holder to the frame.
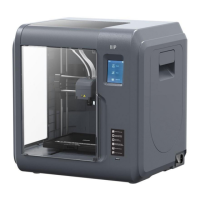
SETUP
Warning! Take care not to remove or damage the printing surface on the build platform.
This paper is essential to ensure the 3D model properly adheres to the build platform
during printing. If this tape becomes damaged or wears out, replace it with painter's tape,
Kapton® tape, or ordinary masking tape.
Perform the following steps to prepare the printer for use.
1. Put the printer on a flat, stable surface with plenty of ventilation and a nearby AC
power outlet.
2. Ensure that the Power Switch is in the OFF position. Plug the included AC Power
Cord into the AC Power Connector jack on the right side of the printer, then plug
the other end into a nearby AC power outlet. Flip the Power Switch to the ON
position.
3. Insert the included memory card into the slot on the right side of the LCD module.