One-Net/DASDEC User Manual 3-4v3.0 | r0616
Launch a web browser applicaon from a computer located on the same local
area network (LAN) as the One-Net or DASDEC device you intend to reach. Type
the EAS devices’ IP address in the address bar of the web browser (for example,
hp://192.168.0.200). When the EAS device successfully connects, it will present a
screen simliar to the one shown above.
If this is the rst me logging in, use the following default credenals:
• Default User Name: Admin
• Default Password: dasdec
Click the Login buon.
If the user name or password is incorrect, a Login failed message will display next to
the Login buon, indicang the problem.
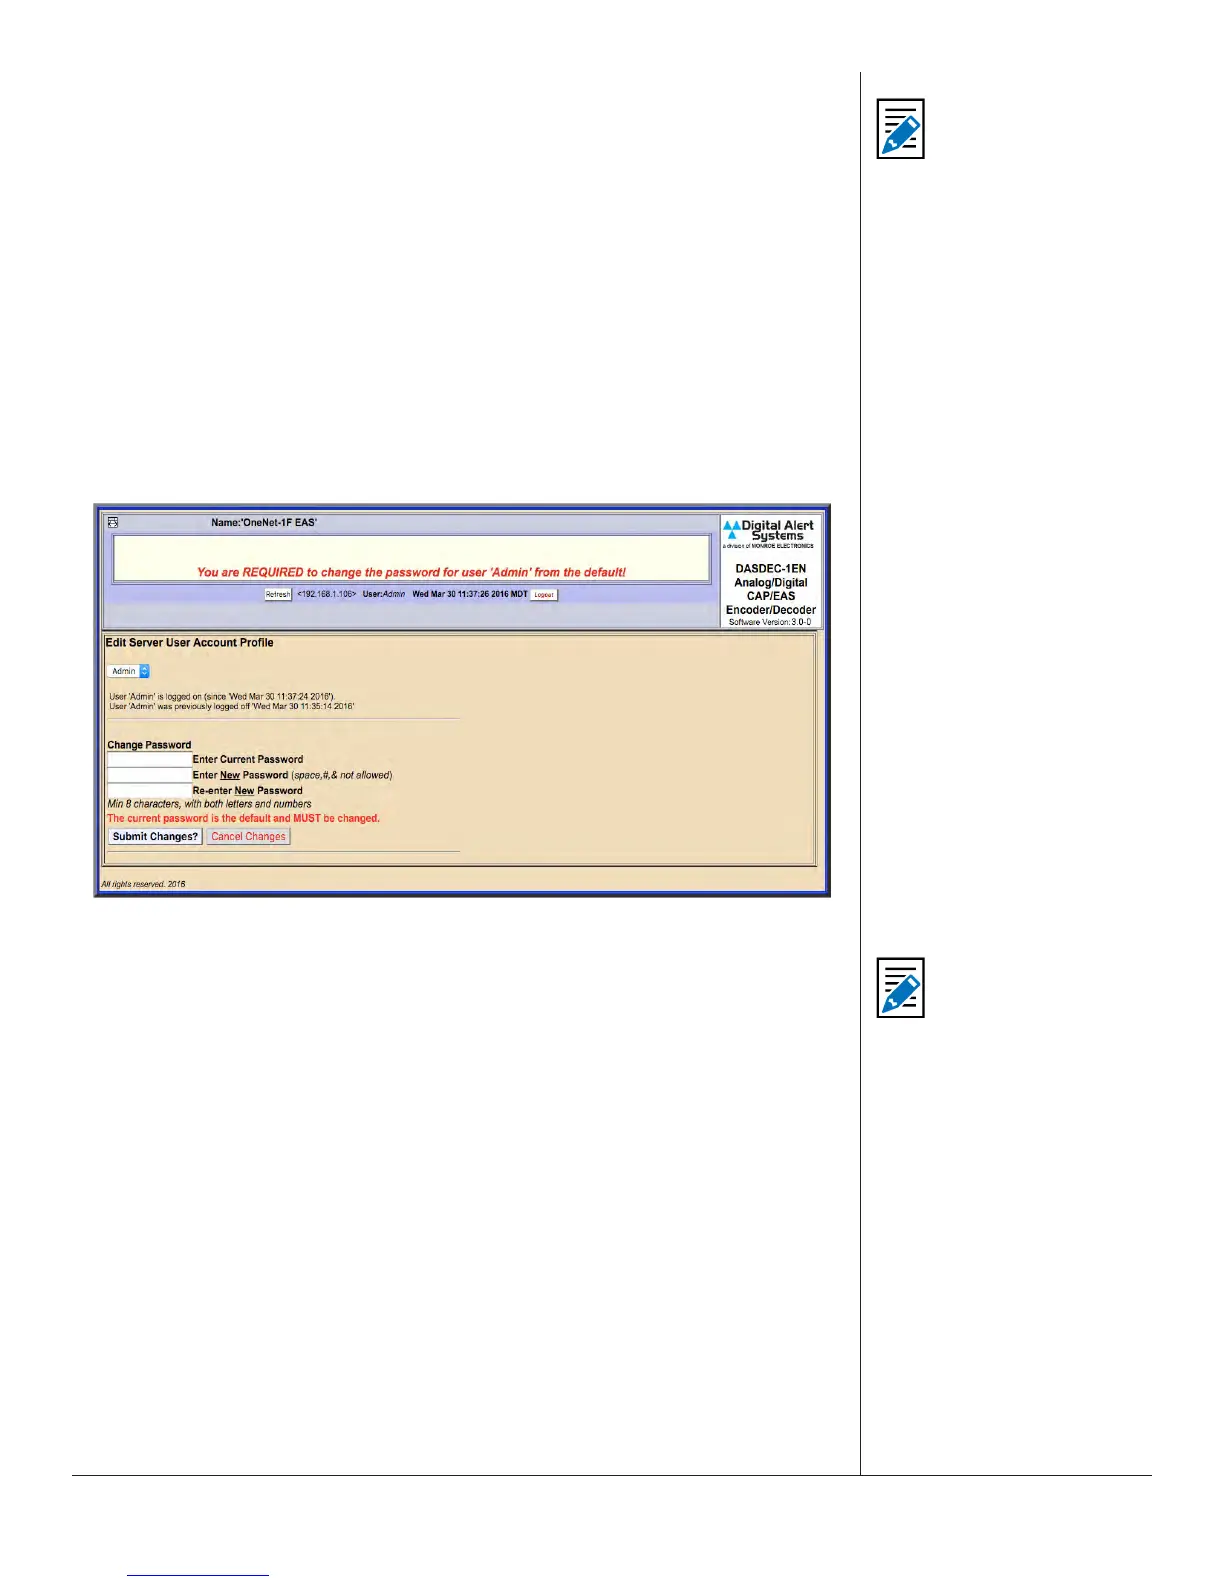
Edit Server User Account Prole Screen
If this is your rst me logging in to the system, you will be taken to the Edit Server
User Account Prole screen, where the default password must be changed.
1. Enter the current default password in the Enter Current Password eld, and then
enter the new password in the next two elds.
2. Pressing the Submit Changes? buon enters the new login credenals for the
Admin user.
3. The user is then directed to the Setup > Server screen (below). Near the top of this
screen are 14 radio buons, with the Server buon highlighted in blue.
4. Click the Network radio buon. The Server Network Conguraon Screen will
be displayed (see below).
This is the screen where the network sengs are
modied.
Note
Mulple login sessions
are allowed at the same
me.
Note
Review the New
Password Policy
when creang a new
password. See Users
Setup.