One-Net/DASDEC User Manual 1-1v3.0 | r0616
Hardware Overview
INTRODUCTION
The One-Net and DASDEC are 2U rack-mounted EAS devices ulizing standard
computer technology in a dedicated chassis with broadcast quality connectors. The
PC motherboard uses industry standard connectors for USB, PS/2, serial, VGA, HDMI,
networking, and audio. In addion to the standard motherboard connecons, the
plaorms feature broadcast quality video, audio, antenna, contact closure, and power
connectors. All external connectors are located in the rear of the unit. An LCD, buon,
status/alert LEDs, and an internal speaker are located on the front of each unit.
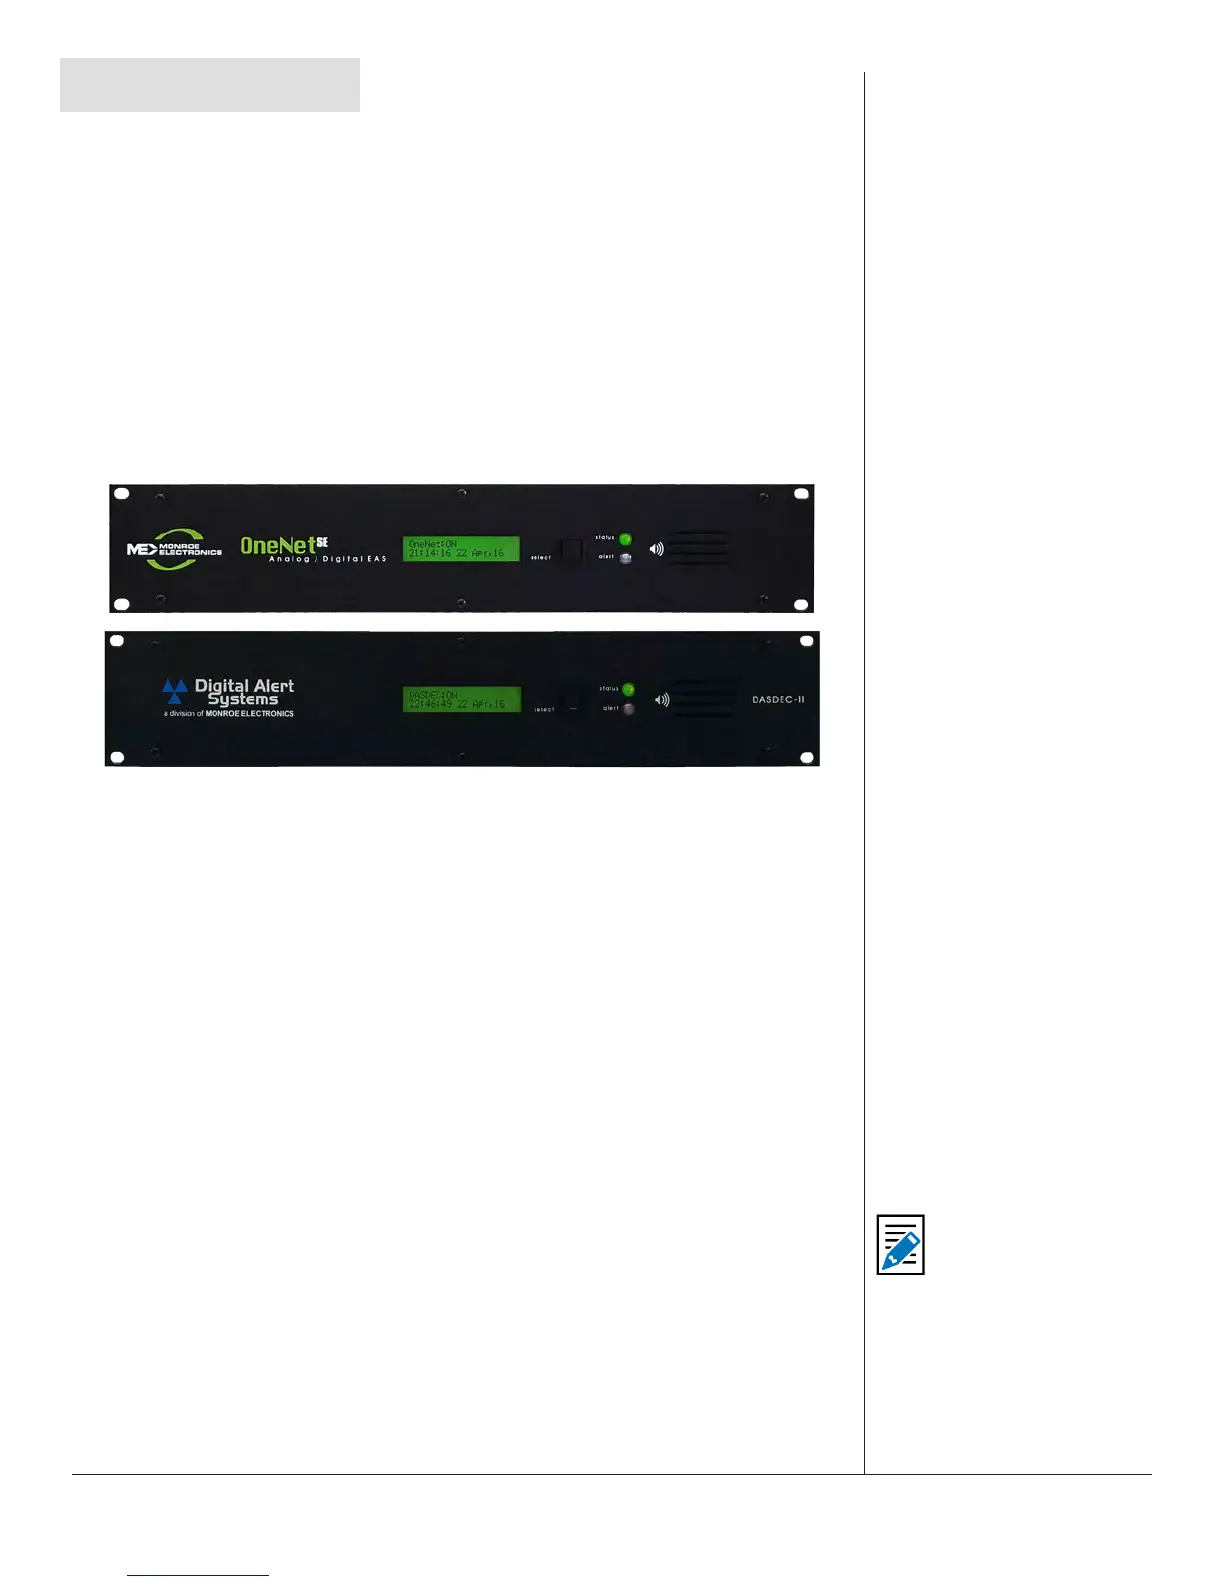
FRONT PANEL
Front Panels of the One Net and DASDECII Units
The front panel features a 2 line x 20 character backlit LCD that indicates power-on
and real-me device status. Two LEDs (1 green, 1 red) are used for a variety of status
indicaons. A small grill provides audio from an internal speaker. The push-buon
iniates a simple weekly test.
Liquid Crystal Display (LCD)
The backlit green LCD shows real-me status. The LCD has numerous purposes
indicang system and/or encoding/decoding and acve alert along with buon acon
status.
• When the EAS device is powered on, the LCD lights up, indicang power-on state.
• As system soware is boot loaded, the LCD displays the following sequence:
1. DigitalAlertSystems / *DASDEC – 1EN*
2. ** Startup 3 **
3. 8x scrolling asterisks on the rst line, and the me [HH:MM:SS] and date
[DD Month, YY] on the second line
4. The scrolling asterisks are then replaced by either OneNet: Starng.. or
DASDEC: Starng..
5. Once the startup sequence is complete, the LCD will enter its normal
display state, where the rst line of the LCD will display either OneNet:
ON or DASDEC:ON, followed by the Server Name and the IP address of
the device. The second line connues to display the current clock me
and date.
Note
Server Name refers to the
individual device’s given
name. Default names
are OneNet-1F EAS and
DASDEC-1F, respecvely.
To change the Server
Name, log in to the web
browser interface and
navigate to Setup > Server
> Main/License.