One-Net/DASDEC User Manual 4-1v3.0 | r0616
Web Interface and Navigaon
You will communicate with your EAS device by logging into the web interface via a web
browser.
Type the IP address of the device and enter the proper credenals (username and
password). Click the Login buon. See the previous chapter (EAS Device Login) for
more detailed login informaon. Once successfully logged in, the user will see the main
web interface for the the EAS device.
TABS, BUTTONS, HYPERLINKS, PULL-DOWNS, CHECK BOXES
AND TEXT FIELDS
Graphical elements throughout the web interface enable users to navigate the
interface and perform operaons within the EAS device.
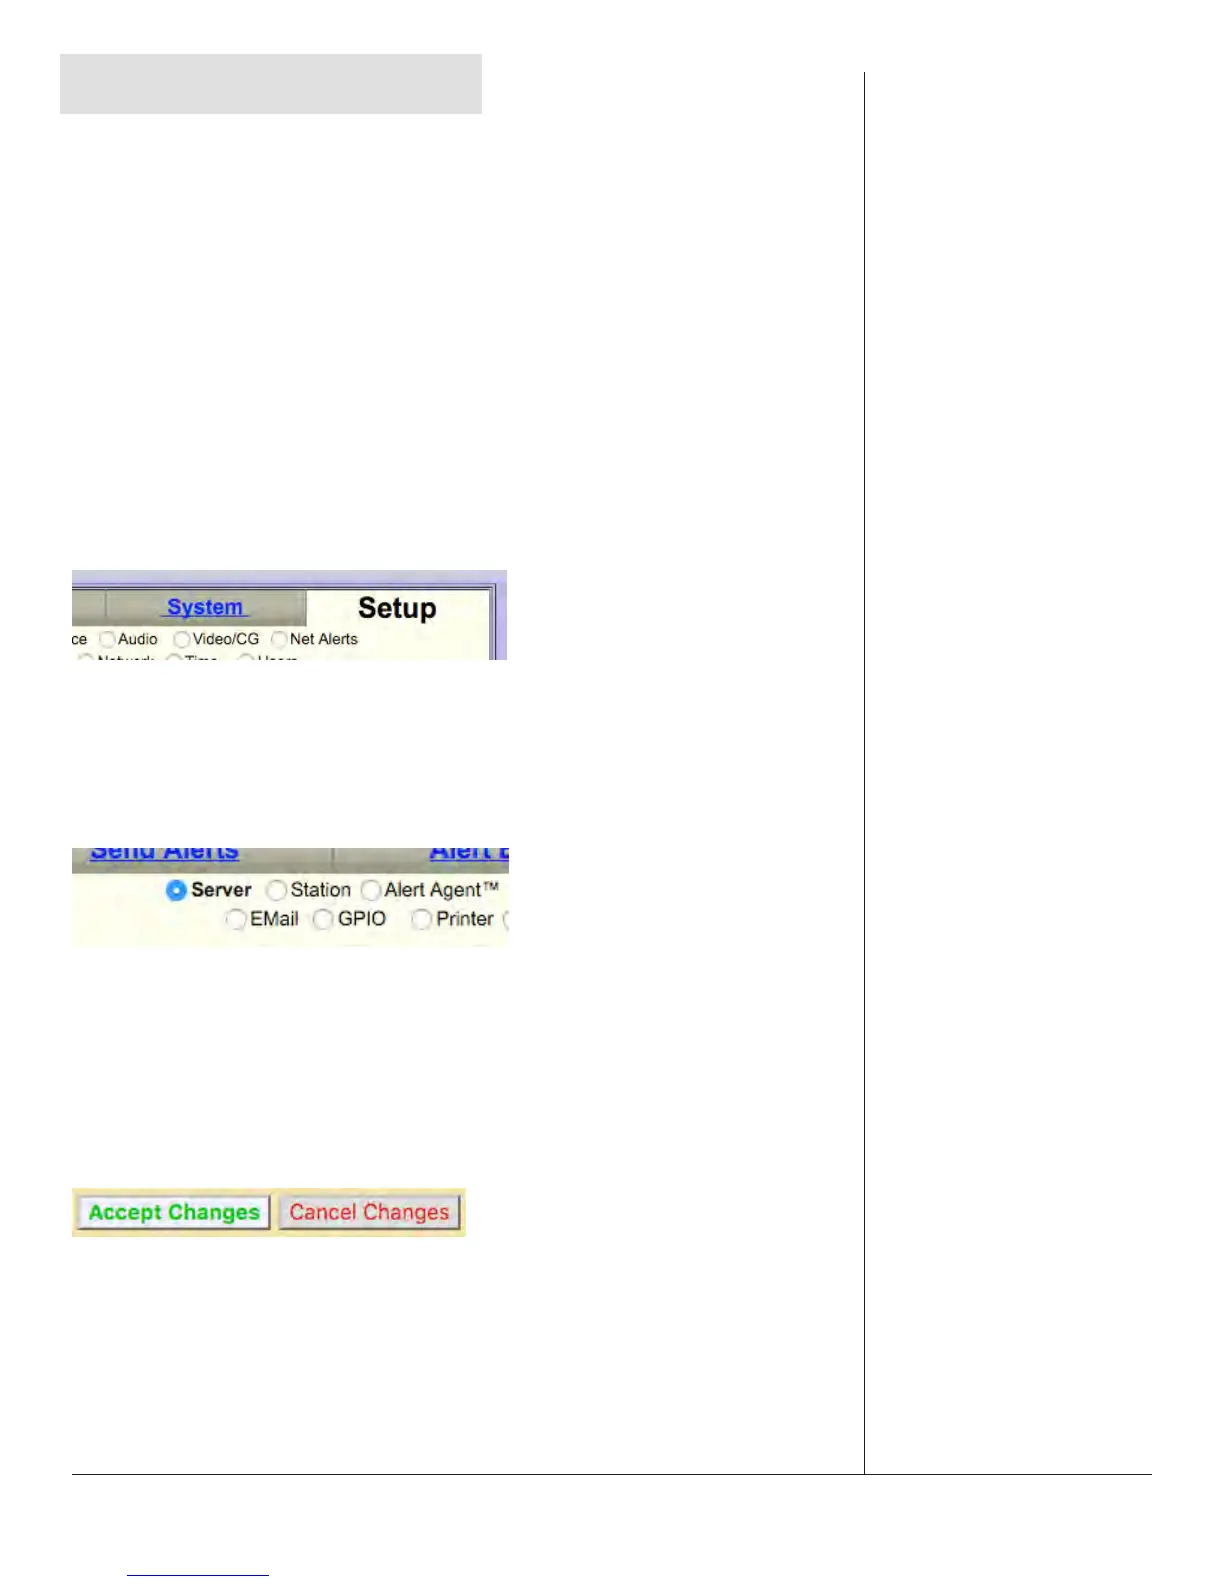
Navigaon Tabs
Used to navigate the web interface. Choose the desired secon by clicking on the
appropriate tab. When acve, the tab’s background color will be lighter than the other
tabs. The interface has both Tabs and Sub Tabs in the Header.
Radio Buons
Used to navigate the web interface and report the currently selected item. These
buons are used when there are mulple opons; only one radio buon can be
selected at a me. Clicking in the center of the buon acvates it. Radio buons are
most commonly used for navigaon in the Header, but can be found on a handful of
interface pages.
Acon Buons
Used to perform specic acons, based on their specied funcon. Frequently used to
submit or cancel conguraon changes, along with performing login/logout, iniang
tests, and many other funcons.