Panorama Exposures
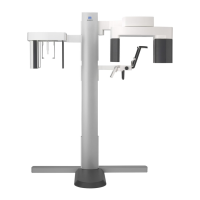
4. Use the knob to open the temple stabilizers. Have the
patient move forward without slouching or otherwise
changing his posture. Then have him put his upper lip on
the lip-nose rest and lightly grip the patient handles. Make
sure his shoulders are lowered.
Take care that the temple stabilizers do not strike the
patient in the eye.
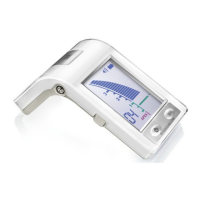
5. Keep the patient’s Frankfort plane horizontal and align the
beam with the patient’s external auditory orifices by turning
the Frankfort plane beam Up/Down knob. Then hold his
head in place by lightly closing the temple stabilizers.
Have the patient move his head left or right until the
Mid-sagittal beam lines up with his mid-sagittal plane. Then
tight up the temple stabilizer so that the patient’s face will
not move.
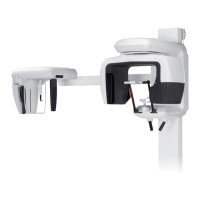
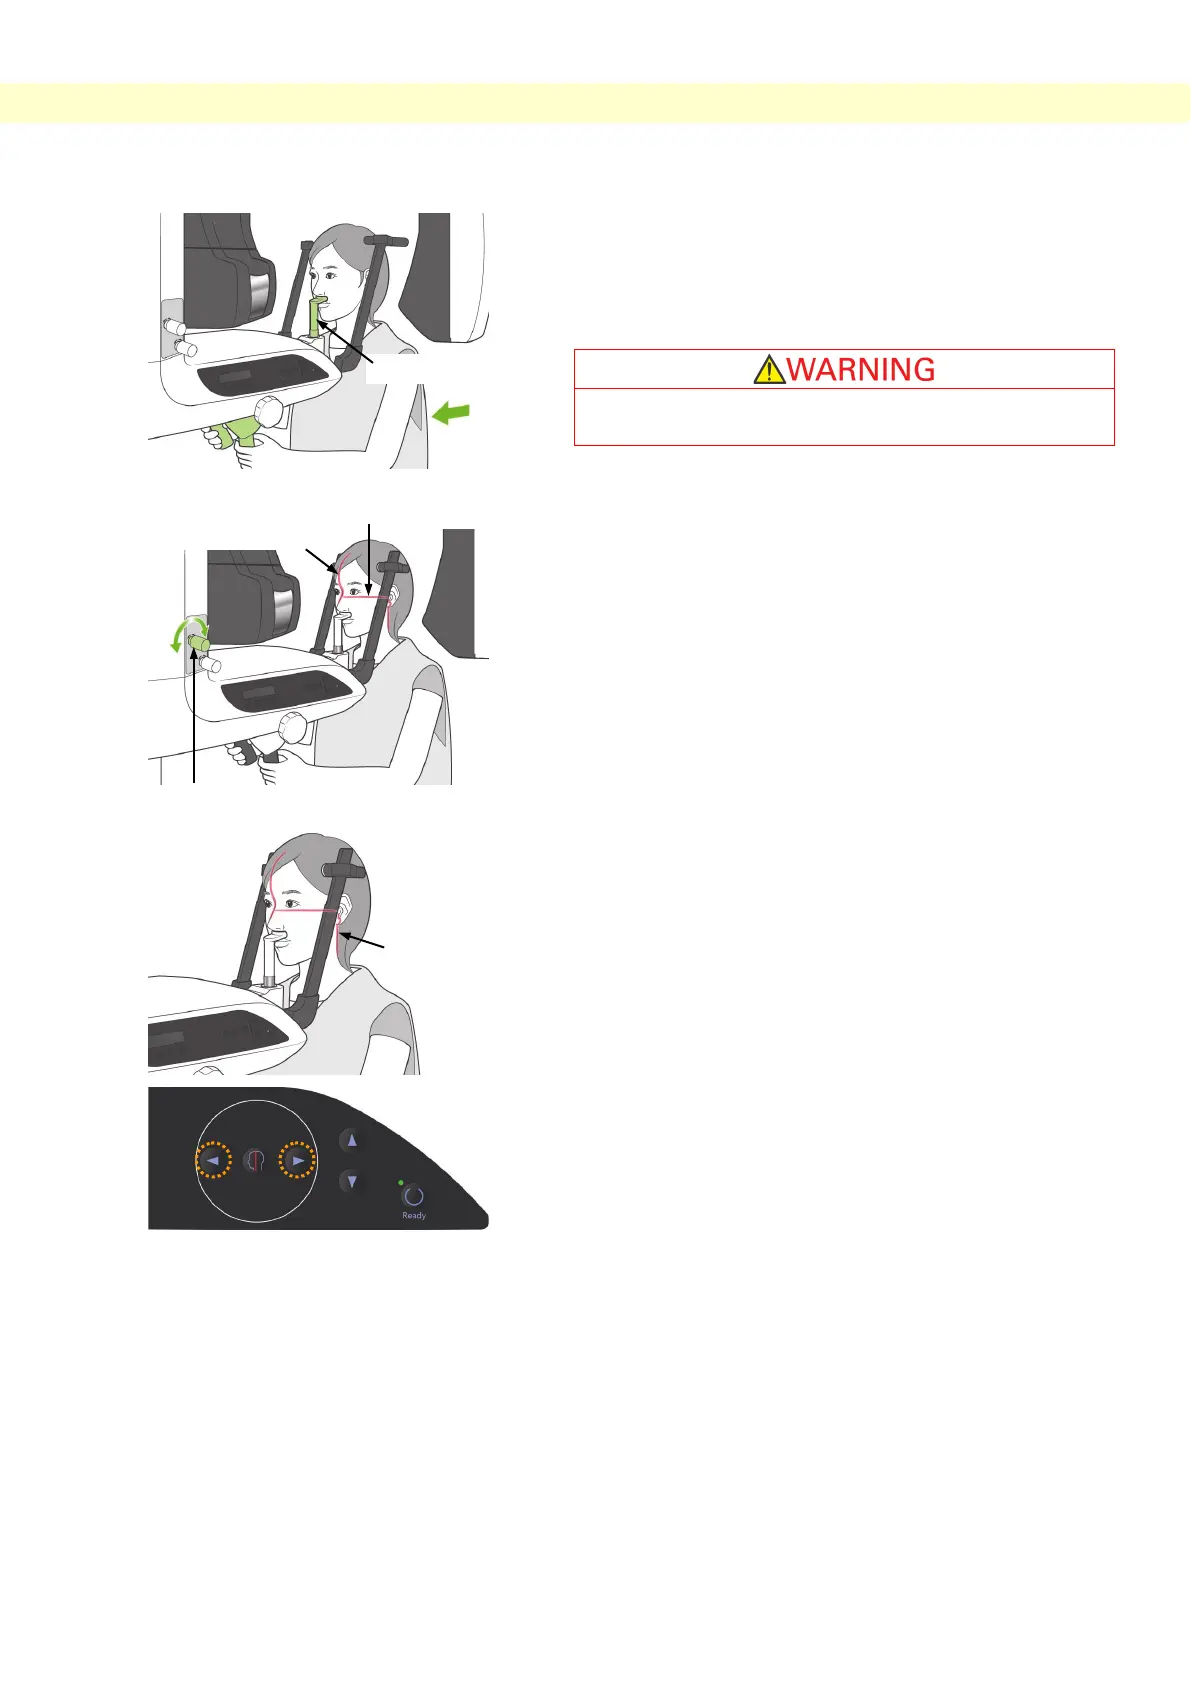
6. Use the Backward and Forward keys to line the Image layer
beam up with the patient’s ear orifice.
(Arm moves from +20 mm to -16 mm.)
* The image layer is about 12 mm in front of the Image layer
beam.
Have the patient close his mouth.
Image Layer Beam Forward / Backward Keys
Lip-nose Rest
Frankfort Plane Beam Up/Down Knob
Layer Beam
 Loading...