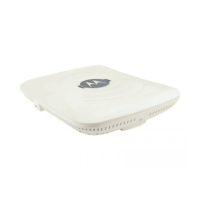
AP-650 Series Thin Access Point: Installation Guide
8
3. At each point, drill a hole in the wall, insert an anchor, screw into the anchor the wall
mounting screw and stop when there is 1mm between the screw head and the wall.
4. If required, install and attach a security cable to the unit’s lock port.
5. Attach the Ethernet cable to the unit and to a switch with an 802.3af-compatible power
source.
6. Place the middle of each of the case’s mount slots over the screw heads.
7. Slide the case down along the mounting surface to hang the mount slots on the screw
heads.
8. Verify the unit has power by observing that the LEDs are lit or flashing.
NOTE When pre-drilling a hole the recommended hole size is 2.8mm (0.11in.) if
the screws are going directly into the wall and 6mm (0.23in.) if the
provided wall anchors are being used.
 Loading...