Hardware Installation
13
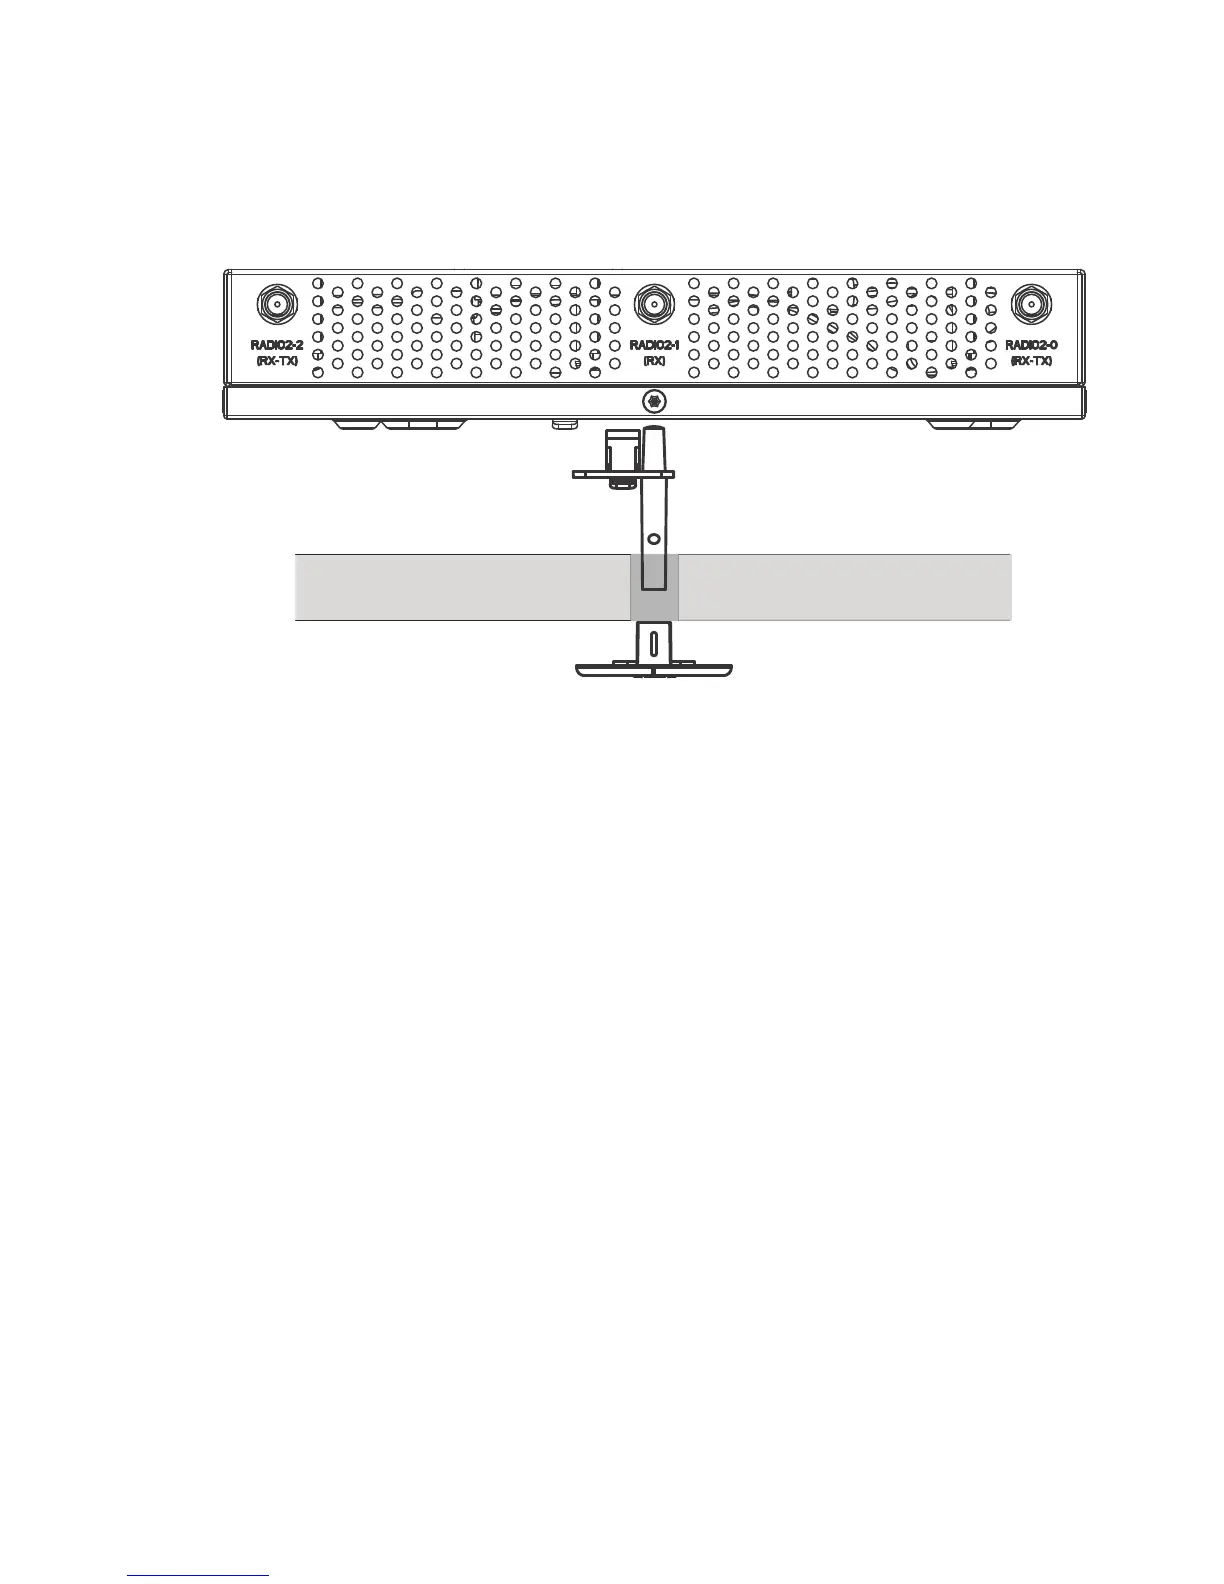
2.7.2 Ceiling Mount Procedure
1. If possible, remove the ceiling tile from its frame and place it, finished side down, on a work
surface.
2. If required, install a safety wire, between 1.5mm (.06in.) and 2.5mm (.10in.) in diameter, in the
ceiling space.
3. If required, install and attach a security cable to the unit’s lock port.
4. Mark a point on the upper or unfinished side of the tile.
5. Push the light pipe through the tile at the mark and remove the light pipe. If necessary, use a
drill to make a hole in the tile.
6. Attach appropriate antennas to the connectors.
7. Snap the clips of the light pipe into the bottom of the case.
8. Fit the light pipe into hole in the tile from its unfinished side.
9. Attach any safety wire to the safety wire tie point or security cable to the unit’s lock port.
10. Bring the tile into the ceiling space.
11. Plug the Ethernet cable into the unit and to a switch with an 802.3af-compatible power source.
12. Verify the unit has power by observing the LEDs.
13. Place the ceiling tile back in its frame.
14. Snap the badge onto the light pipe from the finished side of the tile.
 Loading...