MN003109A01_aa
Universal Relay Controller Installation O7/O9 Universal Relay Controller Cable Assembly 3-5
Figure 3-6. Wire Installation with Black Stick
5. The lightbar gasket should be replaced at each reassembly of the wire.
NOTE: Use of other cable gages except as recommended in this manual may result in water
intrusion. Any reassembly of wire needs a new lightbar gasket replaced. If the current loading
for one wire is higher than 12 A, the wires should be splitted before being assembled to the
URC system. Wires kit (PMKN4109_) is provided to ease installation of the URC. Incorrect
use of the wires kit, e.g. improper connection at external loose end wires, may impact the
robustness of the URC.
Remove the wires and gasket residual inside the URC after the wire installation, before
closing the top housing of the URC.
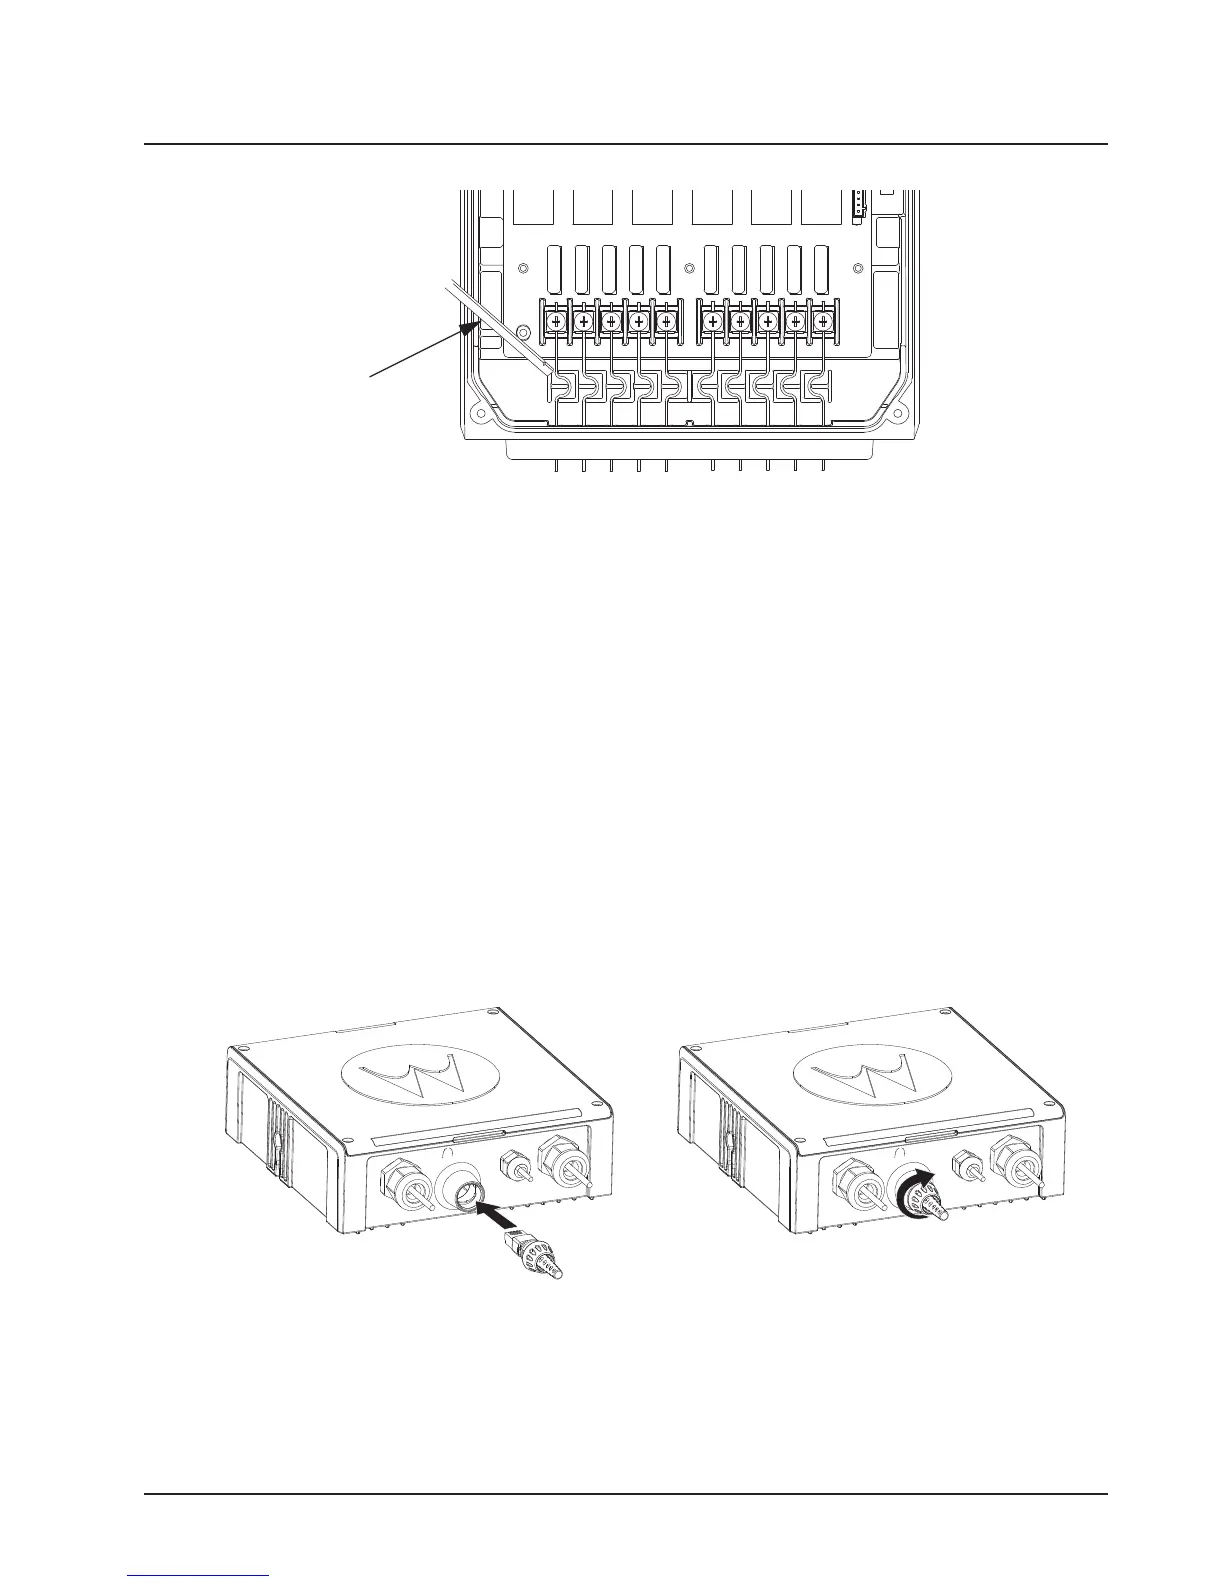
3.2.4 O7/O9 to URC Cable
The O7/O9 to URC cable (Motorola Solutions part number 3064153H02) can be assembled either
before or after reassembling the top housing. Assemble the RJ45 port of the cable into the RJ45
connector on the URC and turn the locking collar instead of cable, 90 degrees to the right to ensure
it is locked properly. After that, test whether the cable is locked properly or not by trying to pull out the
cable.
Figure 3-7. O7/O9 to URC Cable Installation
Black Stick
Draft

 Loading...


