mrcool.com61
MAINTENANCE
4
Assembly & Disassembly of Compressor
Note: Ensure there isn't any refrigerant in piping system and the power supply is cut o before
removing the compressor.
Step Illustration Handling Instruction
10. Recharge
refrigerant
• Connect refrigerant tank with low-
pressure nozzle (indicated by the
maker) for recharging refrigerant.
Note: Check the leak after nishing
the connection pipes. Charge amount
should be consistent with the
nameplate.
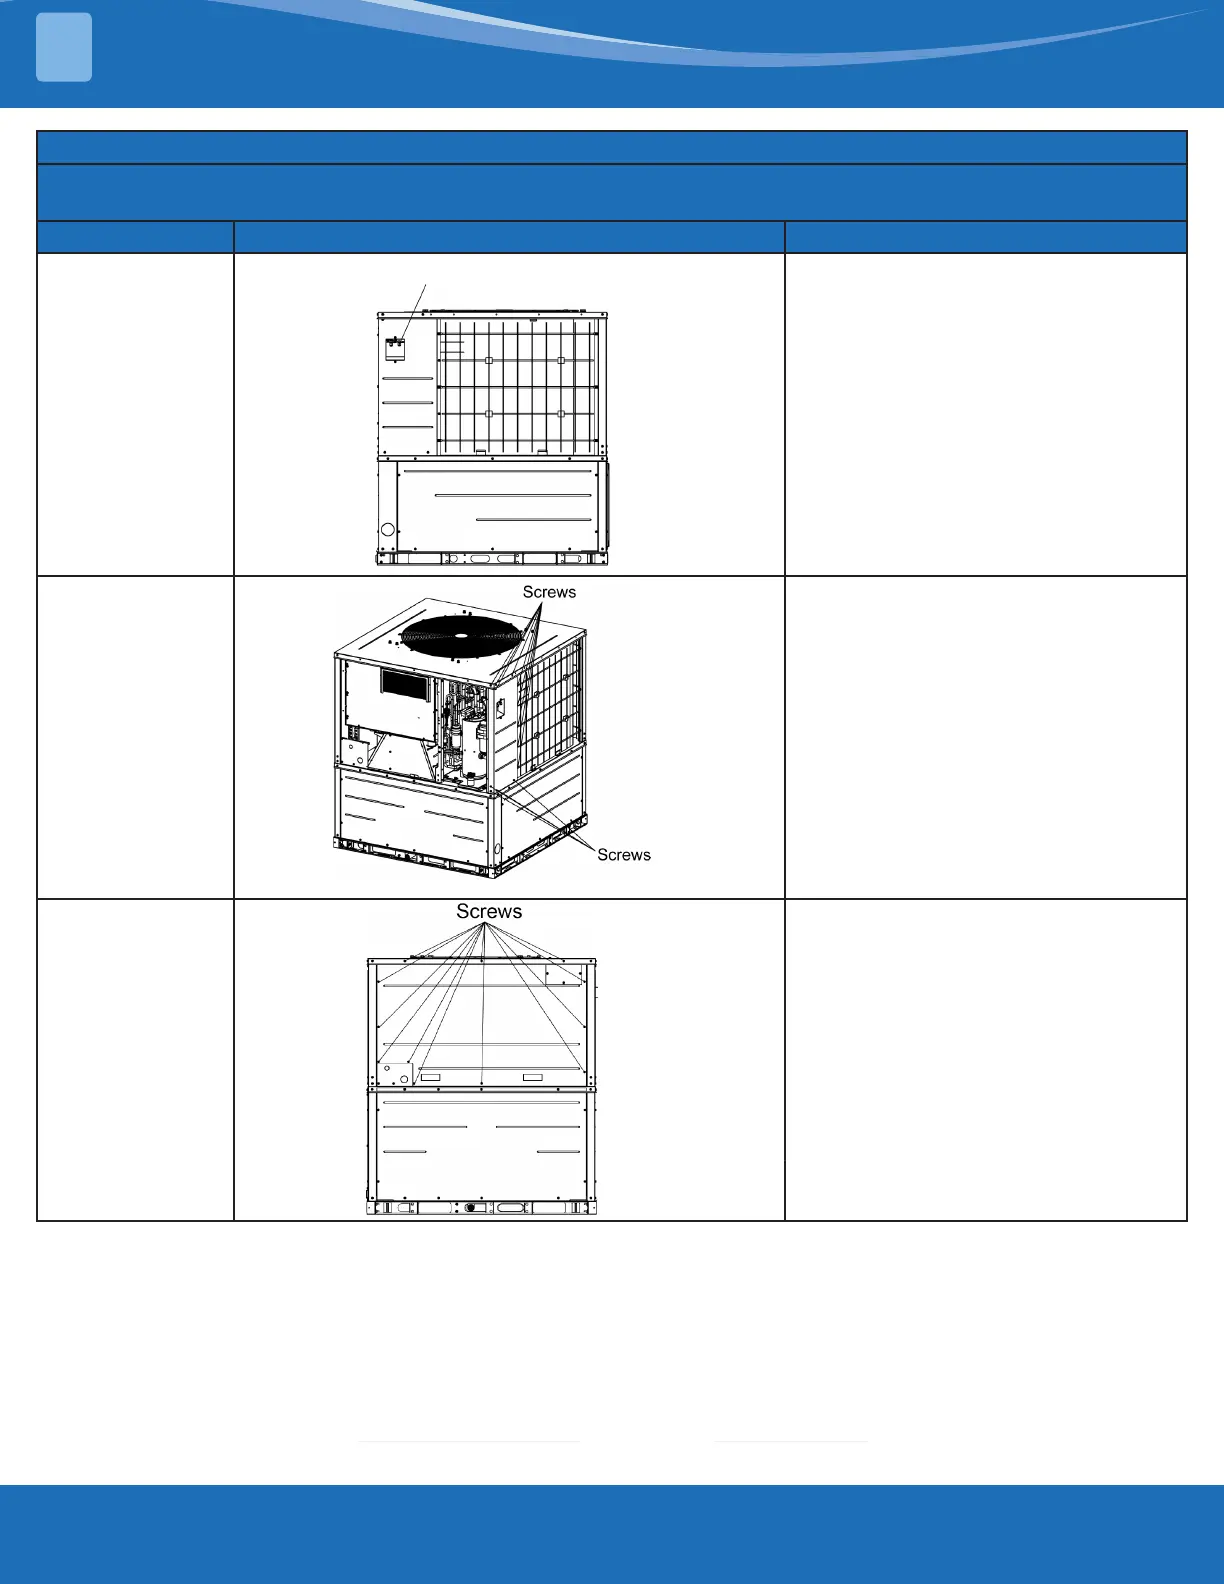
11. Close the side
panel.
• Tighten the bolts.
12. Close the
front panel.
• Tighten the bolts.
Nozzles
Note: Above diagrams may be dierent from actual model.
 Loading...