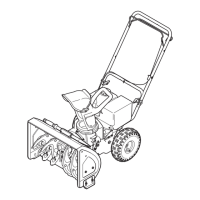
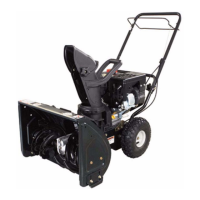
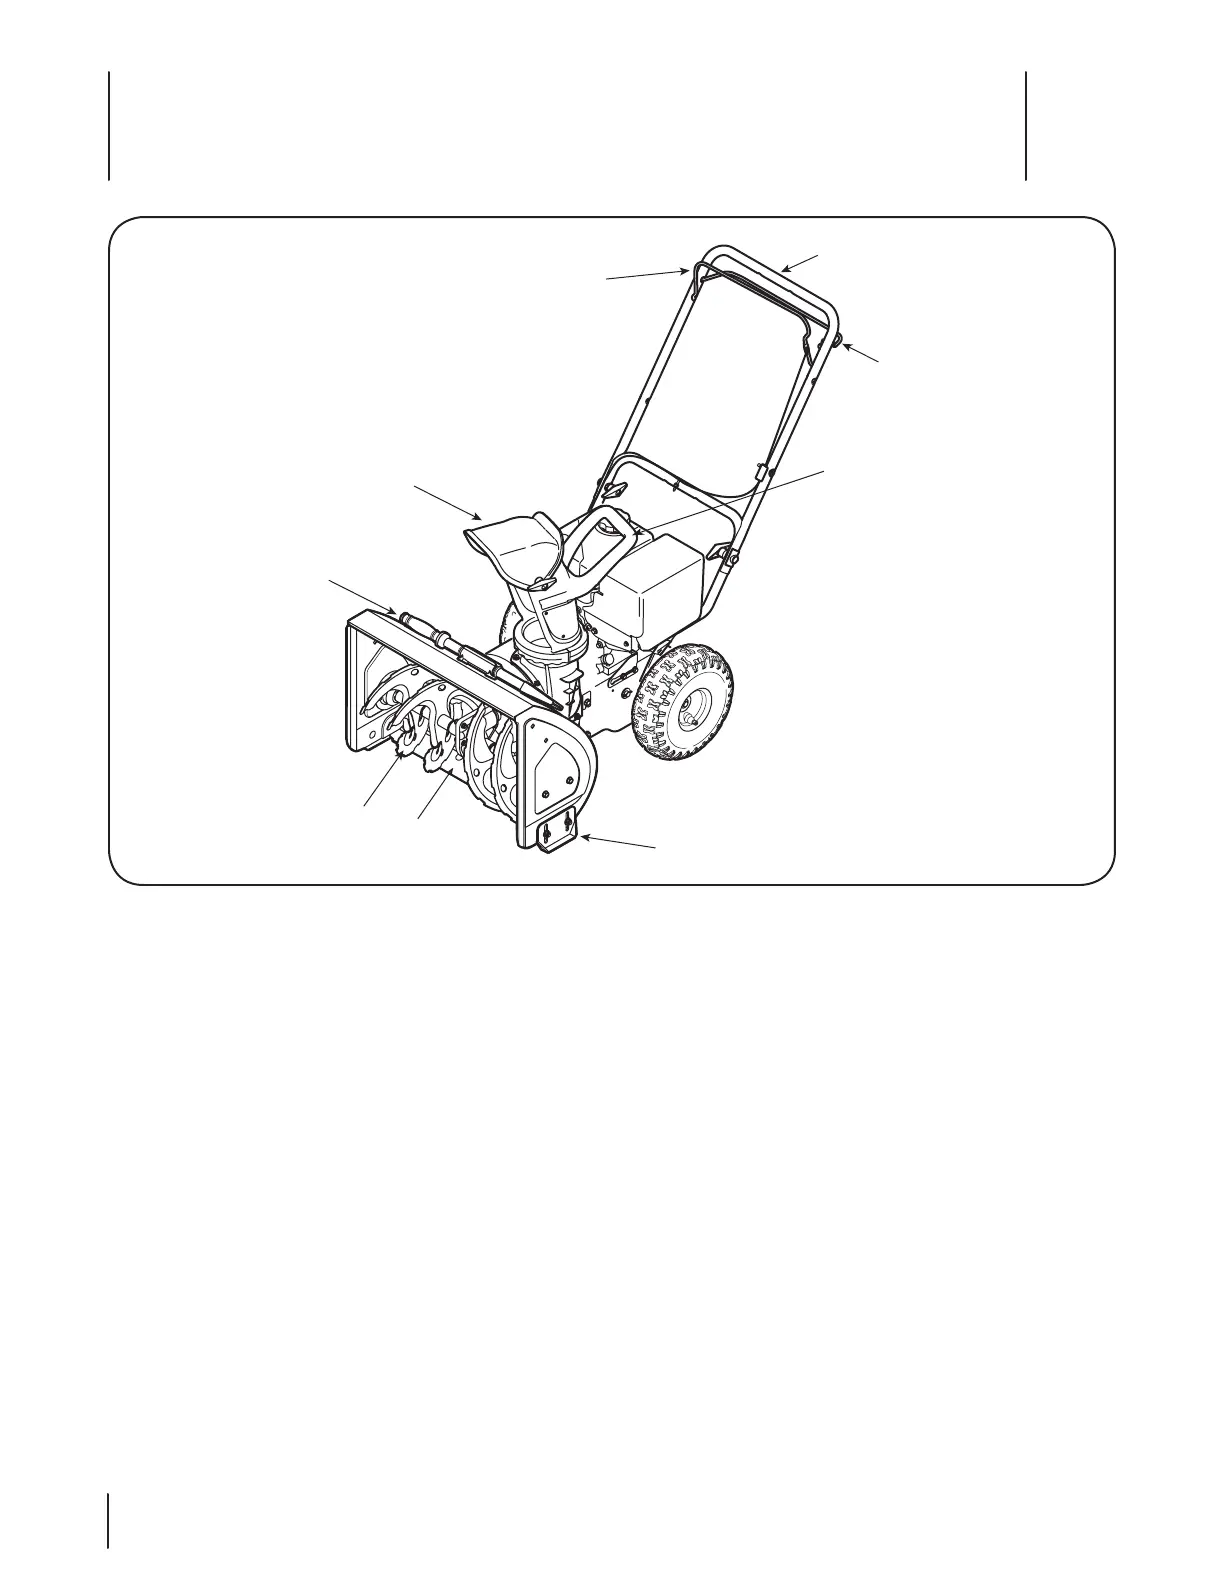
Controls and Features
4
10
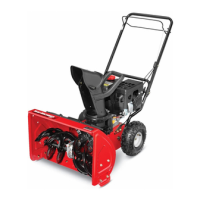
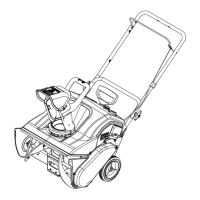
Snow thrower controls and features are described below and
illustrated in Fig. 4-1.
Drive Control
Located on the underside of the upper handle, the drive control
is used to engage/disengage wheels. Squeeze the drive control
against the upper handle to engage the wheels; release to
disengage.
Auger
When engaged, the auger’s rotation draw snow into the auger
housing and throws it out the discharge chute.
Chute Assembly
The direction snow is thrown can be changed by turning the
lower chute with the chute handle. The distance snow is thrown
can be adjusted by raising the upper chute for greater distance,
or lowering for less distance. Loosen the wing nut on the side of
the discharge chute to adjust. Pivot the chute to desired position,
and retighten wing nut.
Auger Control
The auger control is adjacent to the upper handle. Squeeze the
auger control against the upper handle to engage the augers;
release to disengage the augers.
IMPORTANT: Refer to the Auger Control information in
the Assembly & Set-Up section prior to operating your snow
thrower. Read and follow all instructions carefully and perform all
adjustments to verify your snow thrower is operating safely and
properly.
Shave Plate
The shave plate maintains contact with pavement as the snow
thrower is propelled, allowing snow close to pavement’s surface
to be discharged.
Skid Shoes
Position the skid shoes based on surface conditions. Adjust
upward for hard-packed snow. Adjust downward when
operating on gravel or crushed rock surfaces.
Figure 4-1
Chute Assembly
Clean-out Tool
Auger
Shave Plate
Skid Shoe
Chute Handle
Auger Control
Upper Handle
Drive
Control
Chute Assembly
Clean-out Tool
Auger
Shave Plate
Skid Shoe
Chute Handle
Auger Control
Upper Handle
Drive
Control
Chute Assembly
Clean-out Tool
Auger
Shave Plate
Skid Shoe
Chute Handle
Auger Control
Upper Handle
Drive
Control
 Loading...