BASIC TROUBLESHOOTING
16
Repairing the problem
The third step in the troubleshooting process is to
repair the problem. This step consists of:
1. Form a diagnosis by using all of the information
gathered from the troubleshooting that was per
-
formed.
2. Physically perform the repair.
The fourth, and hopefully final, step in the trouble-
shooting process is the follow through. This step con-
sists of:
1. Thoroughly test the repaired equipment: con-
firming that the initial diagnosis was correct. If it
was wrong, start the troubleshooting process
over again.
NOTE: Sometimes the engine will have multiple
problems at the same time. By performing one
repair, other issues may show up that are unre
-
lated to the first repair.
2. Delivery to customer: We are not just repairing
equipment, we are repairing customers.
A Inoculate against recurring problem with
education, e.g..: if the problem was caused
by stale fuel, make sure the customer is
aware that fuel goes bad over time.
B Make sure the customer understands the
repair, preventing “superstitious” come-
backs.
Prime test
To perform a prime test:
1. Prime the engine through the carburetor throat
using a squirt bottle, filled with clean fresh gaso
-
line.
2. Make sure the throttle is in the run position and
the safety key if fully inserted.
3. Attempt to start the engine.
4. If the engine starts and runs long enough to burn
the prime, the problem is effectively isolated to
the fuel system. proceed to Chapter 4: The Fuel
System and Governor.
5. Check ignition system as described in Chapter
7: Ignition System.
6. If the ignition system is working, check the com-
pression or perform a leak down test.
Leak-down test
A leak-down test is the preferred method to test the
engine’s ability to compress the charge. It will also
show where pressure is leaking from.
To perform a leak-down test:
NOTE: A leak down test pressurizes the com-
bustion chamber with an external air source and
will allow the technician to listen for air “leaking “
at the valves, piston rings and the head gasket.
NOTE: These are general instructions. Read
and follow the instructions that came with the
tester before attempting to perform this test.
• If possible, run the engine for 3-5 minutes to
warm up the engine.
• Remove the spark plug and air filter.
• Find top dead center of the compression stroke.
1. Find top dead center by following the steps
described in the valve lash section of Chapter 1:
Introduction
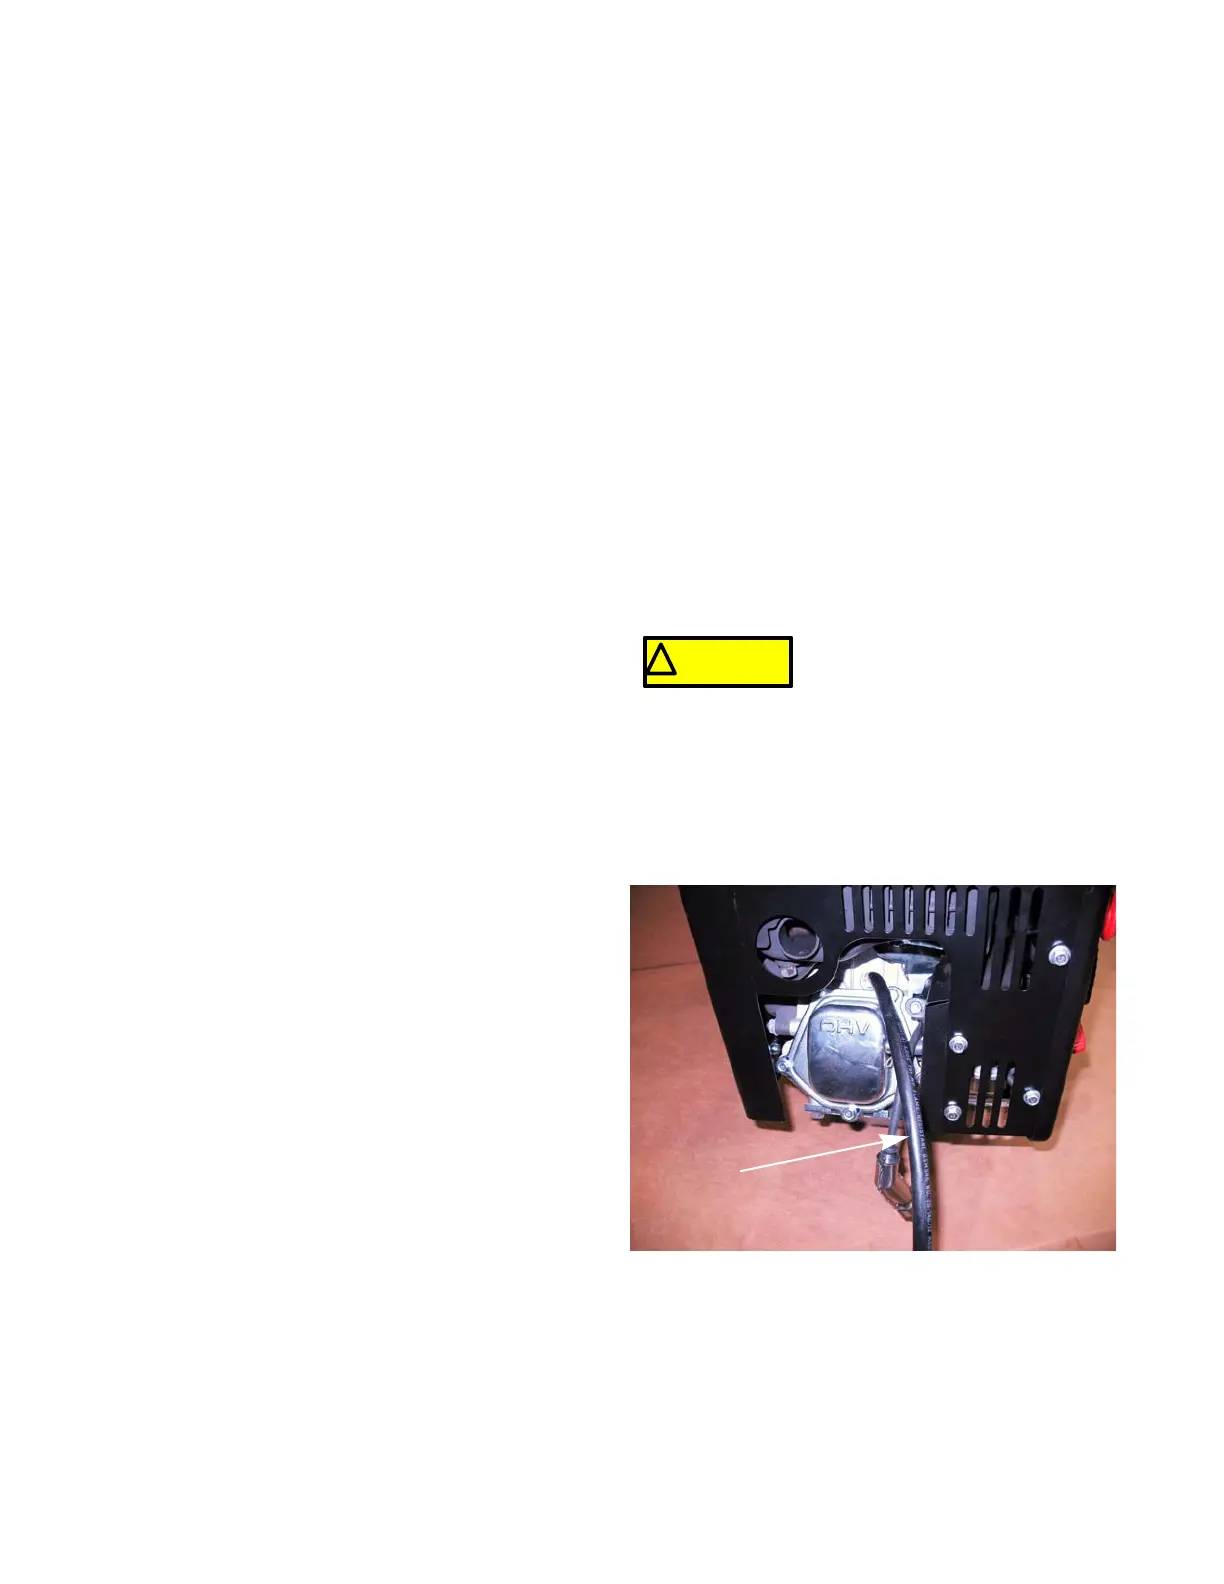
2. Thread the leak down tester adapter into the
spark plug hole.
See Figure 2.1.
! CAUTION! CAUTION
If the engine is not centered at top
dead center, the engine will rotate
when compressed air is introduce
to the combustion chamber.
Figure 2.1
Leak-down
tester adapter
 Loading...