Chapter 5 Maintenance and Inspection
UD-series Screw Compressor 5.4 Disassembly and Inspection
5-27
Disassembly
“For 125, 160, 200, 250, 320”
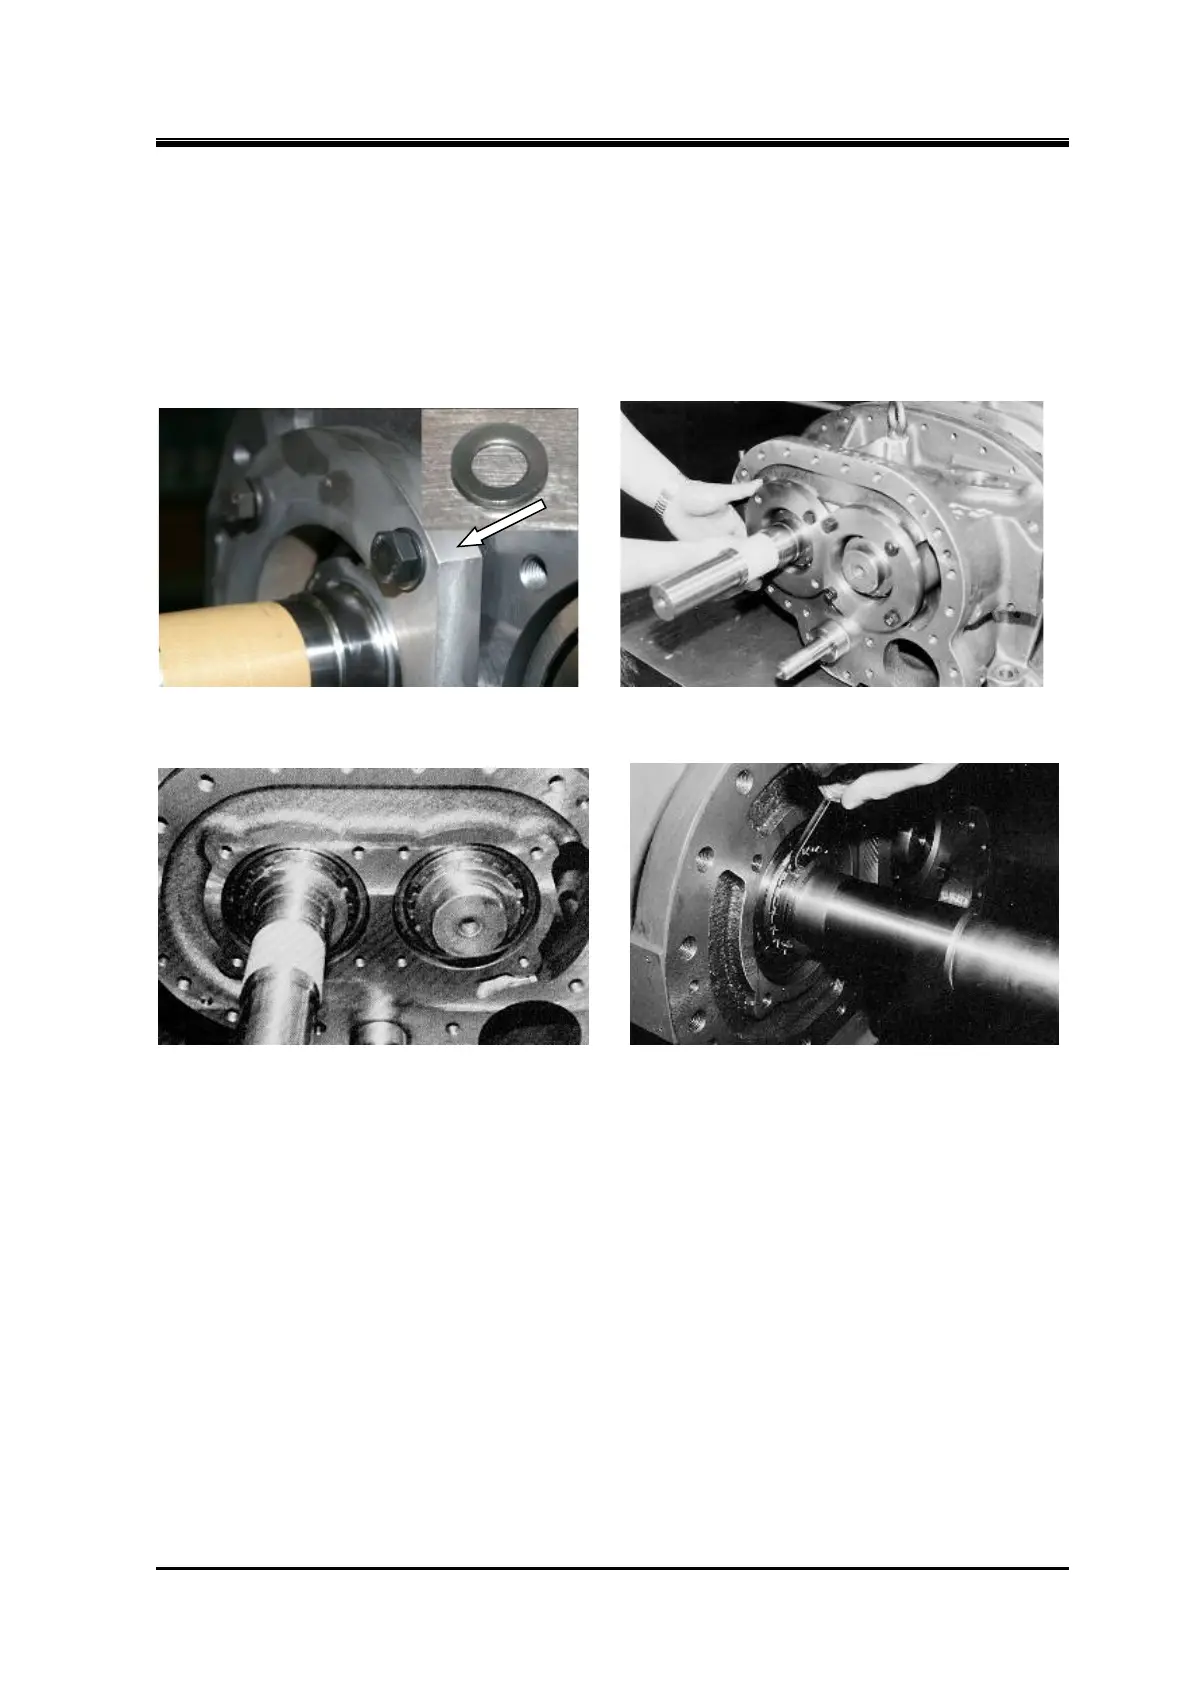
a) Remove the hexagon head screw “part number 45” that tightens the thrust bearing gland “part
number 43”.
Be careful not to lose the disc spring lock washer “part number 46” when removing the bolt, as it will
come off at the same time.
Removal of Thrust Bearing Gland Removal of Thrust Bearing Gland
After removing the Thrust Bearing Gland Bend back of the lock washer
b)Bend back of the lock washer “part number 40” for the lock nut “part number 39” that secures
the innerring of the thrust bearing to the shaft, and then loosen the lock nut.
c) Store the torsional slip washer “part number 237” between the locknut and lockwasher
carefully so that you do not bend it.
Also store the thrust washer “part number 250” located between the lock washer and the
bearing.
 Loading...