INTRODUCTION
GETTING STARTED
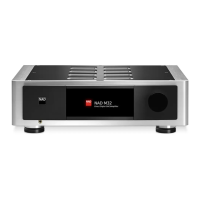
WHAT’S IN THE BOX
Packed with your M12 you will nd
• A detachable mains power cord
• HTRM 2 remote control with 4 AA batteries
• Four pieces of magnetic feet
• Cleaning cloth
• USB ash drive
• Quick Setup Guide
SAVE THE PACKAGING
Please save the box and all of the packaging in which your M12 arrived.
Should you move or otherwise need to transport your M12, this is by far
the safest container in which to do so. We’ve seen too many otherwise
perfect components damaged in transit for lack of a proper shipping
carton, so please: Save that box!
CHOOSING A LOCATION
Choose a location that is well ventilated (with at least several inches to
both sides and behind), and that will provide a clear line of sight, within
25 feet / 8meters, between the M12’s front panel and your primary
listening/viewing position—this will ensure reliable infrared remote control
communications. The M12 generates a modest amount of heat, but
nothing that should trouble adjacent components.
It is perfectly possible to stack the M12 on top of other components, but
the reverse usually should be avoided.
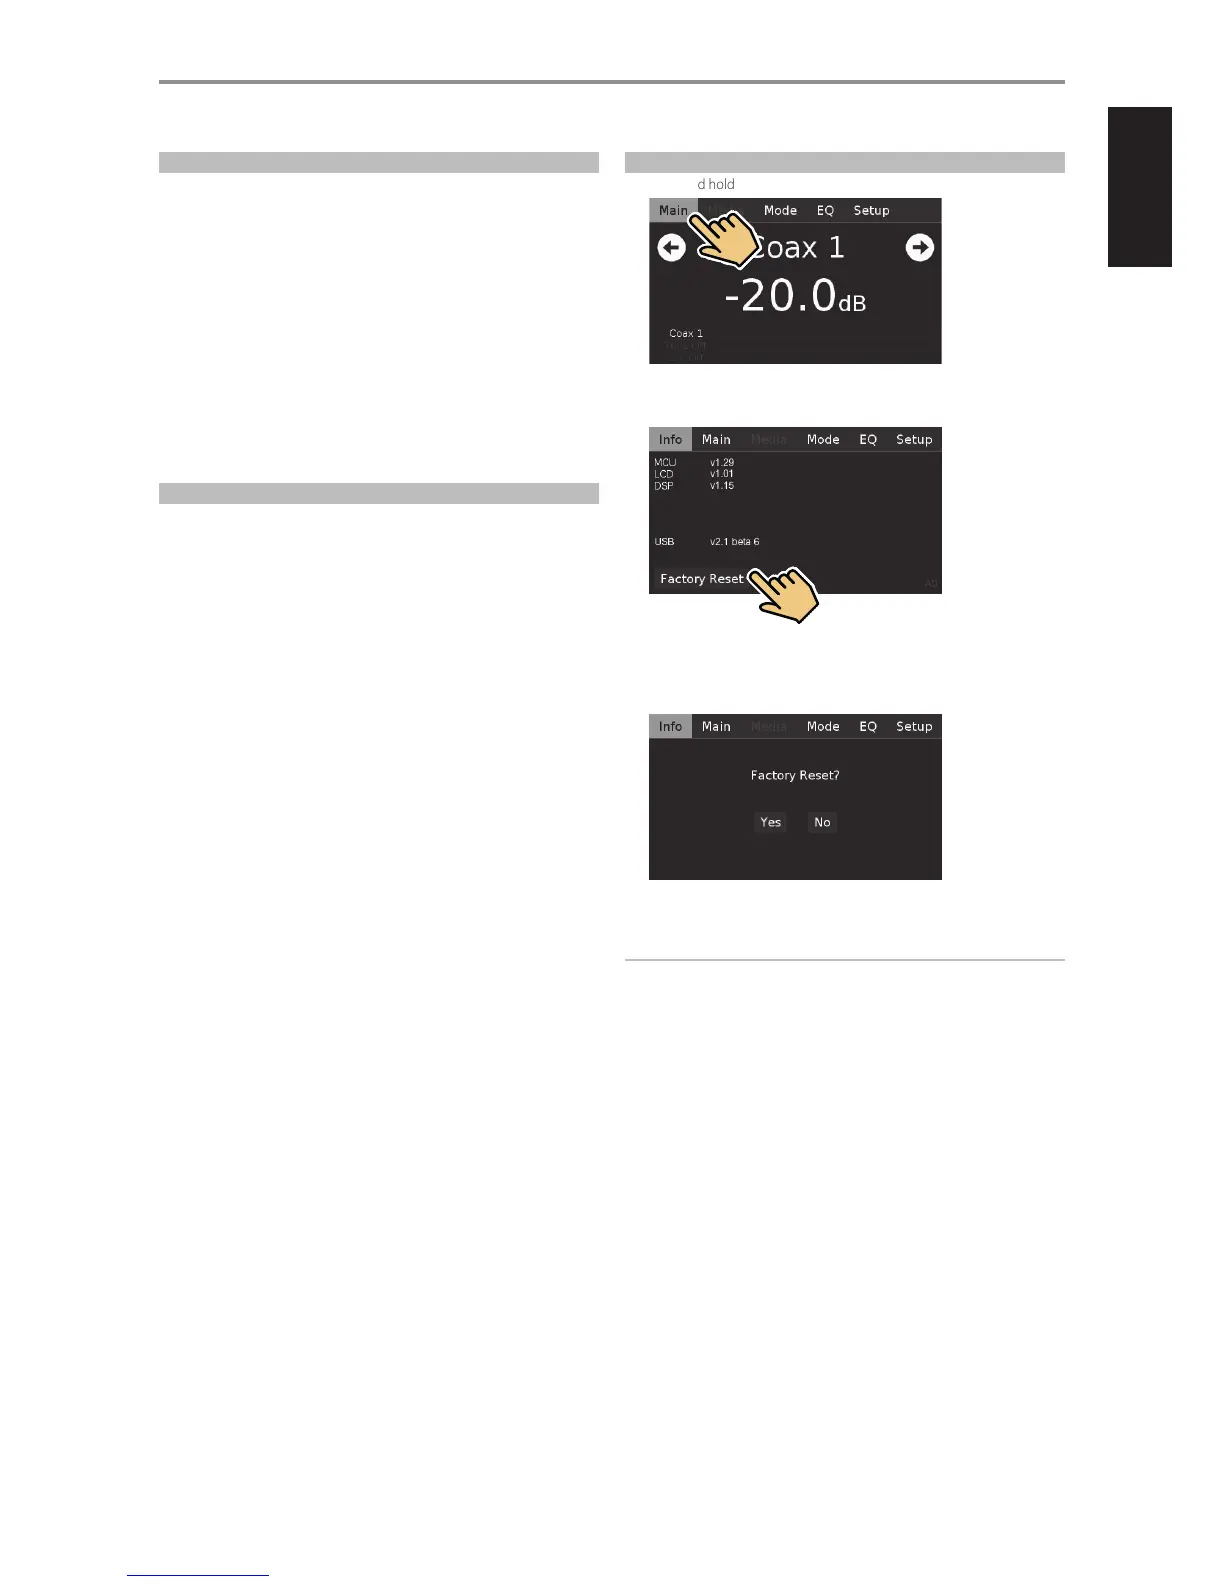
RESTORING M12 TO ITS FACTORY DEFAULT SETTINGS
1 Press and hold front panel’s “Main” display.
2 Select “Factory Reset” display option.
3 Select “Yes” to reset your M12 to factory default settings or “No” if you
decide not to reset your M12.
4 Factory reset is complete when the M12 goes to standby mode.
IMPORTANT NOTE
After factory reset, wait out for at least one minute to switch back the
M12 from standby mode to operating mode. This wait time can be
bypassed by turning OFF/ON the rear panel power switch and then
press Standby button.
5