14 StarLink
™
Connect SLECDMA-CB Series Alarm Communicators -- Installation Instructions
Programming for Telco Reporting (Vista-128)
To report to a central station, you must program the Honeywell control panel to use Tip and Ring to send signals, as follows:
Field Radio as Sole Communicator Description
*32 Enter Account number. (This is the central station account number).
*33 Enter telephone number. (This is the central station telephone number).
*37 Enter 1 Enable Download Command.
*56 Enter 0 Dynamic Signal Delay.
*57 Enter 1 Dynamic Signal Priority; setting "1" gives signal priority to the radio.
#93 Enter 0
To enter "Menu Driven Mode".
(Press #93 while still in programming mode to display the first choice of the "menu
driven" programming functions).
Go to the table below to continue.
Honeywell Control Panel Programming
IMPORTANT: These tables are used with Honeywell Vista-128 control panels only; see page 9 for compatible models
and firmware versions. For Honeywell Vista-10, 15, 20 and 21 control panels, see page 13. Always adhere to the documenta-
tion for the Honeywell control panel in use.
Program the Honeywell Vista-128 control panel to allow the operation of four (4) functional areas:
Allow telco reporting to the central station
Allow notification alerts (iBridge Messenger text messaging)
Allow mobile device app communication for remote system control
Allow Napco StarLink Connect to support Honeywell Compass software.
In addition, verify that your Vista control panel firmware revision allows for radio emulation programming.
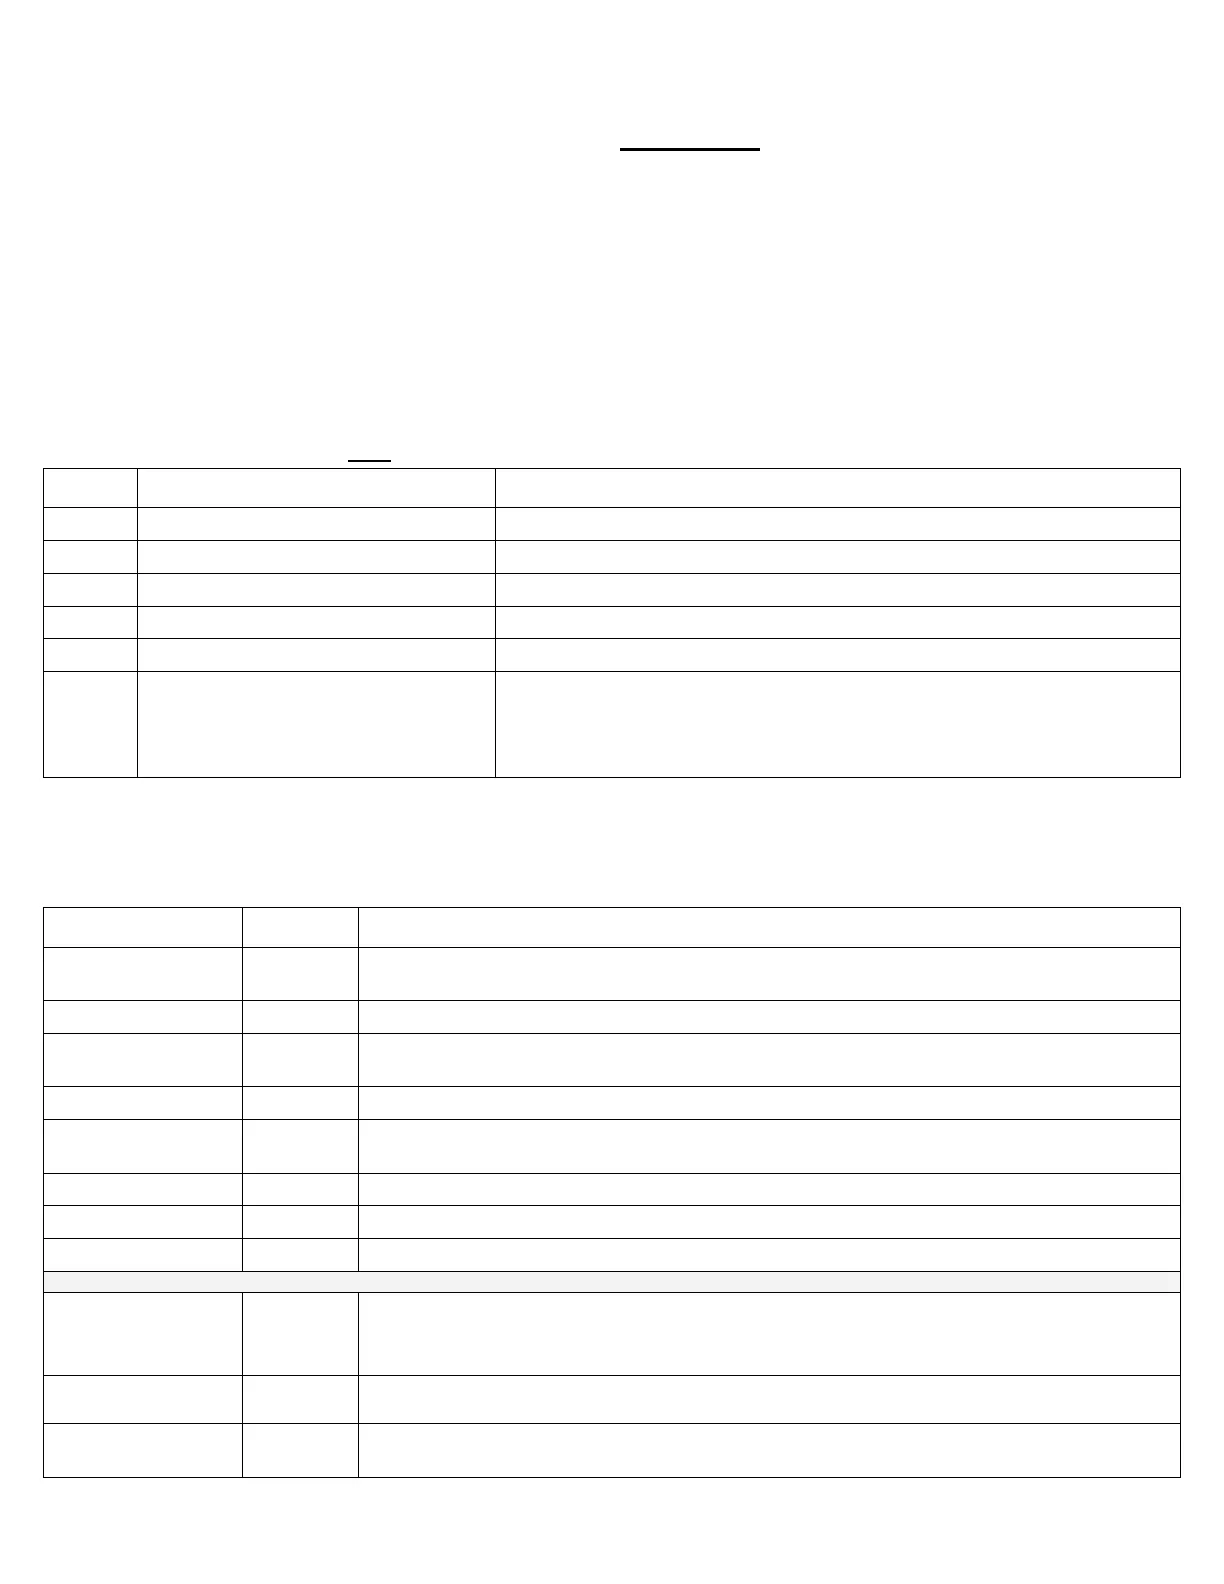
Programming With #93 Menu Driven Mode
Press #93 while still in programming mode to display the first choice of the menu driven programming functions. Press 0 for
"NO", or press 1 for "YES" in response to the displayed menu selection. Press [*] (keypad "star" key) to display the next selec-
tion in sequence. Program the following items in this #93 Menu:
Prompt Enter Description
ZONE PROG?
Enter 0
Answer "NO" to this question, then press [*] (keypad "star" key) repeatedly until the next selection
(DEVICE PROG?) appears.
DEVICE PROG?
Enter 1 Enter "Device Programming" menu to identify the StarLink radio to the control panel as a "keypad".
DEVICE ADDRESS
Enter 20
Identifies the StarLink radio device address number to the control panel (the default address 20 is set
in the radio at the factory, and therefore will be used in this documentation). Press [*] to accept entry.
20 DEVICE TYPE
Enter 01 01 = Alpha keypad. Press [*] to accept entry.
20 CONSOLE PART.
Enter 1
Enter the addressable device's primary default partition number (1 to maximum number of partitions
programmed for the system). Press [*] to accept entry.
20 SOUND OPTION
Enter 0 0 = No suppression of keypad sounds.
20 KEYPAD GLOBAL?
Enter 1 1 = Enables keypad for global arming/disarming. Press [*] to accept entry.
20 AUI ?
Enter 0 0 = "NO" Keypad is a standard alpha physical (not virtual) keypad.
DEVICE ADDRESS
Enter 03
Begin programming of the LRR (Long Range Radio Communicator) section of the StarLink radio.
This prompt identifies the LRR address number to the control panel (the default address 03 is set in
the radio at the factory, and therefore will be used in this documentation ). Press [*] to accept entry.
03 DEVICE TYPE
Enter 06 06 = LRR (Long Range Radio Communicator). Press [*] to accept entry.
03 RADIO PROG?
Enter 0
0 = Disable LRR (Long Range Radio).
Press 00* to quit programming mode and follow the remaining prompts to exit normally.
(This Page for use with Vista-128 Panels Only)
 Loading...