27
W415-0661 / 12.07.07
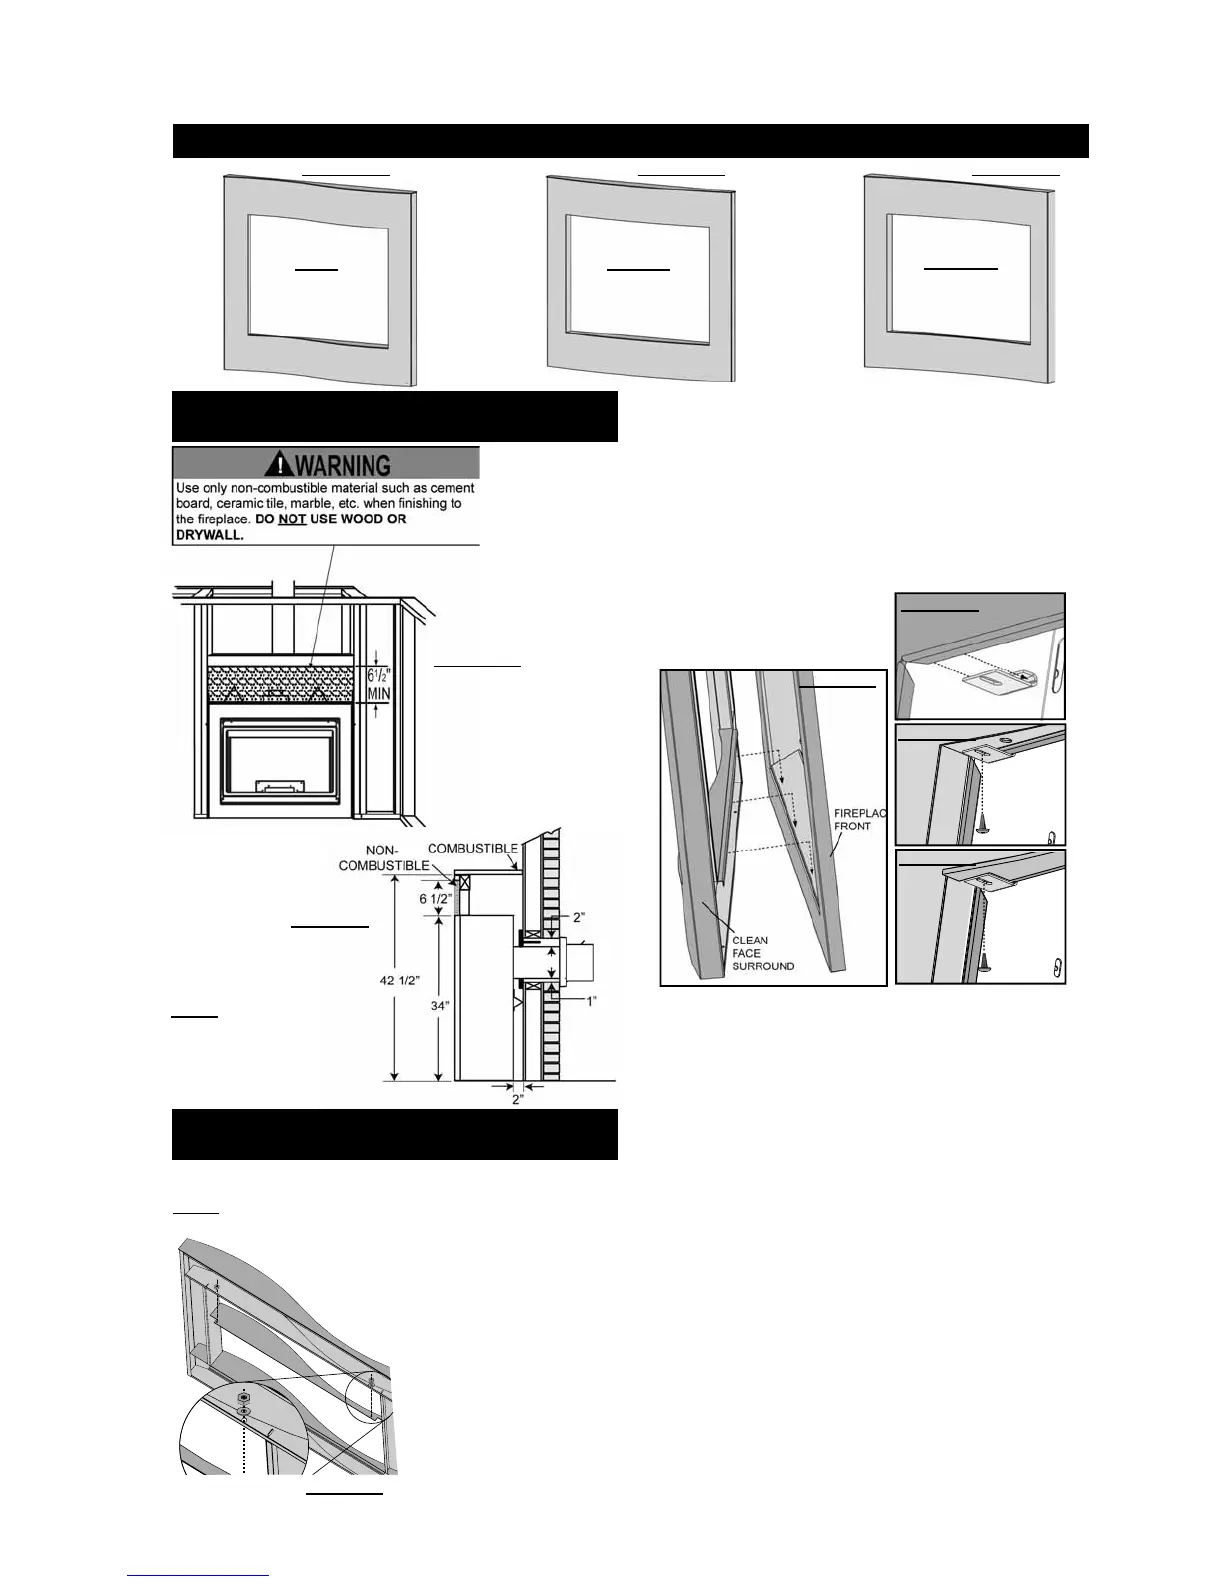
NOTE: THE OPTIONAL CLEAN FACE TRIM KIT MUST BE
INSTALLED BEFORE PROCEEDING.
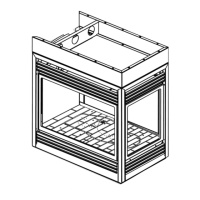
1. From the rear side of the clean face surround,
insert the weld studs on the top window plate
assembly upward through the holes on the
underside of the top section of the clean
face surround. (FIGURE 86)
2. Using a socket wrench,
secure using the nuts and
washers provided. Depending
on your surround, space may
be tight. (FIGURE 86)
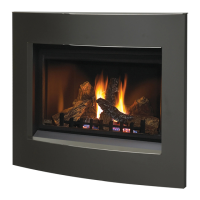
WAVE
S36WN (BROWN)
S36WP (PEWTER)
CONCAVE
S36CCN (BROWN)
S36CCP (PEWTER)
CONVEX
S36CVN (BROWN)
S36CVP (PEWTER)
NOTE:
** Installation requires a
minimum 6 1/2" of non-
combustible facing above the
top of the fi replace.
FIGURE 86
FIGURE 87
**
FIGURE 85
FIGURE 88
FIGURE 89
FIGURE 90
OPTIONAL CLEAN FACE SURROUND INSTALLATION BGD36CF(G) ONLY
OPTIONAL CLEAN FACE TRIM KIT
INSTALLATION
FIGURE 83
CLEAN FACE SURROUND MINIMUM
ENCLOSURE CLEARANCES
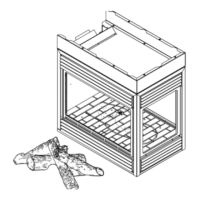
3. First secure the clean face surround to the fi replace front by
hooking the ledge that runs horizontally on the rear surface of the
clean face surround over the bottom edge of the fi replace front
opening. (FIGURE 88)
4. With the clean face surround against the fi replace front, hook
the surround clips in behind the top lip of the fi replace front opening
(FIGURE 88) and secure using the screws provided through the
slot in the surround clip and into the pre-drilled hole in the clean
face surround. (FIGURE 88) If the optional clean face trim kit was
installed, the surround clip fi ts into the cut out and is secured in the
same fashion. (FIGURE 89)
The “wave” clean face surround kit is shown in all
illustrations.
FIGURE 81 FIGURE 82
FIGURE 84
http://www.northlineexpress.com



 To Next Page