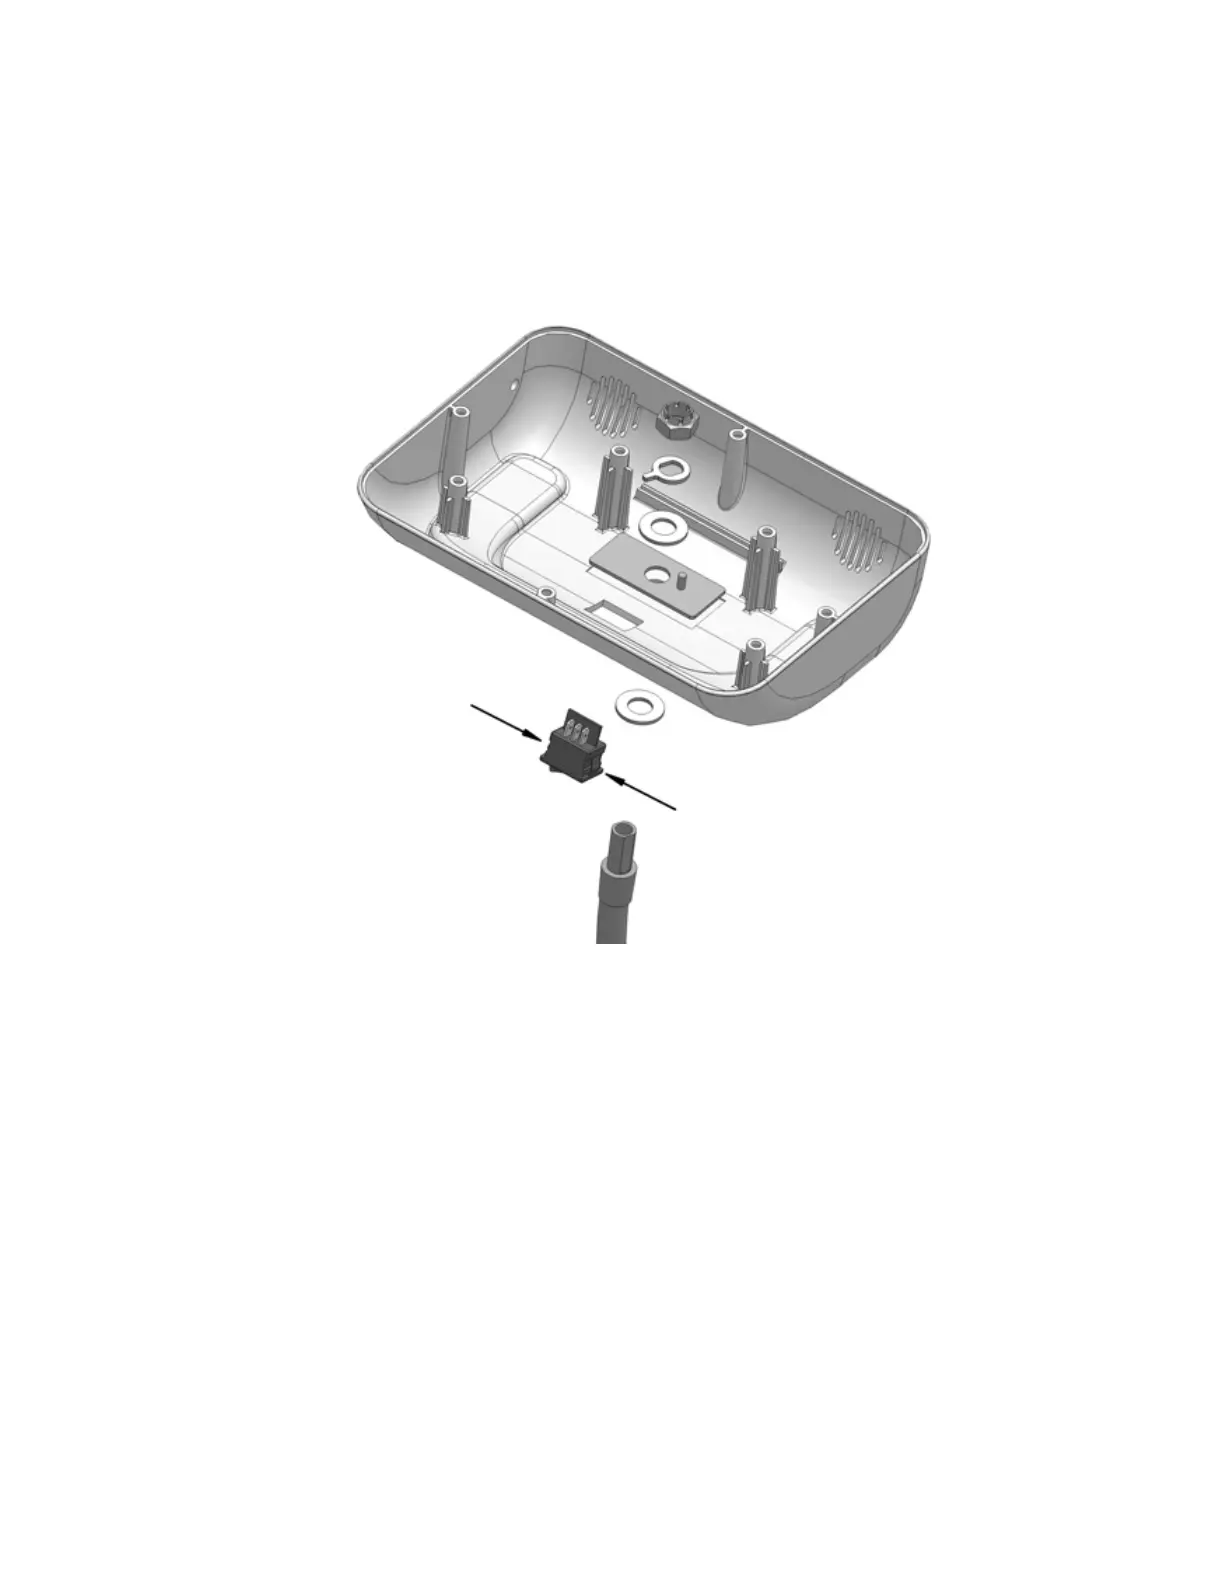
4.4 Removing the ON/Standby Switch
1. The switch is held in the light enclosure by spring tabs, two on each side of the switch.
See figure 5.
2. Press the tabs against the switch body while pushing the switch out the top of the light
enclosure.
FIGURE 5
If you are replacing the ON/Standby switch, obtain the replacement and reverse the
previous steps.
3. If no further repair is required, reverse all previous steps in chapter 4, return to chapter
2, and perform Safety and Performance Verification Tests. If further disassembly is
required, store the switch in a safe anti-static environment and proceed to section 4.5,
Removing the Light Enclosure from the Adjustable Arm.
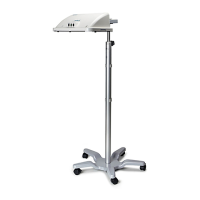
4.5 Removing the Light Enclosure from the Adjustable Arm
The light enclosure is fastened to the adjustable arm, as shown above in figure 5.
The assembly consists of the following items, in order of removal.
a. Locknut, 9/16”
b. Tab washer
c. Nylon washer
d. Metal rectangle with stop
neoBLUE
®
mini System Service Manual P/N 051466F
14
 Loading...