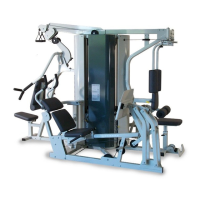
NS-700
10
step
7
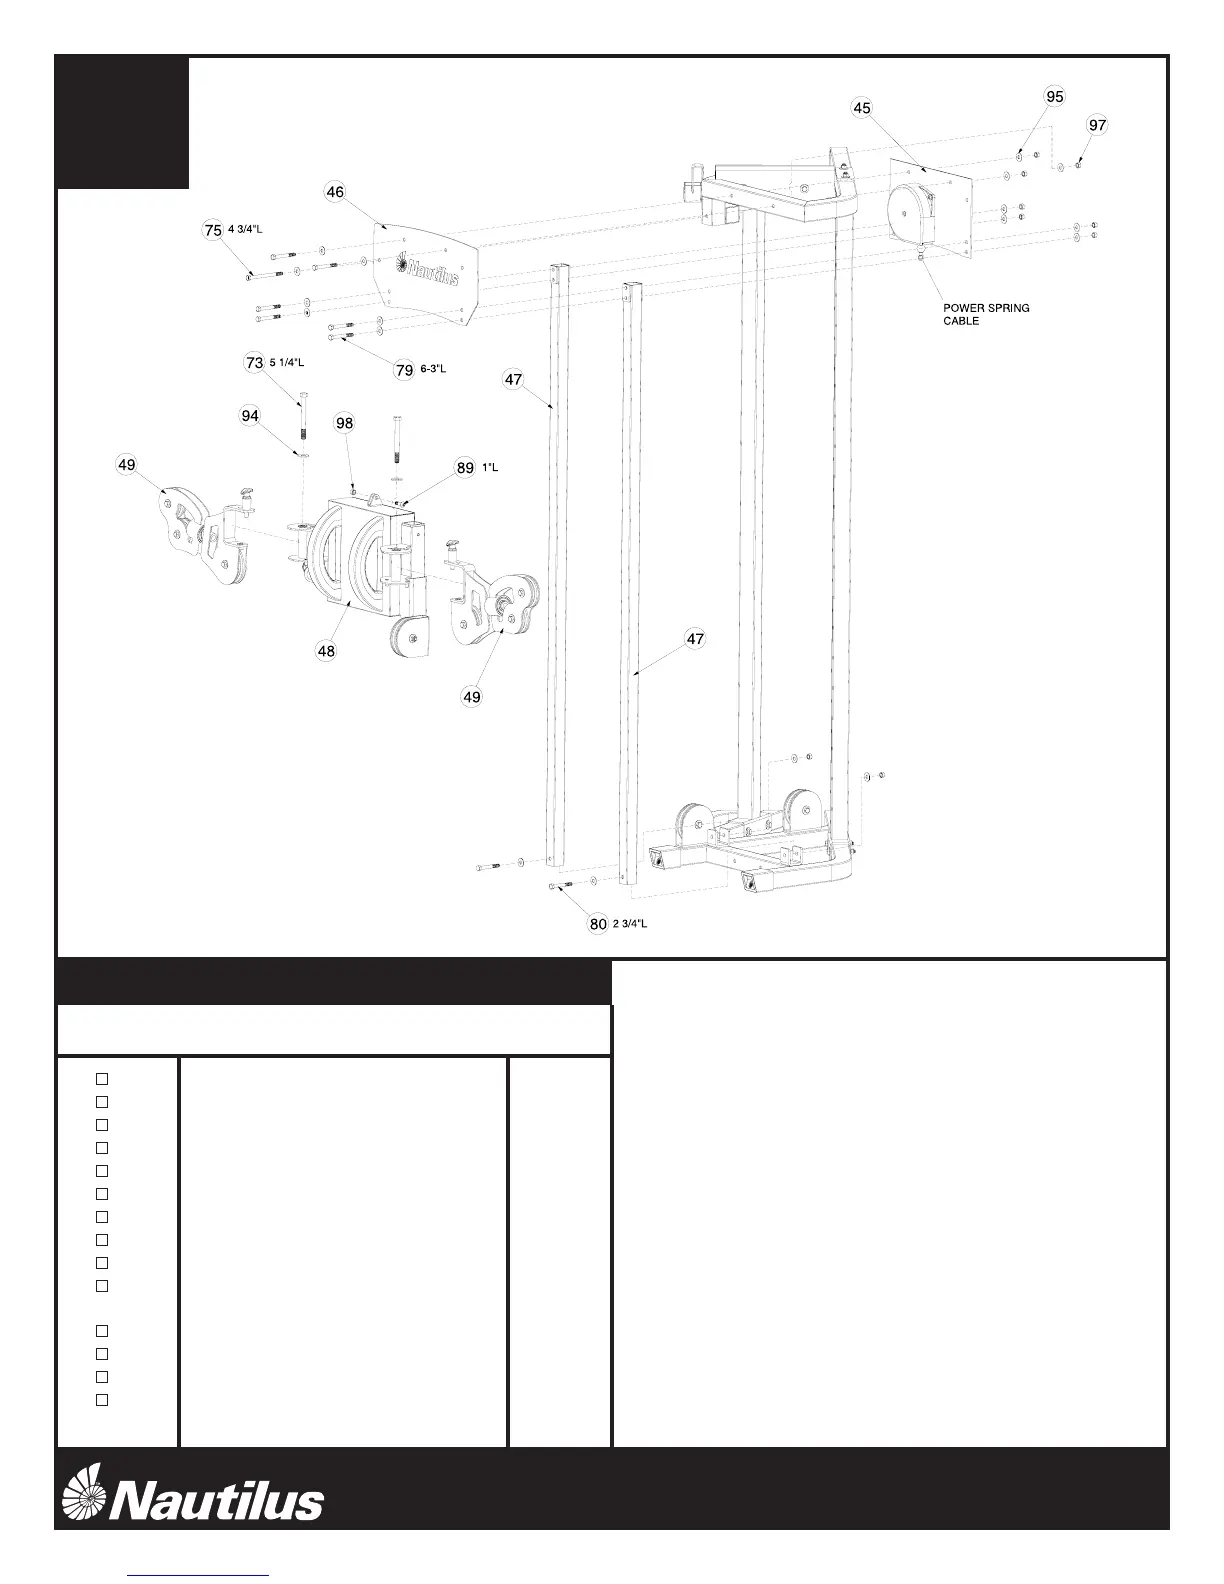
Step #7 Materials:
#Component Qty
45 Power Spring Assembly 1
46 Front Plate 1
47 Guide Tube 2
48 High/Low Pulley Adjuster 1
49 Swivel Arm Assembly 2
73 Hex Bolt - 1/2" x 5 1/4"L 2
75 Hex Bolt - 3/8" x 4 3/4"L 1
79 Hex Bolt - 3/8" x 3"L 6
80 Hex Bolt - 3/8" x 2 3/4"L 2
89 Button Head Allen Screw
3/8" x 1"L (half threads) 1
94 1/2" Flat Washer 2
95 3/8" Flat Washer 18
97 3/8" Lock Nut 9
98 3/8" x 9/32t Lock Nut 1
A. Place Guide Tubes (47) side by side on the floor with
the adjustment holes facing each other. Slide the
Hi/Low Pulley Adjuster (48) onto the Guide Tubes (47)
making sure that the Guide Tubes are even and the
Hi/Low Pulley Adjuster is locked into the middle
adjustment holes.
B. Attach the Guide Tubes (47) to the Rear Base Frame (1)
using the hardware shown. Do not tighten hardware.
C. Attach the Power Spring Assembly (45) and Front Plate
(46) to the Rear Top Frame (2) and Guide Tubes (47)
using the hardware shown. Make sure that the Guide
Tubes (47) are well aligned and tighten all hardware
securely.
D. Lift the Hi/Low Pulley Adjuster (48) to the top adjust
ment hole. Connect the Hi/Low Pulley Adjuster (48) to
the Power Spring Cable using the hardware shown.
Tighten hardware securely.
E. Attach the Swivel Arms (49) to the Hi/Low Pulley
Adjuster (48) using the hardware shown. Tighten
hardware securely but allowing the Swivel Arms to
rotate freely.
 Loading...