EasyManua.ls Logo

Nautilus Sport Series User Manual

Nautilus Sport Series
32 pages
To Next Page IconTo Next Page
Page #1 background imageLoading...
Page #1 background image
Base Model: T514, T516, T518
Display Model: LE, LE-X, LC
Sport SerieS
ASSEMBLY MANUAL
Be Strong.
Model: T514
Model: T516
Model: T518
P/N: 000-4844 Rev D (12/2005)
Question and Answer IconNeed help?

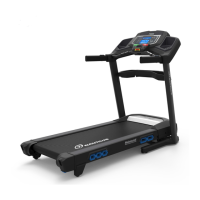
Do you have a question about the Nautilus Sport Series and is the answer not in the manual?

Nautilus Sport Series Specifications

General IconGeneral
BrandNautilus
ModelSport Series
CategoryTreadmill
LanguageEnglish

Summary

Preface

Product Identification

Base Serial Number Location

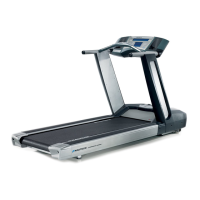
Locating the serial number decal on the treadmill base for registration and support.

Display Serial Number Location

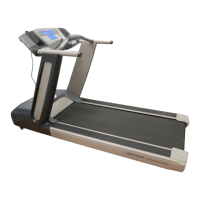
Locating the serial number decal on the display module for registration and support.

Product Specifications

Safety Precautions

General Safety Instructions and Warnings

Key safety definitions, warnings, and essential precautions before use.

Specific Safety Precautions

Detailed safety guidelines covering electrical, operational, and environmental factors.

Assembly Preparation

Assembly Tips and Area Selection

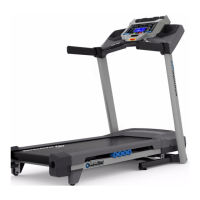
Basic assembly principles, workout area requirements, and treadmill positioning advice.

Parts List

Hardware and Tool List

Base Assembly Guide

Step 1: Attaching Uprights to Base Assembly

Instructions for connecting the left and right upright assemblies to the base.

Step 2: Tightening Motor Pan Bolts

Securing the motor pan bolts prior to further assembly.

Step 3: Connecting the Wiring Harness

Routing and connecting electrical wiring harnesses for console operation.

Step 4: Placing the Console Assembly

Instructions for positioning the console assembly onto the upright supports.

Step 5: Securing the Left Side Console Assembly

Fastening the left side of the console assembly to the upright support.

Step 6: Securing the Right Side Console Assembly

Fastening the right side of the console assembly to the upright support.

Step 7: Installing Upright Hardware Caps

Installing protective caps onto the upright assemblies.

Step 8: Installing Top Motor Covering

Placing the top plastic piece onto the motor mounting points.

Step 9: Installing Front Motor Cover Sticker

Applying the sticker to the front motor cover for identification.

Step 10: Installing Left & Right Upright Covers

Attaching the left and right upright covers to the frame.

Step 11: Installing Front Motor Covering

Installing the front plastic motor cover onto the base assembly.

Step 12: Installing Front Motor Cover Sticker

Applying the sticker to the front motor cover for identification.

Step 13: Inspecting Base Assembly

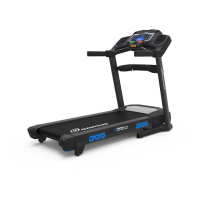
Final inspection, tightening, and stability checks of the assembled base unit.

Display Assembly Guide

Step 1: Locating the Wiring Harness

Finding the wiring harness for display connection.

Step 2: Installing Display into Console Assembly

Instructions for installing the display into the console.

Step 3: Connecting the Wiring Harness

Connecting the wiring harness to the display module, matching pin connectors.

Step 4: Installing Rear Access Panel

Instructions for installing the rear access panel on the console.

Limited Warranty

Important Contact Numbers

Related product manuals