147
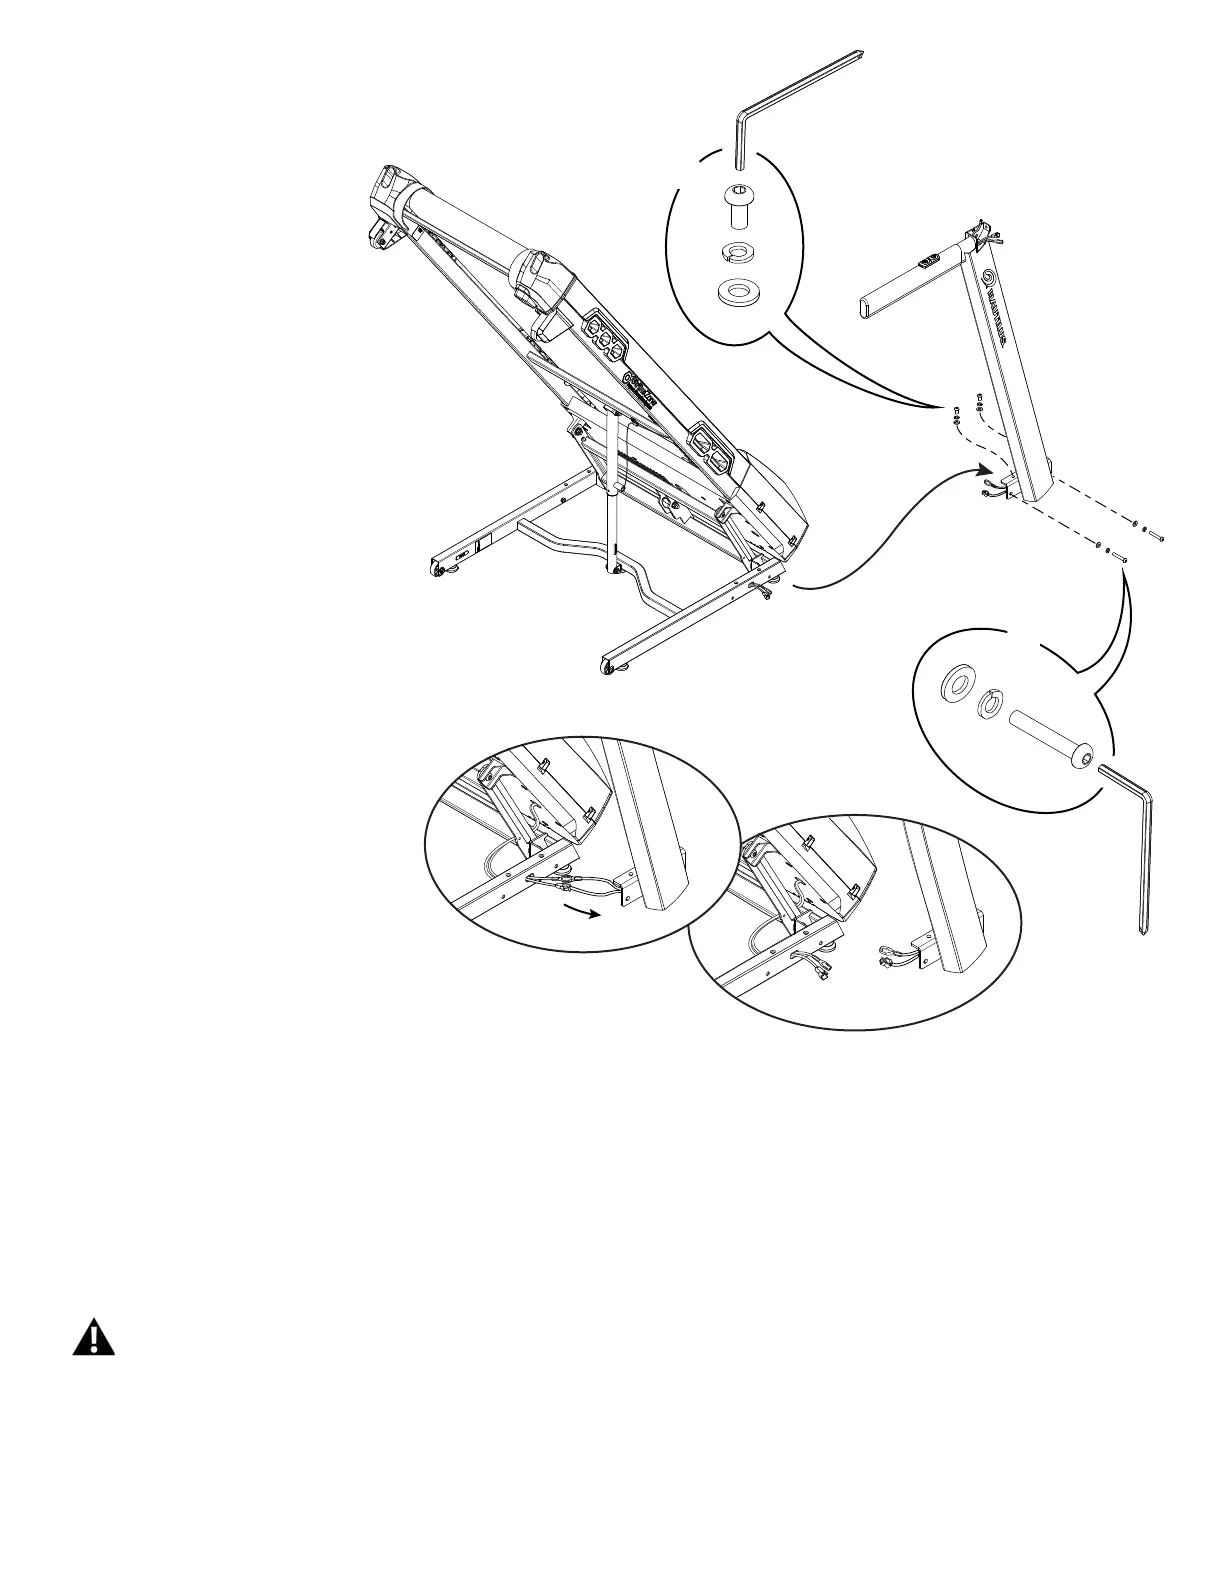
13.Usinga6mmhexwrench,removethehardwarefromtheRightUp-
right.SlightlyremovetheRightUprightfromtheBaseAssemblyexposing
the Input/Output (I/O) Cables. Disconnect the I/O Cables and remove the
Right Upright.
Note: Do not crimp cables.
14. Connect the Input/Output (I/O) Cables and attach the new Right
Upright to Frame Assembly
Note: This step may take two people to safely hold the Right Upright while
the Cables are connected. Do not crimp the Cables. Do not fully tighten
the Hardware until the Console and Handlebar Assembly has been at-
tached.
15. Reinstall the right Base Shroud on the Base Assembly.
16.Makesurethereissufcientspacetolowerthewalkingdeck.
Keep a minimum clearance behind the machine of 79” (2 m)
and 24” (0.6 m) on each side. This is the recommended safe
distance for access, movement and emergency dismounts
from the machine.
17. Make sure there is no object on or around the treadmill to spill or
cause blockage from the fully unfolded position.
X2
X2

 Loading...