34
3. Convenient Features
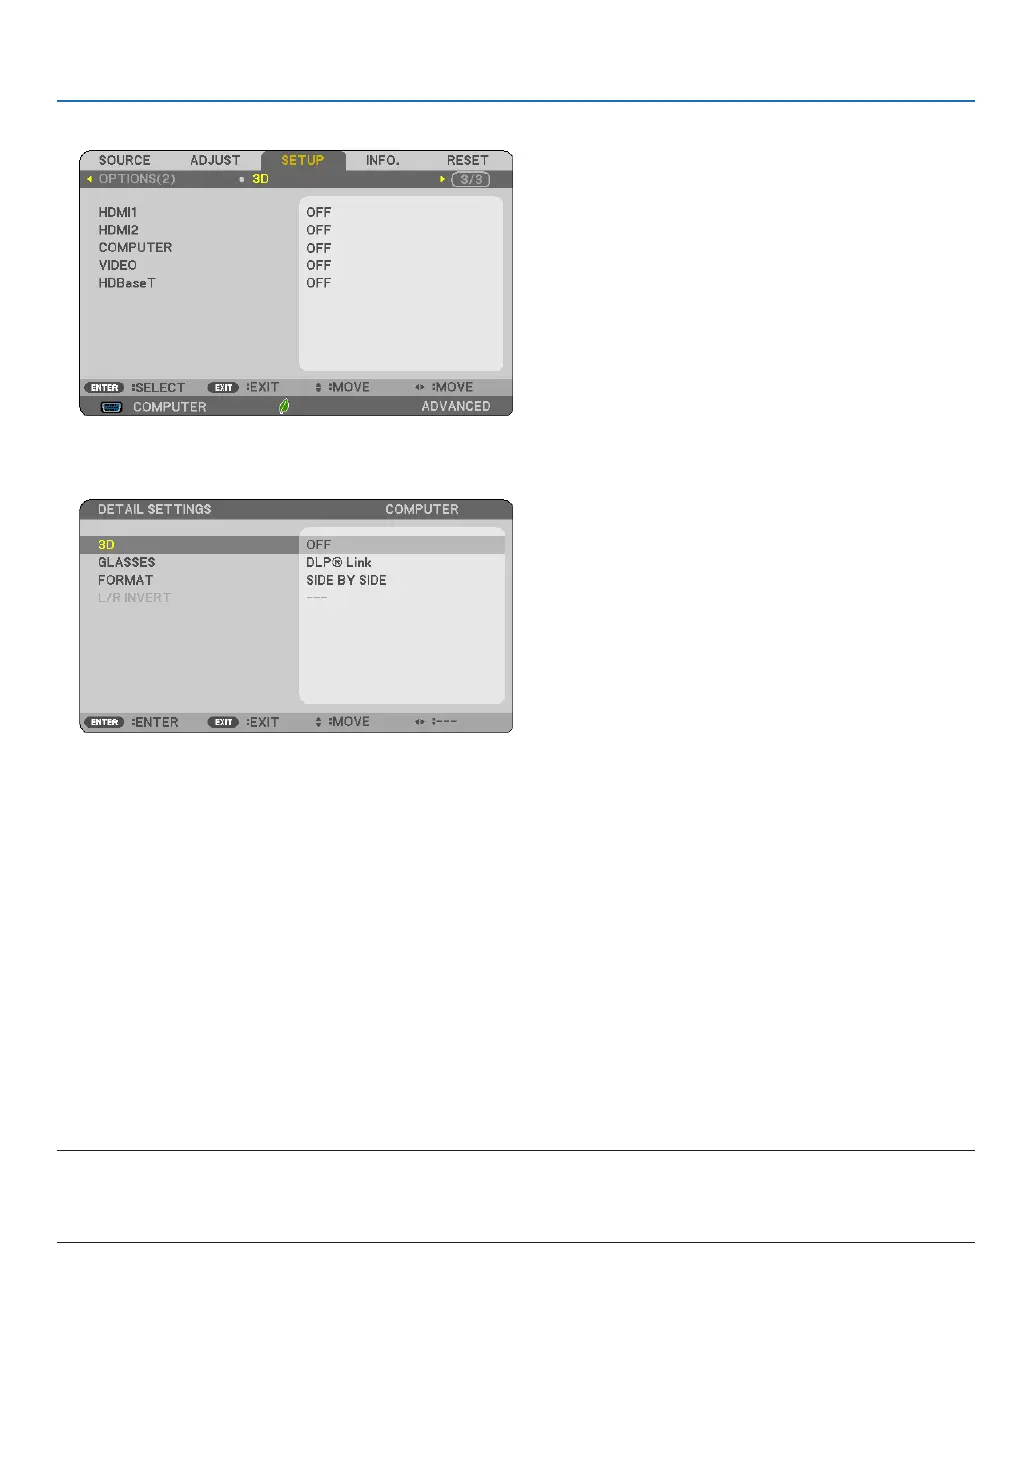
The [3D] menu will be displayed
4. Press the ▽ button to select a signal and press the ENTER button.
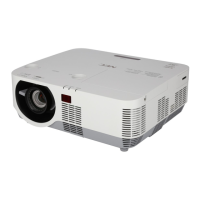
The3D(DETAILSETTINGS)screenwillbedisplayed.
5. Press the ▽buttonto[GLASSES]andpresstheENTERbutton.
The [GLASSES] setting screen will be displayed.
6. Press the ▽ button to select a compatible eyeglass method and press the ENTER button.
Setother3D-relatedmenuoptionssuchas[FORMAT]and[L/RINVERT]asnecessary.
When switched to a 3D image, the 3D viewing cautions message screen appears (by factory default). For details,
see page 54.
7. Press either △ or ▽buttontoselect[3D]andpresstheENTERbutton.
The setting screen for 3D mode will be displayed on.
8. Press the ▽buttontoselect[ON]andpresstheENTERbutton.
The selected signal will be changed in 3D mode.
Selectinginputconnectedtoasourceof3Dimages[HDMI1/HDMI2/COMPUTER/VIDEO/
HDBaseT]
Thisfunctionswitchesthe3DmodebetweenONandOFFforeachinput.
NOTE:
Toconrmthatthesupported3Dsignalisaccepted,useeitherwayofthefollowing:
• Makesurethat[3D]isdisplayedinthetoprightofthescreenafterthesourceisselected.
• Display[INFO.]→[SOURCE(2)]→[3DSIGNAL]andmakesurethat“SUPPORTED”isdisplayed.