Installation Procedure
XN120 Expansion Unit Guide 5
Installation Procedure
1
Unpack all items.
2
Are you expanding an
installed XN120 system or
installing a new system?
If you are expanding an installed XN120 system you will need to
power the system off before installing the expansion unit.
If you are installing a new system refer to the XN120 Getting Started
Guide supplied with the main unit for the basic XN120 installation
information.
3
Mount the XN120 expansion
unit on the wall.
! Within suitable cabling distance from the exchange lines.
! Within suitable distance from a power socket and Earth point.
! Within suitable distance for the RJ45 connecting cables.
! Check the other installation considerations in section 3.
! If you have any optional parts to install please check any installation
considerations in the documentation supplied with each item.
4
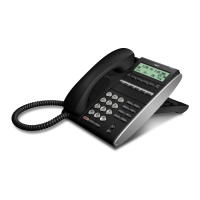
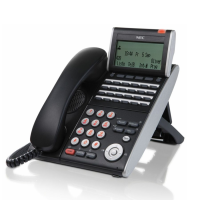
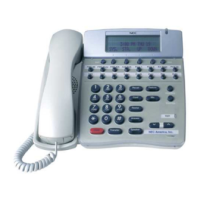
Connect the telephones.
5
Connect the exchange lines.
8
Connect the power and
switch on the XN120.
9
Test the system.
10
Install any optional
equipment.
You can install each item in turn and test it before you install the next
item.
11
Configure the XN120 to the
customer’s requirements.
12
Consider the operation
during power failure
! Important
Ensure that you can make/receive calls in the event of a power cut or
system failure.

 Loading...