Test the System
22 XN120 Expansion Unit Guide
9- Test the System
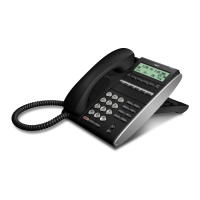
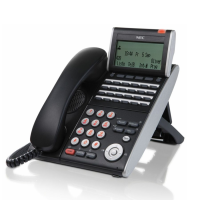
Test the XN120 System Telephones
At each phone in turn.
1 Press the SPK button. If you hear system dialing tone the phone has initialised correctly,
press SPK to clear.
If you do not hear dialing tone move to step 2.
2 Check the connections. Check the connections from the phone to the XN120, ensure all 4
wires are connected as shown in 5- Connect the Telephones on page
12.
3 Plug phone into the ST
connection at the XN120
expansion unit.
If you have used telephone cable and RJ11 sockets to extend the
connections.
Plug the phone directly into the ST connection at the XN120 expansion
unit using the line cord supplied with the system phone.
If the phone does not initialise correctly then move to step 4.
4 Swap the phone. Try another XN120 system phone plugged directly into the ST
connection using the line cord supplied with the phone.
Test the Normal Telephones
At each phone in turn.
1 Lift the handset. If you hear system dialing tone the phone is working correctly.
If you do not hear dialing tone move to step 2.
2 Check the connections. Check the connections from the phone to the XN120, ensure both
wires are connected as shown in 5- Connect the Telephones on page
12.
3 Plug phone into the ST
connection at the XN120
expansion unit.
If you have used telephone cable and LJU sockets to extend the
connections.
Plug the phone directly into the ST connection at the XN120 expansion
unit using an RJ11 line cord (ensure the line cord connections are
correct).
If you do not hear dial tone when you lift the handset then move to
step 4
4 Swap the phone. Try another normal phone plugged directly into the ST connection
using the RJ11 line cord.

 Loading...