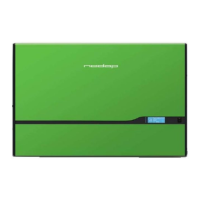
Additional xComfort products that can be ordered at Eaton. For installation of additional xComfort
components refer to manual delivered with the product, or contact your local Eaton dealer.
4.9 Connect the additional cable (Italy)
The additional cable is only applicable for Italy (directive CEI-021). See figure 15 for the connection
overview.
1. Remove the plate from the knock-out hole (1).
2. Place the cable gland (4) from the bottom through the hole.
3. Fasten the cable gland with the nut (3) on the inside of the PowerRouter.
4. Slide the cable through the cable gland.
5. Connect the cable to the connector (2).
6. Fasten the cable-nut (5).
7. The cable can be connected to an external receiver from the power company. In figure 15;
Contact closure A (blue) activates the remote trip.
Contact closure B (green) activates the move frequency band signal.
C (orange) and D (brown) are not connected, for further use.
8. Install the clip-on coil (6) on the cable within 10 cm of the powerrouter.
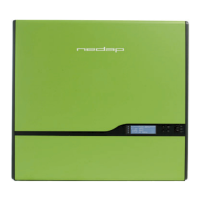
4.10 Switch on the system
1. Close the lower front cover.
2. Set the solar switch, on the PowerRouter, to on.
3. Set the external AC disconnect switch to on.
4. Switch on the PowerRouter (switch on the display).
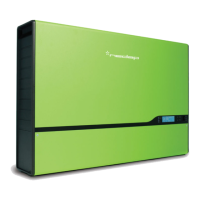
4.11 Initialise the PowerRouter
The PowerRouter must be initialised by setting system parameters. After setting the parameters, the
PowerRouter is ready to use. There are two methods to set the system parameters.
4.11.1Installation wizard (on the display)
1. The installation wizard starts automatically the first time you switch on the PowerRouter.
2. Use the buttons on the PowerRouter display to go through the installation wizard screens and make
changes.
 Loading...