© 2016 Nelson Stud Welding, Inc. Page 14
All Rights Reserved. February 2016 Part No. 729-110-042 v1.03
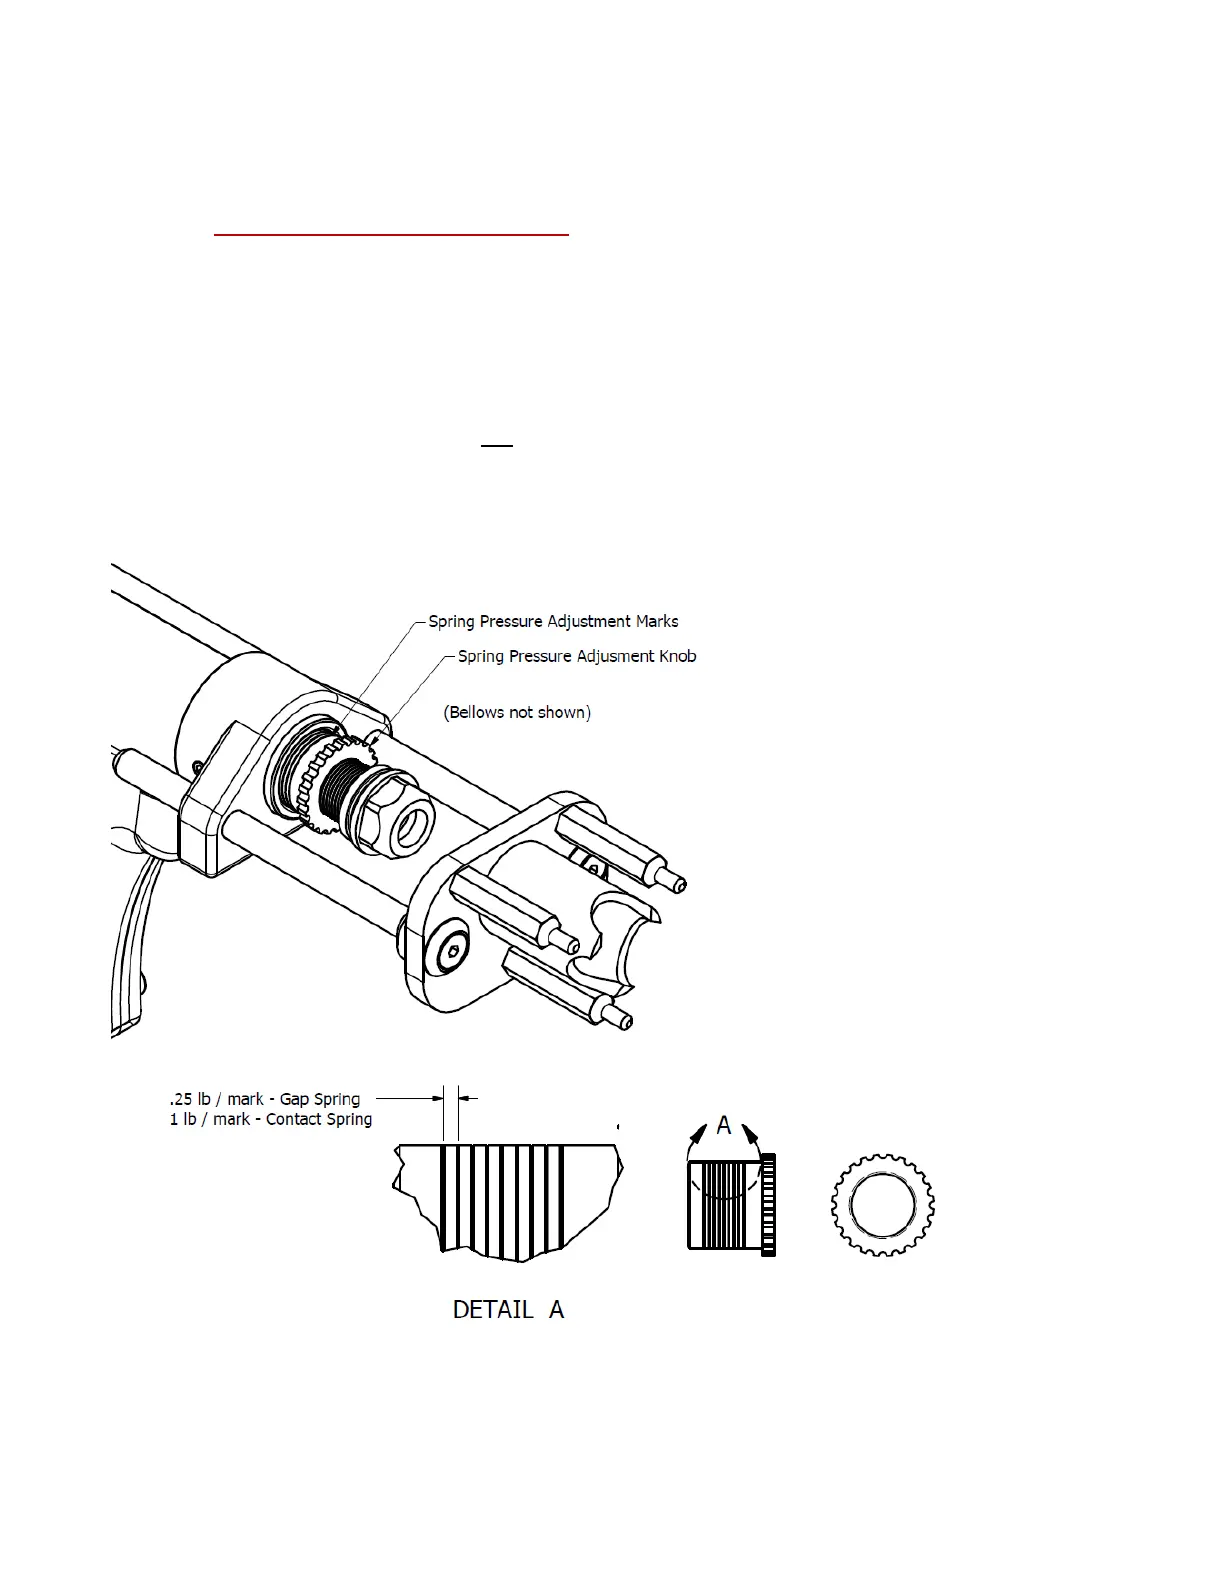
3.3.2 Setting Spring Pressure in Contact Mode
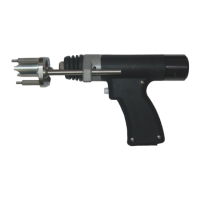
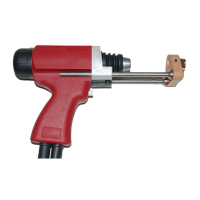
Required tools: NCD+ Weld gun, chuck and foot per application, flat bladed screwdriver
1 Ensure Contact spring is installed per section 3.3.3
2 Check Section 8.4 Table of Weld Parameters for the recommended spring pressure.
3 With a flat bladed screwdriver or NCD+ Set-Up Tool #525-001-200, turn travel adjustment screw on the back
of the weld gun counter clockwise until it stops.
4 Loosen leg screws.
5 Insert stud in chuck.
6 Adjust foot so that the stud stick-out matches the desired plunge.
7 Tighten leg screws to lock tripod foot or spark shield in place.
8 With a stud in the gun, compress the gun against a non-conductive block. Trigger the gun to see if the
chuck and stud will retract. It should not retract.
9 Turn the spring pressure adjustment knob to desired spring pressure. For the contact spring each mark
equates to 1 lb of spring force and the minimum is 7 lbs.