© 2016 Nelson Stud Welding, Inc. Page 16
All Rights Reserved. February 2016 Part No. 729-110-042 v1.03
4 Weld Setup
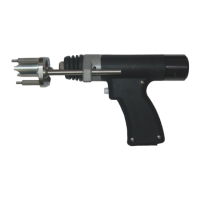
4.1 Auto-Gap Gun
1 Confirm the power unit is switched off.
2 Connect gun and ground cables to the appropriate terminals.
3 Set spring pressure and gap/lift using a stud per section 3.3.1.
4 Adjust voltage.
5 Replace the set up stud with a new one.
6 Begin production welding after sample welds have been validated for strength and appearance.
4.2 Post Weld
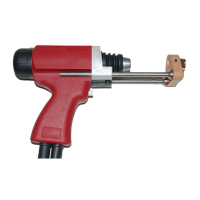
During welding, it is very important to draw the chuck (gun) straight off the stud after a weld has been made to avoid
spreading the chuck tines. If this procedure is not followed, chuck life may be substantially shortened.