Lubrication and Service
Before each Irrigation Run
1. Caution: Make sure there is no water pressure to the RainTrain2
®
during this inspection!
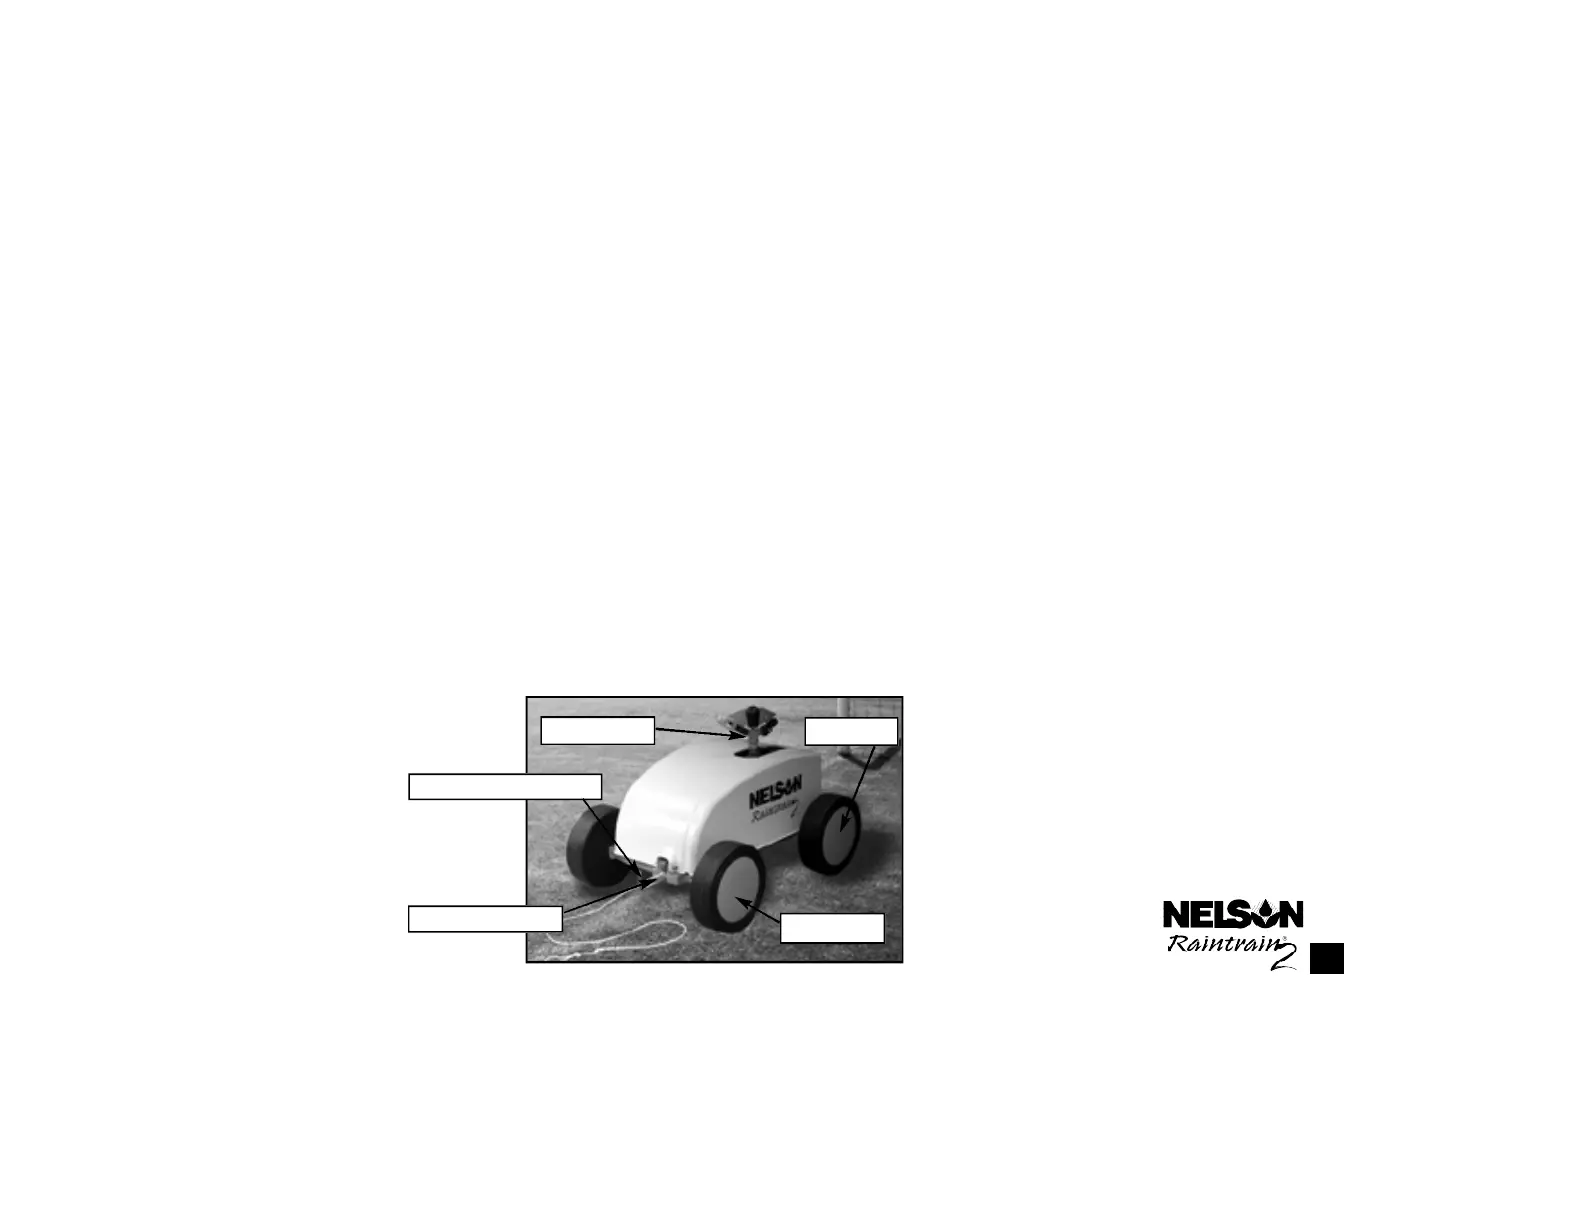
2. Carefully lift the front of the unit and verify that the wheels rotate freely (see figure 9). Repeat for the rear wheels. (Note: The
wheels will exhibit a slight amount of friction). If a wheel does not rotate freely, disassemble, clean, and replace (See
Disassembly and Assembly).
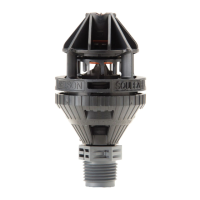
3. Check sprinkler head for loose, worn, or missing pieces (see figure 9). Adjust or replace if necessary.
4. Verify that the on/off valve control rod functions correctly (see figure 9). Control rod should be turned down to release and slid
forward. Turn the rod up. This is the ‘on’ position. Push the rod firmly towards the rear of the machine. Rod should move
with light effort and catch in this rearward position. This is the ‘off‘ position.
5. Verify that the control rod actuator is firmly attached to the cable and is at the appropriate distance from the cable end (see
figure 9). The distance from the cable end may vary for certain applications.
6. Inspect the supply hose for your RainTrain2
®
. Replace or repair if necessary.
13
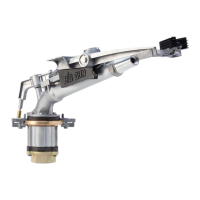
Sprinkler Head
Rear Wheel
On/off valve control rod
Front Wheel
Control rod actuator
Figure 9. Front left hand corner view of
the machine.