7
Figure 15 Gray Wires in Slot
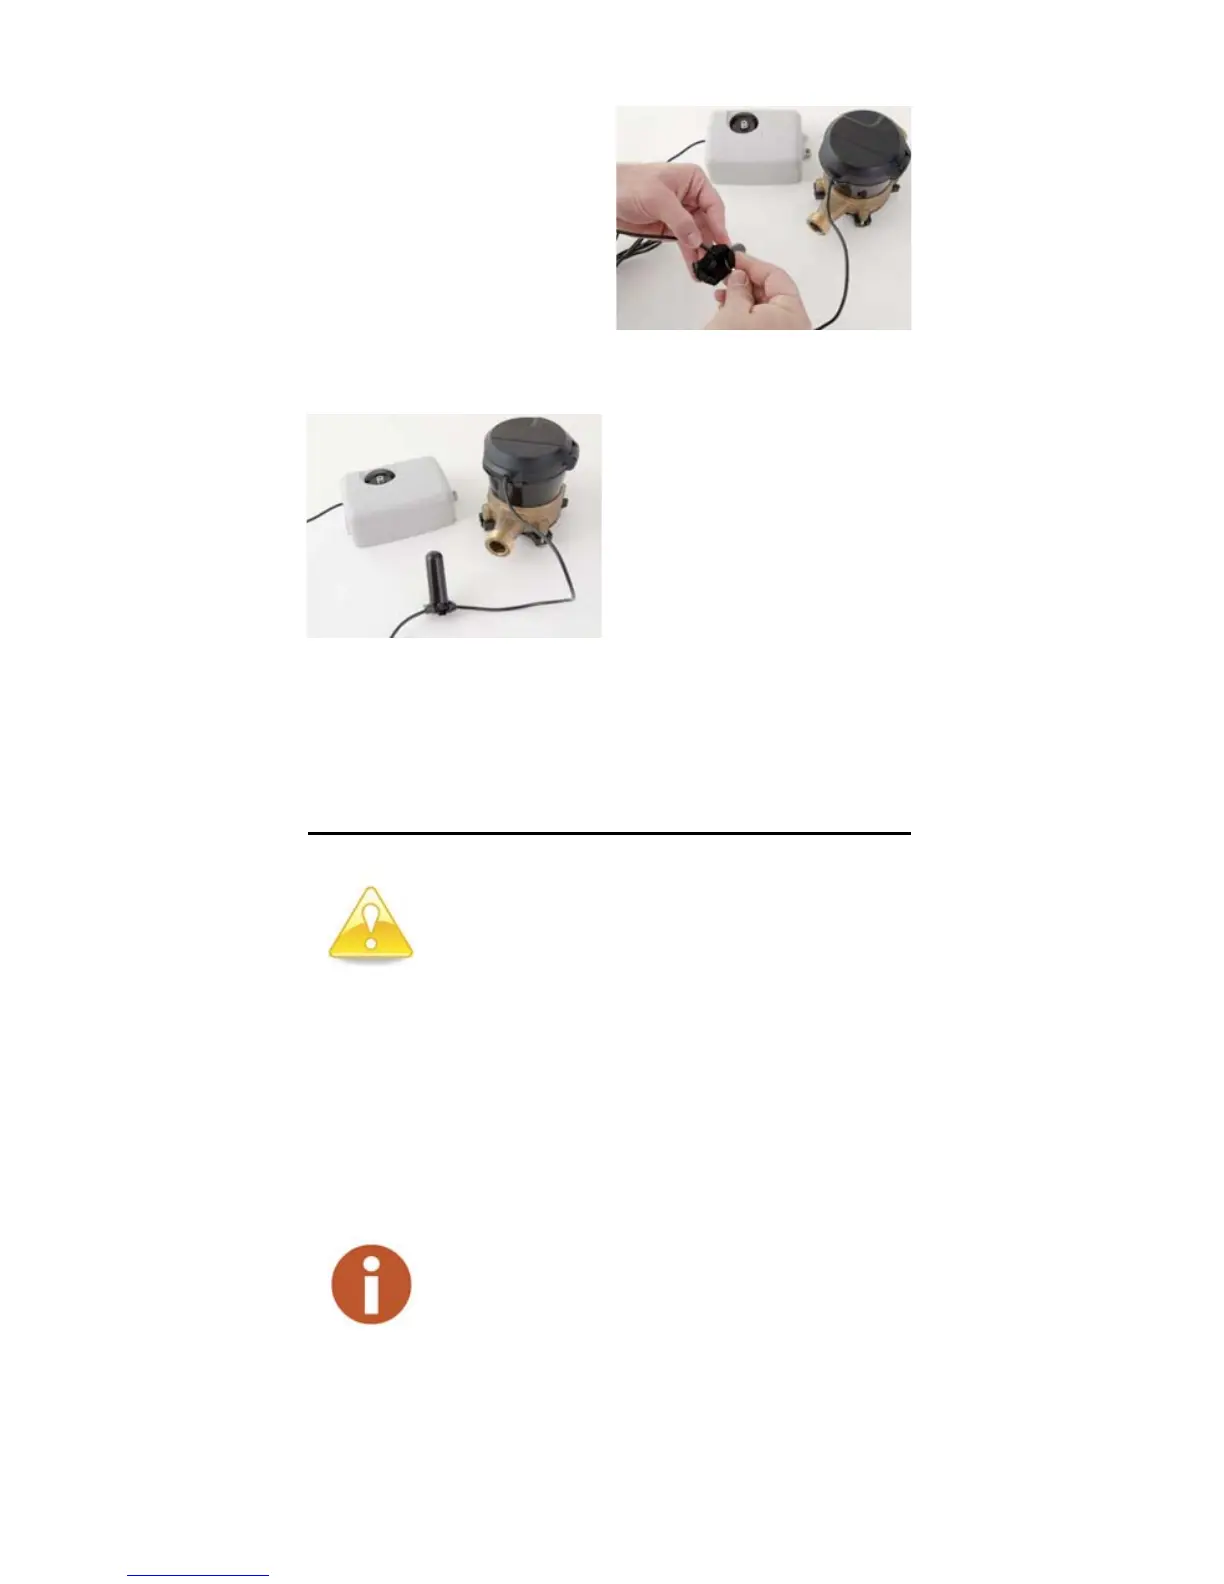
Figure 16 Cover in Place
11 Proceed to “How to Activate” on page 10.
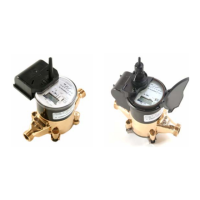
5 Installation Instructions for Networked
Receptacle/Dual Port MIUs
The Dual Port R900 and R450 MIUs work only with Neptune
ProRead™ or E-CODER registers. Each register must be
programmed in “RF Network” mode prior to installation.
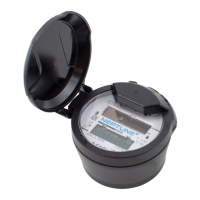
9 Separate the gray wires,
and place in the slots on
each side of the splice tube
as shown in Figure 15.
10 Snap the cover closed to
finish the installation as
shown in Figure 16.
Enhanced R900 v4 MIUs are not Dual Port
capable. These instructions only apply to v3
MIUs.
• E-CODER registers cannot be programmed
while connected together in a network. Each
register must be programmed separately
prior to making the network connection.
• The designations HI and LO are
Neptune's designations for the high (HI) flow
or turbine side of the compound, and the low
(LO) flow or disc side of the compound.
• The settings can also be used to designate
the primary (HI) and secondary (LO) meters
in a dual set application