Figure 3. Rear panel
Viewed from top to bottom, the back panel contains the following components:
• Reset button. Pressing the Reset button resets the cable modem. If the Reset button is pressed for
at least seven seconds, the Power LED blinks green and the cable modem returns to its factory settings.
• LAN 1 and 2 ports. For installation and activation, connect a computer to the LAN 1 port. After you
install the cable modem and activate your Internet service, you can disconnect the computer and connect
a router to this port.You can use the LAN 2 port to set up Ethernet port aggregation. For more information,
see Ethernet Port Aggregation on page 18.
• Coaxial cable port. Connect the cable port to a cable wall outlet.
• Power On/Off button. Press the Power On/Off button to provide power to the cable modem.
• DC power connector. Connect the power adapter that came in the product package to the DC power
connector.
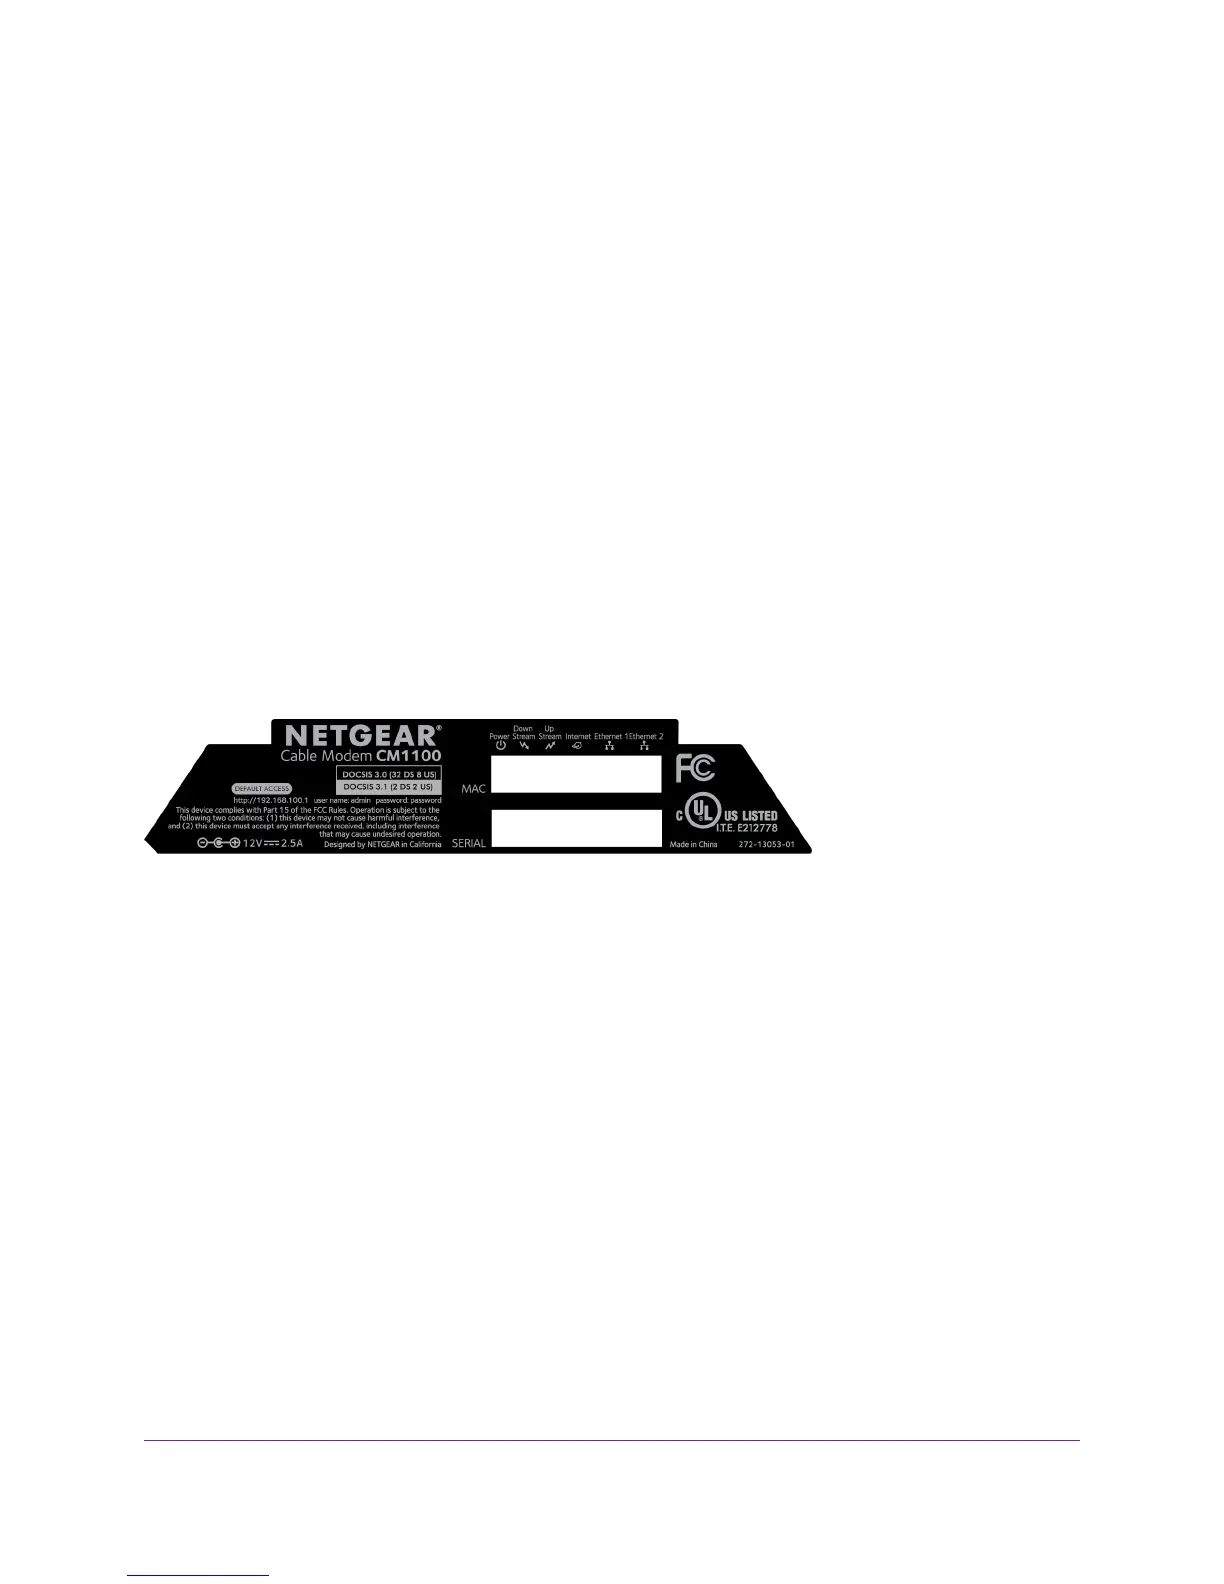
Label
The cable modem label shows the login information, MAC address, and serial number.
Figure 4. Cable modem label
System Requirements
You need the following to install your cable modem:
• Compatible operating system:
- Windows 10
- Windows 8
- Windows 7
- Windows Vista
- Windows XP
- Windows 2000
Hardware Setup
9
Nighthawk Multi-Gig Speed Cable Modem
 Loading...