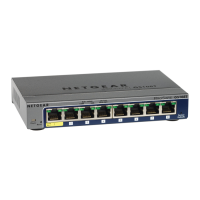
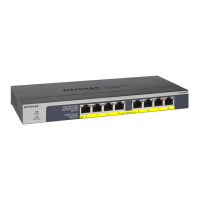
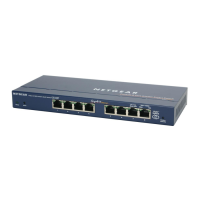
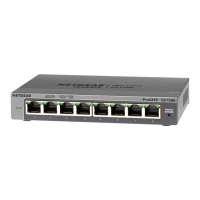
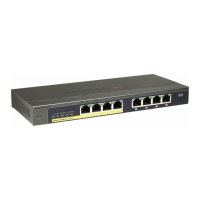
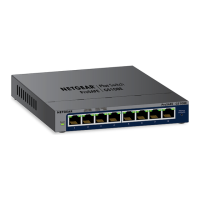
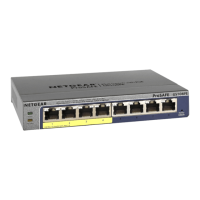
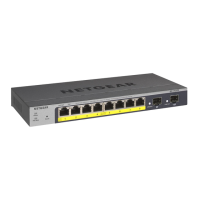
8-Port Gigabit (PoE+) Ethernet Smart Managed Pro Switch with (2 SFP or 2 Copper Ports and)
Cloud Management
Get Started User Manual31
To access the switch off-network and not connected to the Internet after you
registered the switch with NETGEAR:
1. Change the IP settings of your computer to be in the same subnet as the IP settings of
the switch.
If the DHCP client of the switch is enabled and you remove the switch from the network
with the DHCP server, the IP address reverts to the default IP address of 192.168.0.239
with a subnet of 255.255.255.0.
Note: If you already disabled the DHCP client and assigned a static IP
address to the switch, change the IP settings of your computer to be in
the same subnet as the static IP address.
For more information about changing the IP settings on your computer, see one of the
following knowledge base articles at the NETGEAR website:
• Windows-based computer. See the following article:
https://kb.netgear.com/27476/How-to-set-a-static-IP-address-in-Windows
• Mac. See the following article:
https://kb.netgear.com/000037250/Setting-a-static-IP-address-on-your-network-a
dapter-in-Mac-OS-for-direct-access-to-an-access-point
(The Mac article is written for an access point but is also valid for a switch.)
2. Connect your computer to the switch using an Ethernet cable.
3. Power on the switch by connecting its power cord.
4. Launch a web browser.
5. Open a web browser, and enter http://192.168.0.239.
This is the default IP address of the switch.
The login page displays.
6. If your browser does not open the login page but displays a security message and does not
let you proceed, do one of the following:
• Google Chrome. If Google Chrome displays a Your connection is not private
message, click the ADVANCED link. Then, click the Proceed to x.x.x.x (unsafe) link,
in which x.x.x.x represents the IP address of the switch, and install a security
certificate.
• Apple Safari. If Apple Safari displays a This connection is not private message, click
the Show Details button. Then, click the visit this website link. If a warning pop-up
window opens, click the Visit Website button. If another pop-up window opens to let
you confirm changes to your certificate trust settings, enter your Mac user name and
password and click the Update Setting button.
• Mozilla Firefox. If Mozilla Firefox displays a Your connection is not secure message,
click the ADVANCED button. Then, click the Add Exception button. In the pop-up
window that opens, click the Confirm Security Exception button and install a
security certificate.
 Loading...
