Attach the switch to a wall
To attach the switch to a wall, you need the wall-mount screws that are supplied
with the switch.
To attach the switch to a wall:
1. /RFDWHWKHWZRPRXQWKROHVRQWKHERWWRPSDQHORIWKHVZLWFK
2. Mark and drill two mounting holes in the wall where you want to mount the
switch.
The two mounting holes must be at a precise distance of 4.27 in. (108.4 mm)
from each other.
3. Insert the supplied anchors into the wall and tighten the supplied screws with
a No. 2 Phillips screwdriver.
Note: /HDYHDERXWLQPPRIHDFKVFUHZSURWUXGLQJIURPWKHZDOOVR
that you can insert the screws into the holes on the bottom panel.
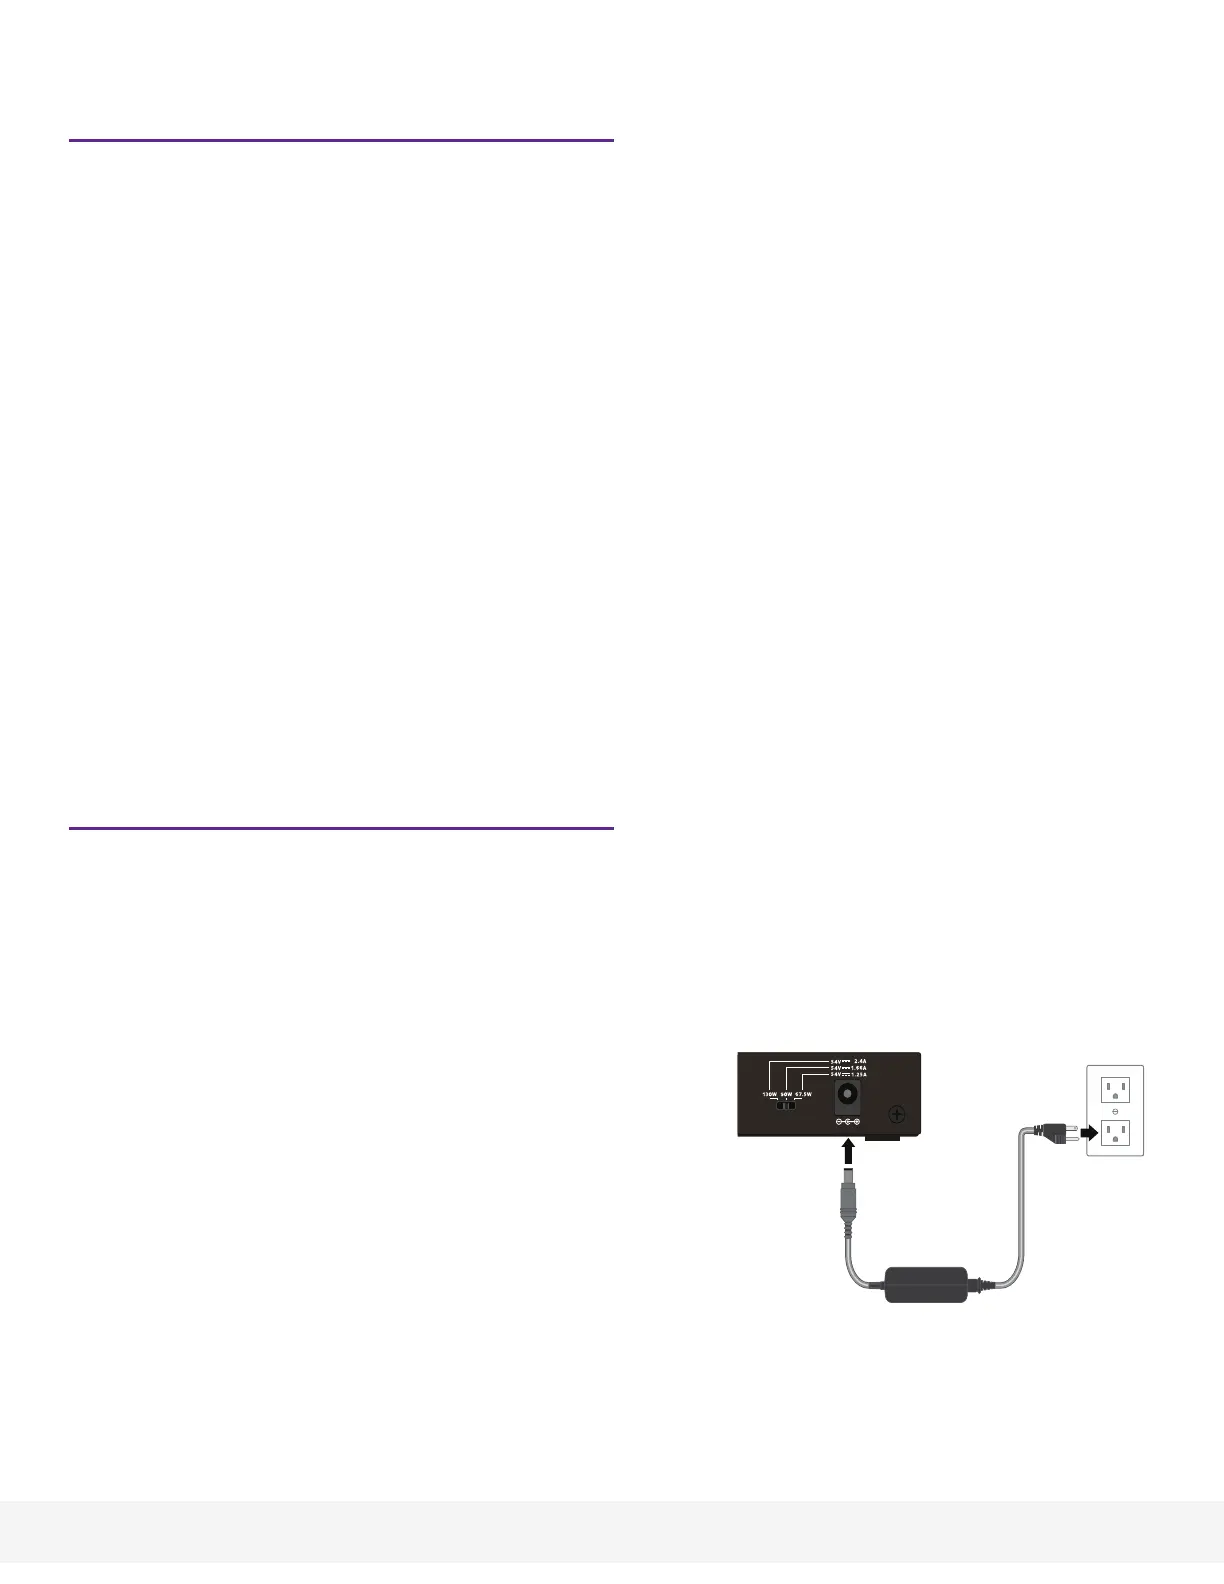
Change the switch’s PoE budget
You can move the slider on the back of the switch to increase or decrease the
PoE budget. You can increase the PoE budget if you buy a higher wattage power
supply. You also can move the slider to a PoE budget that is lower than the power
supply wattage. This reduces your switch’s power consumption. However, we
recommend using the slider setting that matches your power supply.
1. Power down the switch and disconnect the
power cord.
2. Move the slider to the setting that
corresponds to the wattage of the new power
adapter.
3. Connect the power cord and power on the
switch.