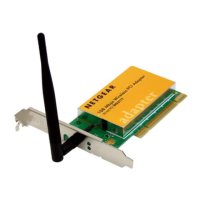
Installation Guide for the NETGEAR 108 Mbps Wireless PCI Adapter WG311T
2-10 Basic Setup
Configure your WG311T and save the
Profile.
a. Open the WG311T Smart Wireless
Settings Utility by clicking on the icon in
the Windows system tray. The utility
opens to the Settings page.
b. Change the Network Name SSID to
match your network.
Tip: As an alternative to typing in the
SSID, you can use the Network tab to
view the available wireless networks.
Double-click on the desired network.
c. Click the Apply button to activate the
connection.
d. Enter a name for your profile and click
the Save Profile button to store the
current settings.
Tip: If you use your notebook PC to
connect to a wireless network at work
and at home, create profiles called work
and home.
Note: This procedure assumes you are
connecting to a wireless network which is not
using WEP security. If your network includes
WEP settings, enter the security information
in the Security section. For help with these
steps, see “Enabling Wireless Security
Features” on page 3-8.
WG311T system tray icon
WG311T Configuration Utility
Note: The NETGEAR default settings are
Infrastructure mode, with ANY for the wireless
network name SSID, and WEP disabled.
Click here to open the configuration utility.
 Loading...