User Manual for the NETGEAR 54 Mbps Wireless PC Card WG511 v2
3-6 Configuring Wireless Adapter Settings
June 2005
2. Save your settings in a Profile.
a. Click the Save Profile button.
All the configuration settings are saved in this profile.
b. Click Apply.
c. Click Close to exit the configuration utility or Cancel to return to the previous settings.
3. Configure the PC network settings.
a. Configure each PC with either a static IP address or with the IPX protocol.
Note: For instructions on configuring static IP addresses, refer to the networking tutorial
on your NETGEAR 54 Mbps Wireless PC Card WG511 v2 Resource CD.
b. Restart the PCs.
4. Verify wireless connectivity between your peer devices.
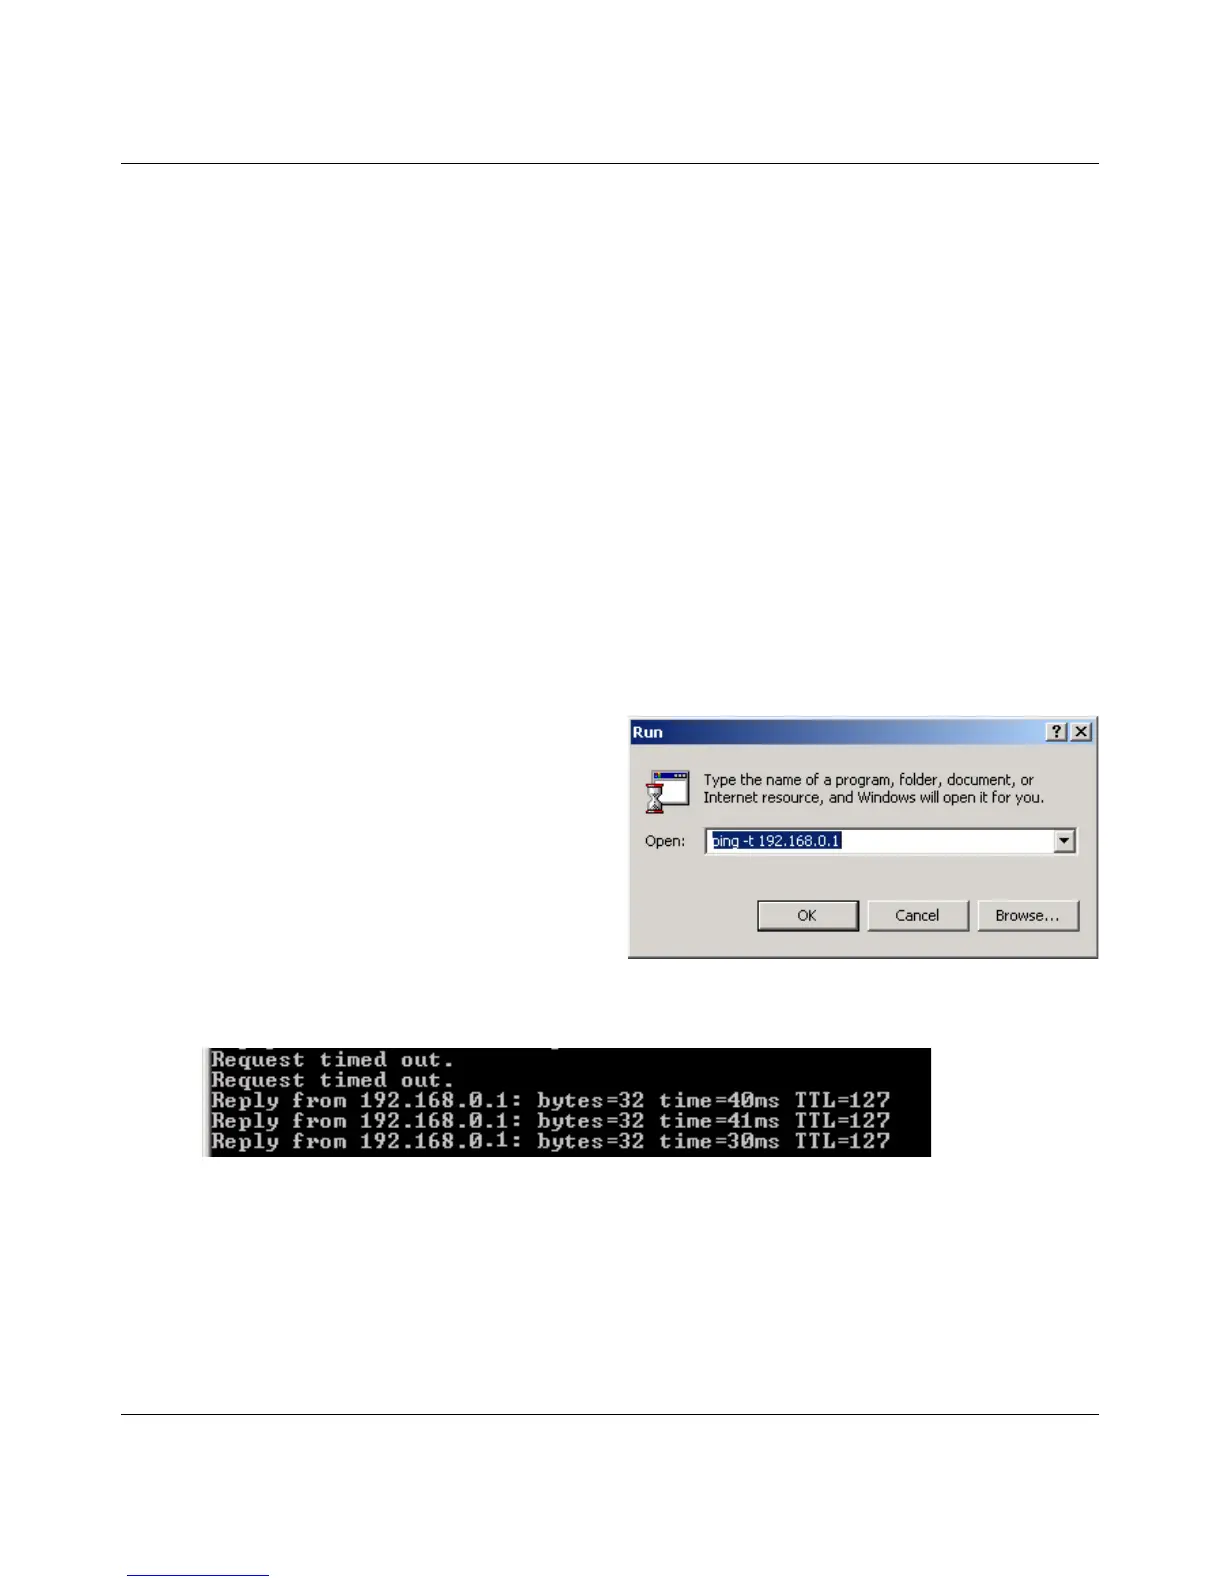
Verify connectivity by using the Ping program:
a. On the Windows taskbar click the Start
button, and then click Run.
b. Assuming the target PC is configured
with 192.168.0.1 as its IP address, type
ping -t 192.168.0.1 and then click
OK.
c. This will cause a continuous ping to be
sent to the device with the 192.168.0.1
static IP address. The ping response should change to “reply.”
At this point the connection is established.
You may need to reboot in certain Windows operating systems such as Windows 98SE.
Note: If you cannot connect, see “Removing the WG511 v2 Software” on page 2-10. Also, for
problems with accessing network resources, the Windows Client and File and Print Sharing
software might not be installed and configured properly on your computers. Please refer to
“Preparing Your Computers for TCP/IP Networking” on page C-1.
 Loading...