Pyrocam IV Operator’s Manual Document No. 50337-001 Rev F 2/21/2017 Page 36
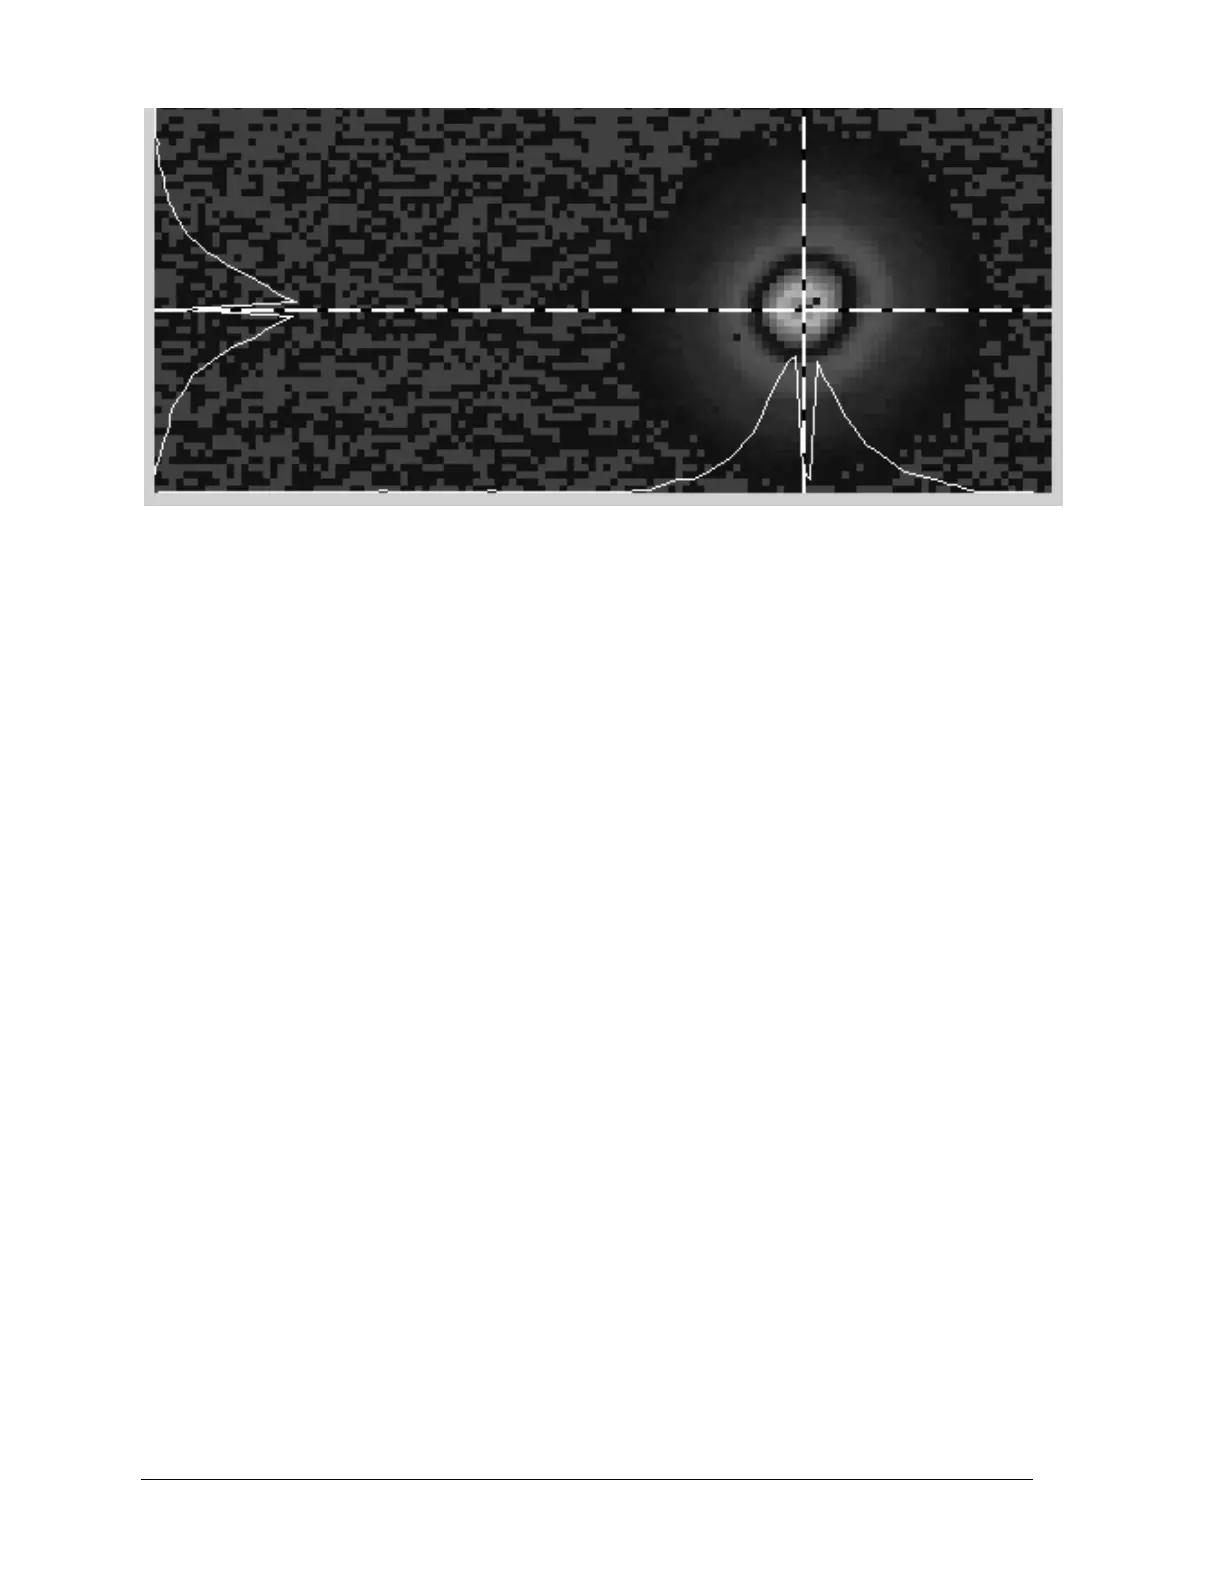
Figure C.1: A Bad Pixel Centered in the Cursors
STEP 4. Click Add Pixel to List to mark the newly identified bad pixel. Observe that
the pixel turns YELLOW, the “Available Pixels” counter decreases by one,
and the “Marked Pixels” counter will have increased by one.
NOTE: If you accidentally mark the wrong pixel, select the unwanted pixel from the Pixel
List and click Remove Pixel from List.
If more pixels need correction, repeat Steps 1 through 4 until all bad pixels are located
and marked. If not, proceed to Step 5.
STEP 5. To check the effects of the bad pixel mapping, disable the Bad Pixel
Correction Map button and enable Software Bad Pixel Correction. All
of the pixels marked as bad will now appear corrected. Translate the laser
around the detector and check the correction effects. If additional bad pixel
mapping is required, disable Software Bad Pixel Correction and return to
Step 1. If all appears well, proceed to Step 6.
STEP 6. To send the new bad pixel map to the Pyrocam Flash memory, click on the
Write Pixel List button. The mouse pointer will become an hourglass while
the new map is programmed into the Pyrocam. When it returns to an arrow,
the Flash programming has completed. Note: With small maps this happens
rather quickly.
STEP 7. If you want to save your new bad pixel map to a file (highly recommended),
enter a file name in the Save and Load section and click the Save button.
A standard file-naming window will appear. Make sure the file name is
correct, navigate to the desired save location, and click Save.
STEP 8. Close the Bad Pixel Correction Dialog window to end the bad pixel
mapping and correction process.
STEP 9. To check the effects of the updated bad pixel map, turn on bad pixel
correction in the Pyrocam by clicking on the Bad Pixel Correction button.
Observe the effects of the bad pixel correction in the 2D beam display. If all
went according to plan, the displayed image should show no visual
indications of defective pixels.
 Loading...