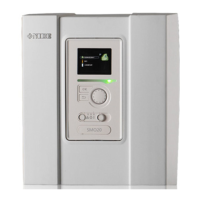
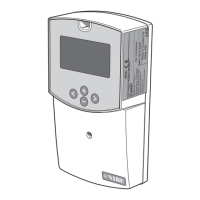
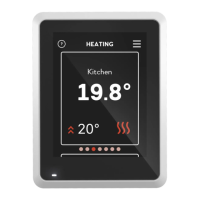
Room unit design
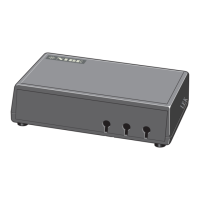
COMPONENT POSITIONS
LIST OF COMPONENTS
ELECTRICAL COMPONENTS
Display unitAA4
Space for memory card (Micro-SD)AA32
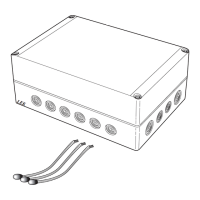
Terminal block, communication and voltageX1
Power supply, Micro-USBX5
SwitchS1
Designations according to standard EN 81346-2.
Electrical connection
NOTE
All electrical connections must be carried out
by an authorised electrician.
Electrical installation and wiring must be carried
out in accordance with the stipulations in force.
The climate unit must not be powered when
installing RMU S40.
CONNECTING COMMUNICATION
You can choose between wireless or wired connection
of your RMU S40.
WIRELESS CONNECTION
Select menu 5.4 - "Connect wireless units" in your main
product.
Follow the guide.
Power supply
RMU S40 is not battery powered. For the power supply,
you can use a mains adapter (12V) and connect it to
terminal block X5 (see section "Component positions").
Max. cable length for USB connection: 3 metres.
You can also connect your RMU S40 to your main unit
for power supply.
Power supply from S1155
Värmepump
RMU 40
AA2-X30
+12V
GND
B
A
4
3
2
1
4321
GND
B
A
+12V
Power supply from S1255 / VVM S320, VVM S325
RMU S40
Värmepump
B
A
GND
+12V
+12V
GND
B
A
1 2 3 4
1 432
AA2-X30
AA2-X30
RMU S40
Indoor module
Heat pump/
27NIBE RMU S40 | GB
 Loading...