Nikon
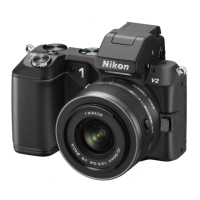
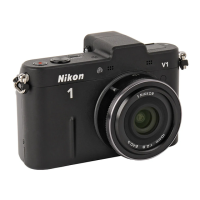
Nikon 1 Vl Digital Camera
with
Support
for
Interchangeable
Lenses
Quick
Start
Guide
This guide provides first-time users
with
information on setting
up
the
Nikon 1
Vl,
taking photographs, and installing and
using the supplied software. For
information
on
taking and
viewing photographs,
see
the
User~
Manual. For a complete
guide
to
using your digital camera,
see
the
Reference
Manual
(on reference manual
CD).
Additional information on using the
supplied software
can
be
found
using online help.
Digitutor
"Digitutor': a series of"watch-and-learn" manuals
in
movie form,
is
available
from
the
following
website:
http
://www.nikondigitutor.com/index_eng.html
Printed
in
China
SB1F01
(
11)
6MVA0977-07
111111
11
1111
1
11
Before
You
Begin
[]]
Unpack
the
camera.
Confirm
that
the package contains
the
following
items:
0 Nikon 1
V1
digital
camera
0 MH-25 battery
charger
(AC
wall
adapter
supplied
in
countnes
or
re(Jions
where
required;
shape
dependsoncountryof
sale)
0
AN-NlOOO
strap
0
ViewNX
2/Short Movie
Creator
CD
0 Quick Start Guide (this guide)
0
BS-N
1000
multi
accessory port cover
0
BF-NlOOO
body
cap
/
0
EG-CP14
audio/video
cable
a.
""
0
UC
-E6
USB
_..,;
~
cable
0
User's
Manual
0
Lens(with
front
and
rear
lens
caps)
0
Reference
manual
CD
(contains
the Reference Manual)
o warranty
Memory
cards
are
sold
separately.
11]
Charge
the
battery.
Plug
the
battery charger in and insert
the
battery. An
exhausted battery will fully charge in
about
two
hours
and
35
minutes. Unplug the charger and remove the
battery when charging
is
complete.
~
~~
-:.~::
:
="'1~?~
!
:::"'1
~~
Battery Charging
~
~
charging complete
Power
cable
7
~
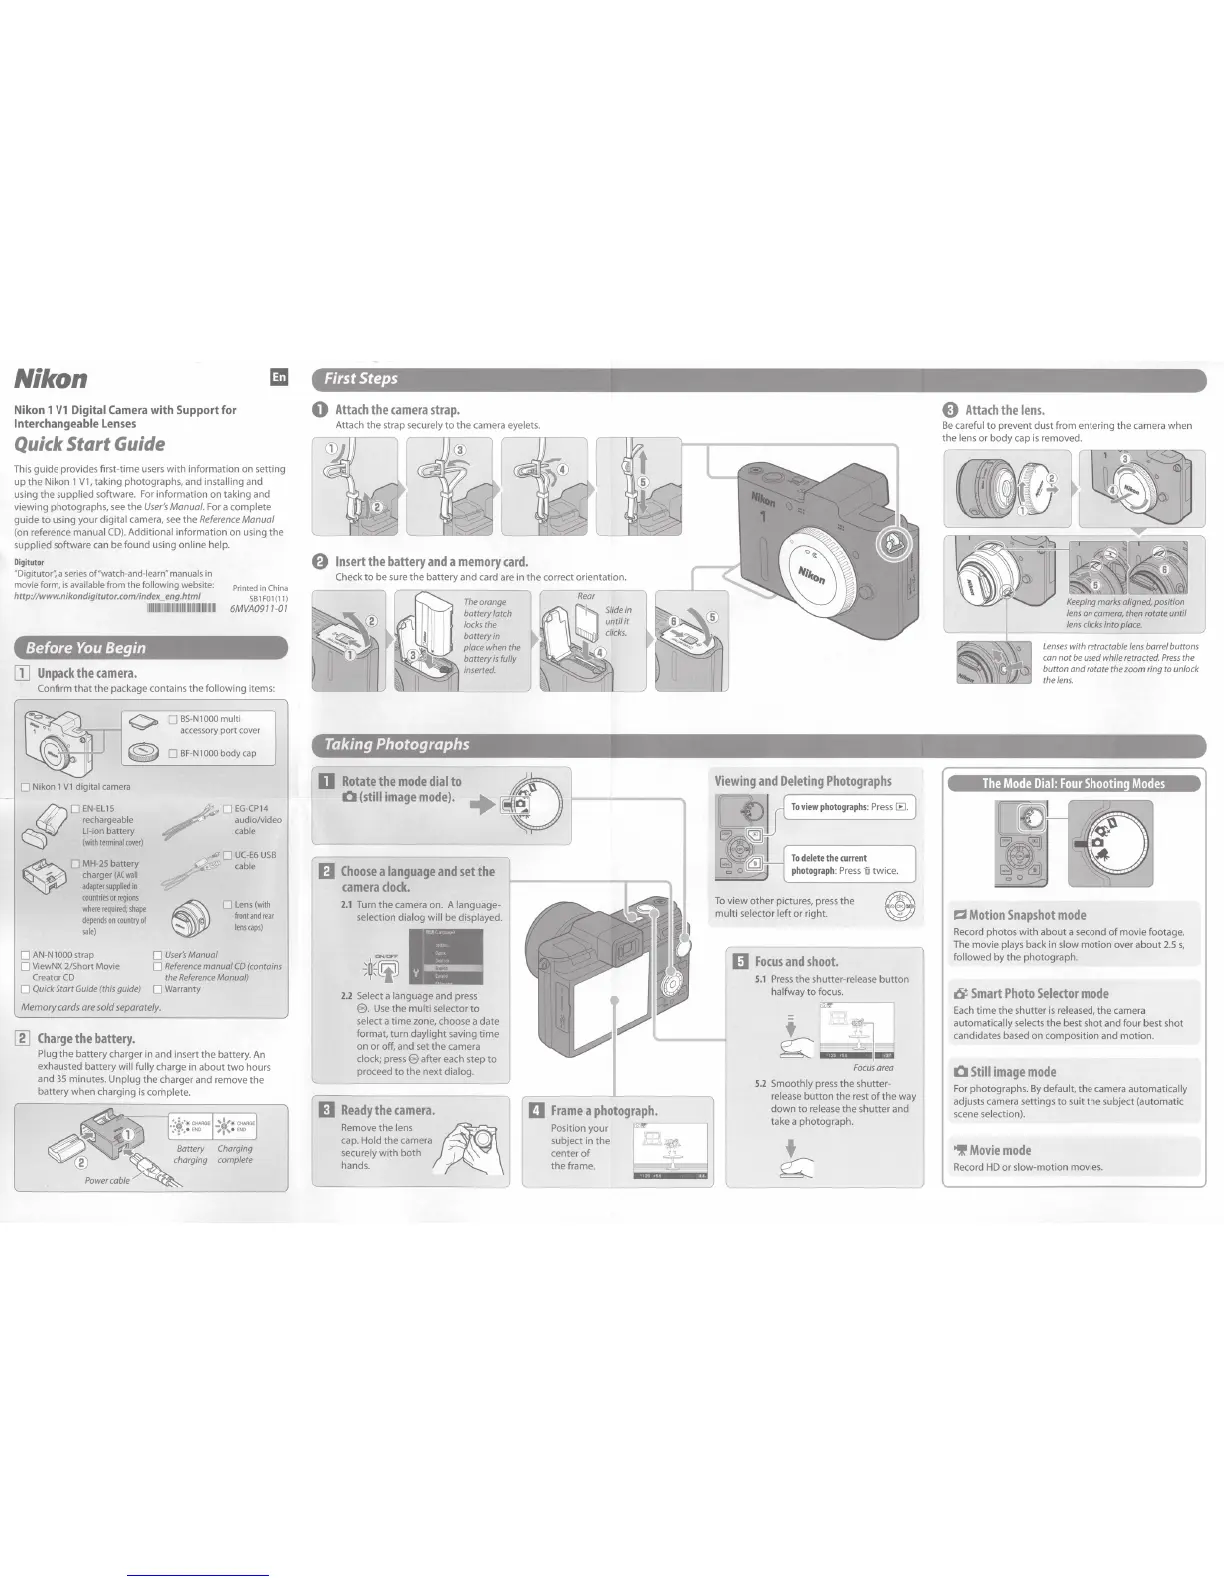
First Steps
0
Attach
the
camera
strap.
Attach the strap securely
to
the
camera eyelets.
Taking Photographs
D
Rotate
the
mode
dial
to
0
(still
image
mode).
fJ
Choose
a
language
and
set
the
camera
clock.
2.1
Turn
the
camera on. A language-
selection dialog will be displayed.
2.2
Select a language and press
@l.
Use
the
multi
selector
to
select a
time
zone, choose a date
format,
turn
daylight
saving
time
on
or
off, and set the camera
clock; press
@l
after each step
to
proceed
to
the
next
dialog.
D
Ready
the
camera.
Remove
the
lens
~
cap. Hold the camera 0
securely
with
both
hands.
0
Frame
a
photograph.
Position your
-~----,
subject in
the
center
of
the frame.
Viewing
and
Deleting
Photographs
To
view
photographs:
Press
lB.
To
delete
the
current
photograph:
Press
mi
twice.
To
view
other
pictures, press the
multi
selector left
or
right.
Ill
Focus
and
shoot.
5.1
Press
the
shutter-release
button
halfway
to
focus.
Focus
area
5.2
Smoothly press
the
shutter-
release
button
the rest
of
the
way
down
to
release the shutter and
take a photograph.
9
Attach
the
lens
.
Be
careful
to
prevent
dust
from
entering the camera when
the
lens
or
body
cap
is
removed.
Lenses
with retractable
lens
barrel
buttons
can
not
be
used
while
retracted.
Press
the
button and rotate the zoom
ring
to
unlock
the
lens.
The
Mode
Dial:
Four
Shooting
Modes
C3
Motion
Snapshot
mode
Record photos
with
about
a second
of
movie footage.
The movie plays back in slow
motion
over
about
2.5
s,
followed by
the
photograph
.
6
Smart
Photo
Selector
mode
Each
time
the
shutter
is
released,
the
camera
automatically selects the best shot and
four
best shot
candidates based
on
composition and
motion.
0
Still
image
mode
For photographs.
By
default,
the
camera automatically
adjusts camera settings
to
suit the subject (automatic
scene selection).
>If
Movie
mode
Record HD
or
slow-motion
movies.
 Loading...