Chapter 4 Connecting and Installing the Equipment
2 Installing the DS-U2
- 10 -
Figure A Figure B
2
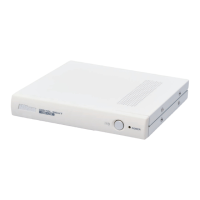
Installing the DS-U2
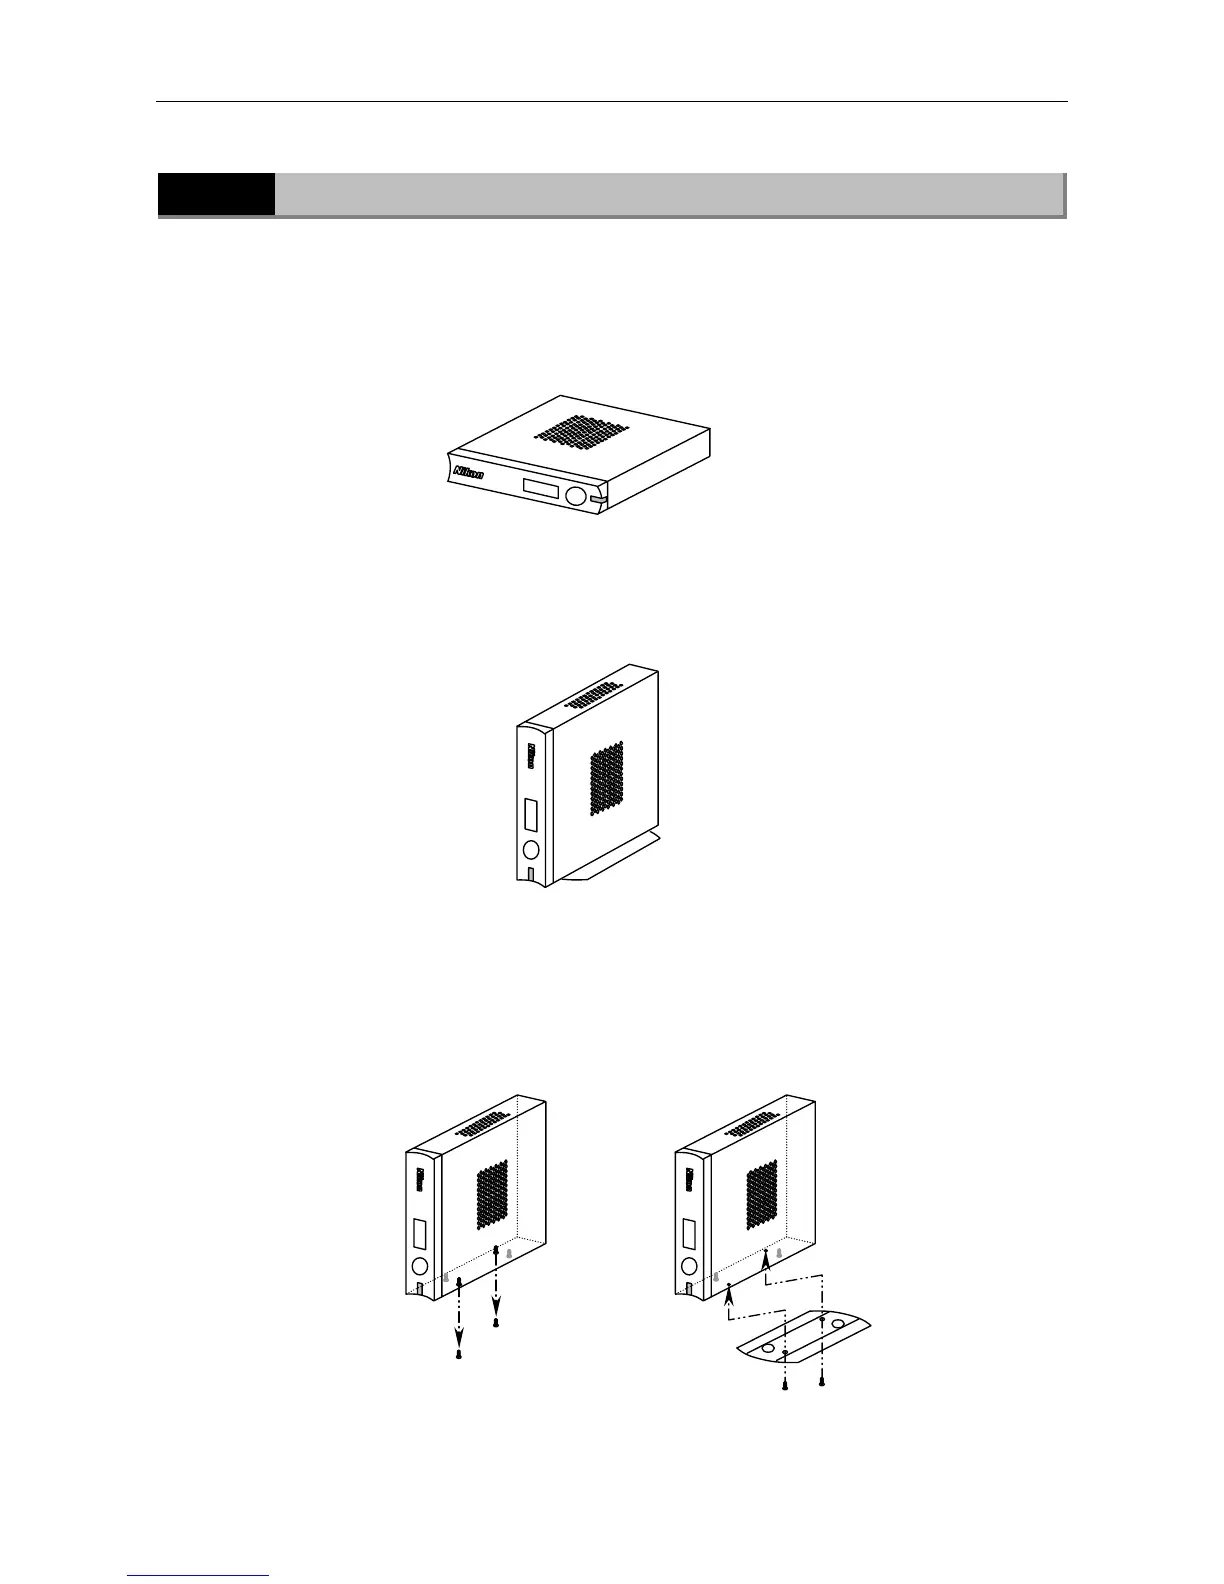
The DS-U2 can be positioned either horizontally or vertically.
• Horizontal installation
Set the DS-U2 horizontally on a flat surface.
Provide a clearance of approximately 100 mm around the product to dissipate heat.
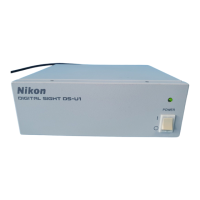
• Vertical installation
Attach the vertical stand to the DS-U2 for setting the product in the vertical position.
Set the DS-U2 vertically on a flat surface as shown below.
Provide a clearance of approximately 100 mm around the product to dissipate heat.
Attach the vertical stand as follows:
Remove the two screws at the upper front position and the lower rear position among four screws
on the right side of the DS-U2. (See Figure A below.)
Then, fix the stand to the right surface of the DS-U2 using the removed screws. (See Figure B
below.)
Use an M2.5-size Phillips driver to attach or detach screws.