Chapter 3 Assembly
77
Chap. 3
Assembly
7
Attaching a Camera
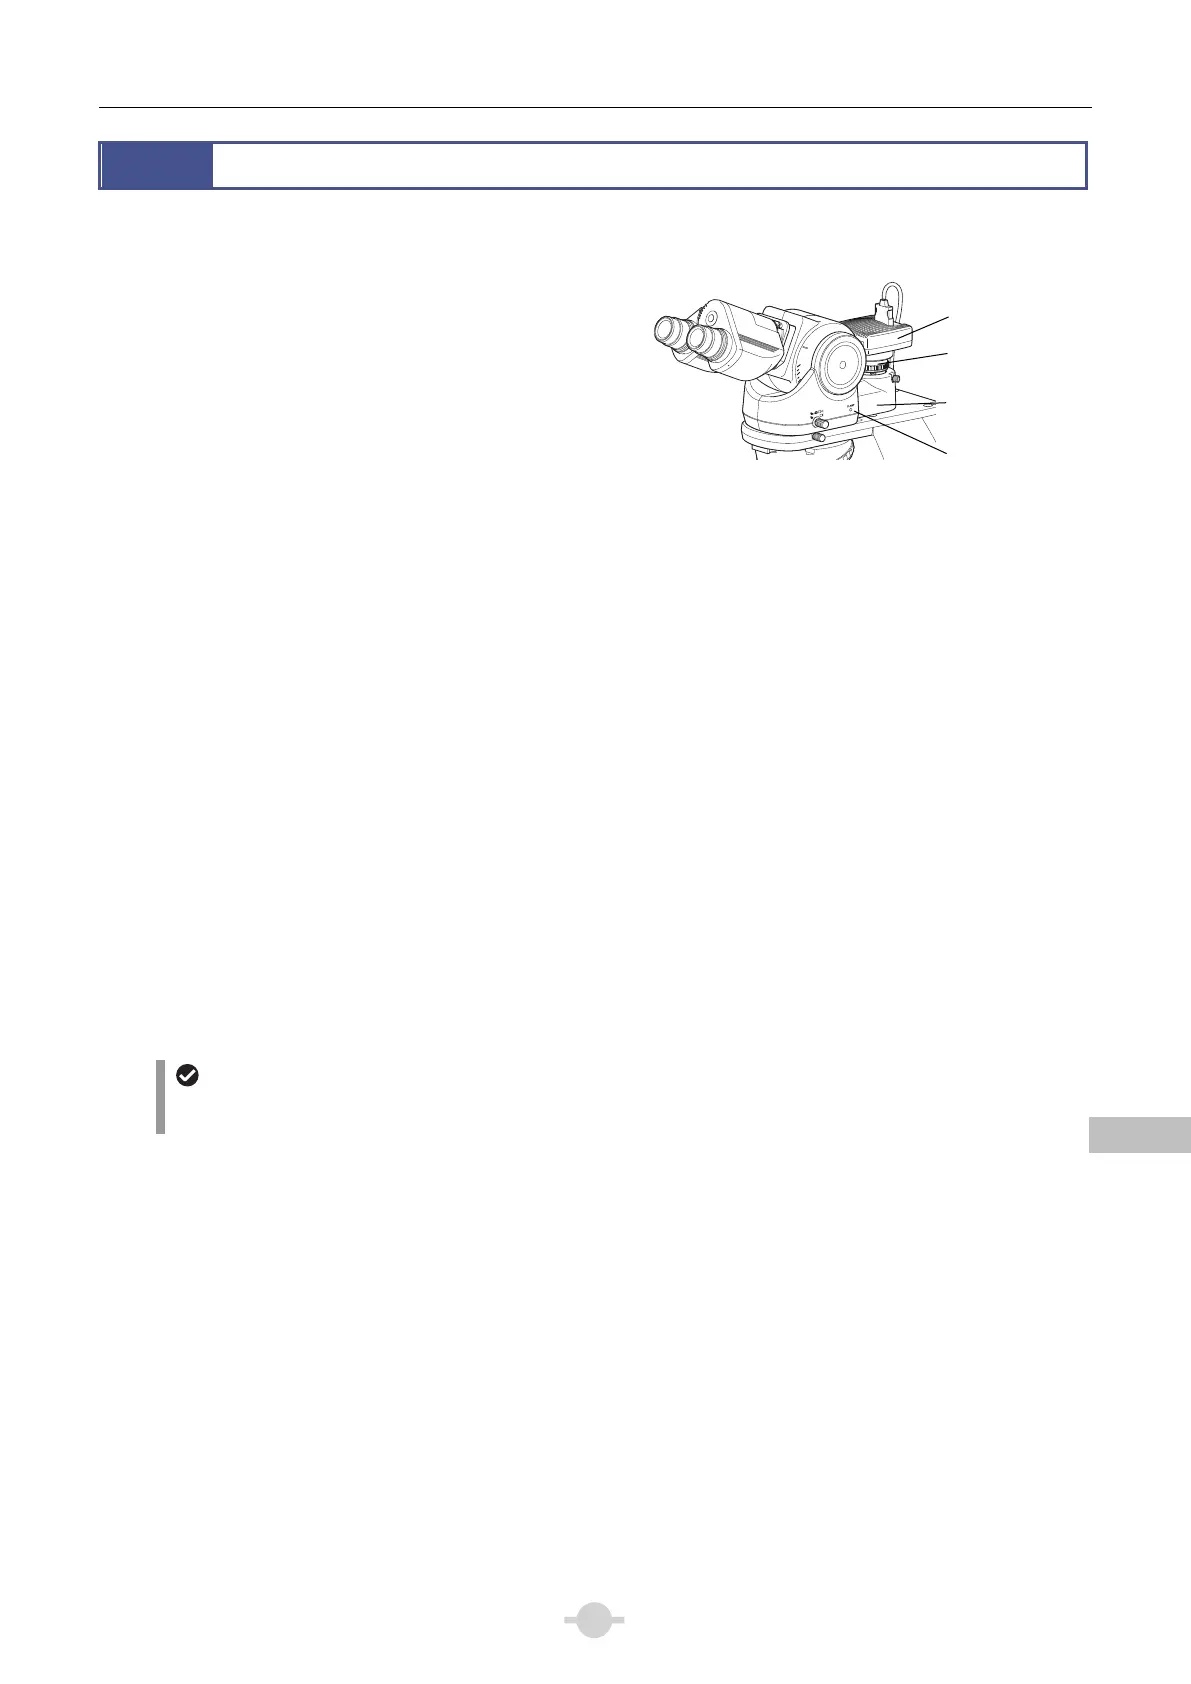
■ When attaching a camera head to the ergonomic tube
(1) Screw the camera head into the C mount on the DSC
port.
(2) Remove the rear cover of the ergonomic tube and
insert the DSC port.
(3) Secure the DSC port in place with the tool provided
with the microscope.
(4) Connect the camera head and a camera control unit.
When using the DS-L4 microscope camera control unit:
First, connect the DSC connector on the microscope
and the EXT.I/O connector of the DS camera head with
a camera trigger cable.
Next, connect the USB connector on the microscope
and the USB 2.0 connector on the DS-L4 with a USB
cable, and the USB 3.0 connector on the DS-L4 and
the USB (D) connector on the DS camera head with a
USB cable.
When using the DS-U3 digital camera control unit:
First, connect the DSC connector on the microscope
and the EXT.I/O connector on the DS-U3 with a camera
trigger cable
Next, connect the CAMERA 1 connector or CAMERA 2
connector of the DS-U3 and the CAMERA OUT
connector on the DS camera head with a DS camera
cable. Connect the DS-U3 to a PC to control the
camera on the application software.
For more information, read the instruction manual of
the camera and the camera control unit to be used.
Attaching a camera head
Notes when connecting cables
When connecting a camera trigger cable to the DSC
connector, insert it to the end.
Prior to photomicrography, adjust the camera position as
appropriate. (See Chapter 2, “18.1 Photomicroscopy”.)
■ Installing a camera head to the trinocular tube
Attach a C mount camera, ENG mount camera and a photomicrography device via an adapter to the trinocular tube.
Camera head
DSC port
fixing screw
Camera attached in place
DSC port
C-mount