II. Microscopy
35
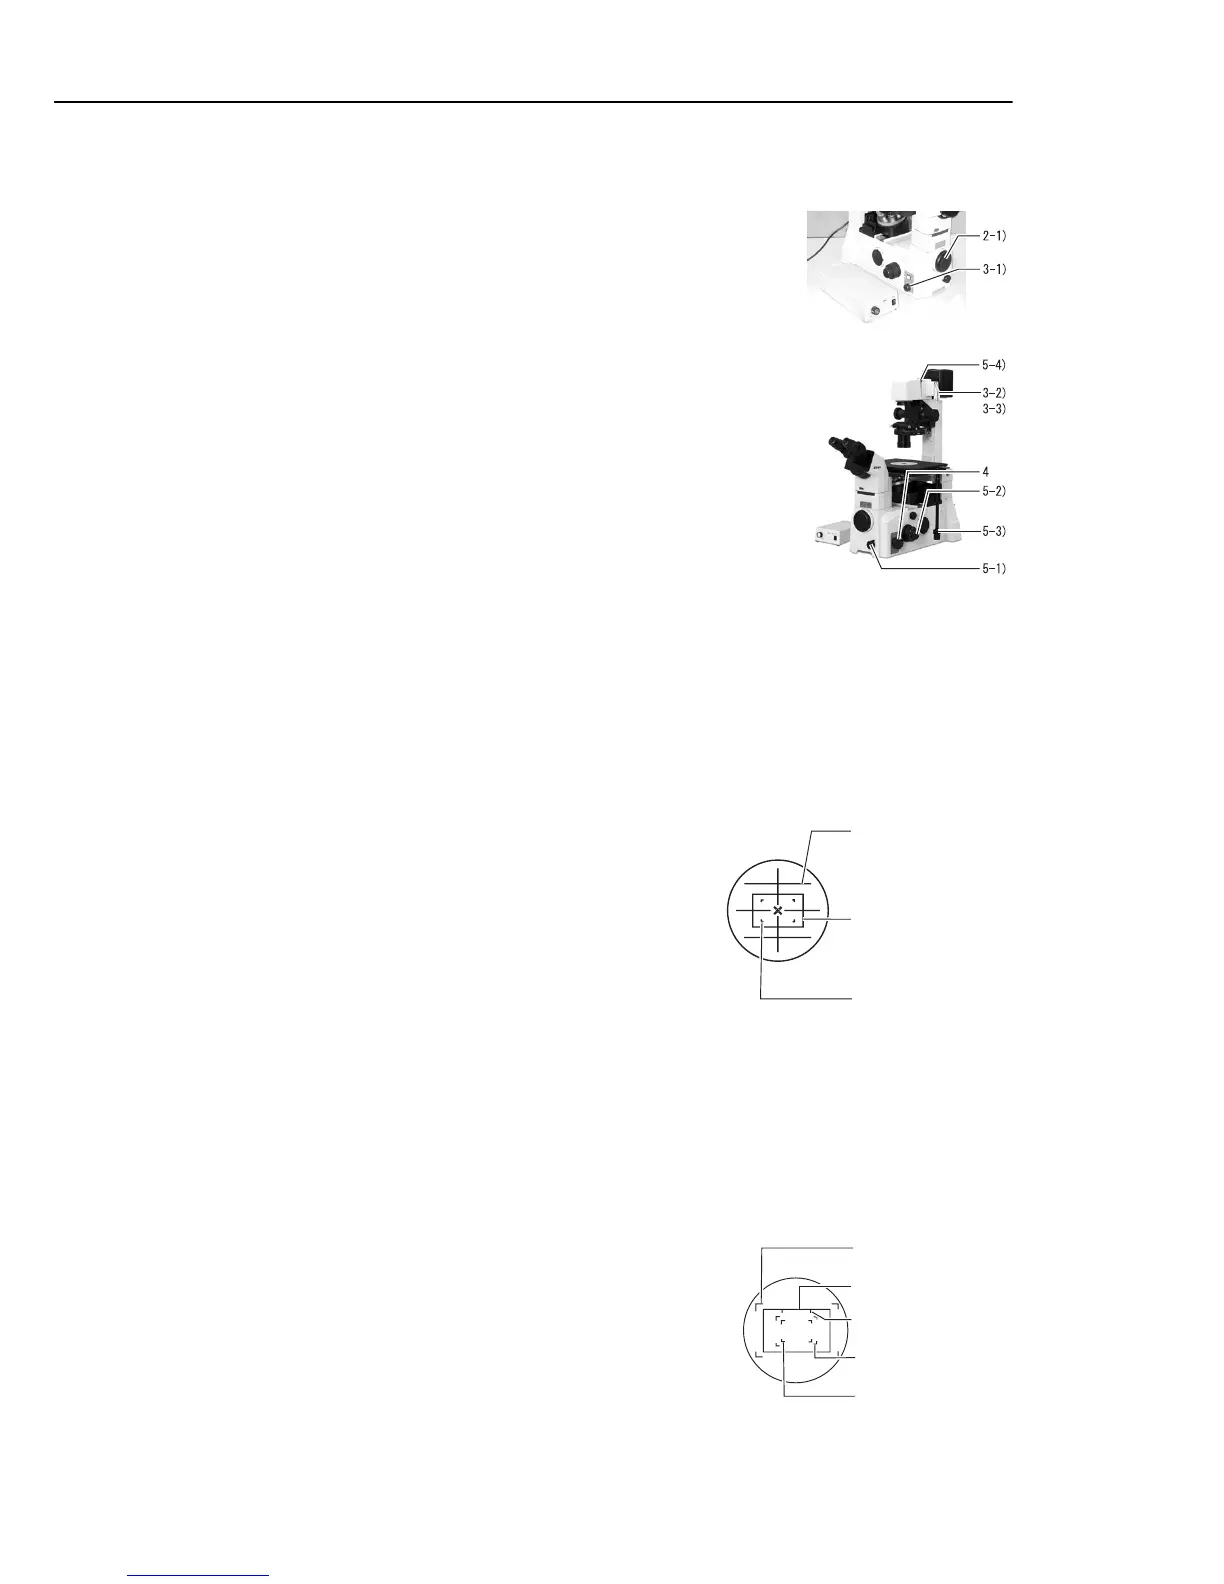
3. Adjust the lamp for color fidelity.
1) Set the “brightness adjustment dial” on the left side of the
microscope to the < 12V100W > indication.
2) Move the “NCB11 filter” on the dia-illuminator into the
optical path.
3) Move the “ND4 filter
on the dia-illuminator into the optical
path.
Supplementary information
If precise color fidelity is not required, such as when
monochromic film is used, the “brightness adjustment
dial” on the left side of the microscope can be set to any
position.
In the case of the “
, setting
the brightness adjustment dial to < 6V30W > and
moving the “NCB11 filter” into the optical path results in
optimum color fidelity.
4. Point the optical path toward the camera.
Set the “optical path switchover dial
on the right side of the
microscope to position < 4 >. (-> 20% light to the
observation port and 80% light to the front port)
Supplementary information
When the photographing device is attached to any port
other than the front port, distribute light to that port.
5. Decide on the picture composition and focus on the film
surface.
1) Turn the “photo-mask dial” on the front side of the
microscope counterclockwise to move the photo-mask into
the optical path.
2) Turn the “fine/coarse focus knob” on the microscope to
bring the specimen into focus.
Supplementary information
Setting the “eyepiece tube turret” to position < M >
facilitates the focusing process. Take care not to touch
the “diopter adjustment ring” of the eyepiece in this
step.
3) Adjust the position of the specimen so that the target area
is located within the photo frame.
4) Move the “field diaphragm lever” on the dia-illuminator so
that the field diaphragm image is slightly larger than the
photo frame.
Supplementary information
The TE2000-S is not equipped with a photo-mask.
Look into the finder of the photographing device to
confirm the photographing range and focus.
Installation of the optional “mask eyepiece” enables
you to see the approximate photographing range and
focus on the film using the eyepiece.
PL2X (35-mm full size)
PL4X (35-mm full size)
PL5X (35-mm full size)
PL2.5X (35-mm full size)
PL2.5X (35-mm half size)
View field of the mask eyepiece
For digital camera
on the front port
with T-BFA F-mount
adapter (1X)
For 35-mm single-lens
reflex camera
on the front port
with T-BSLR SLR
camera adapter (2.5X)
For digital camera
on the front port
with T-BDCA direct
C-mount adapter (2.5X)
Photo frame on photo-mask
 Loading...


