V. CHECKING AND ADJUSTMENT
39
V
CHECKING AND ADJUSTMENT
1. Plate Level
(Making the axis of the level vial at right angle to the vertical axis of the
instrument)
1) Checking
(1) Set up the instrument on the tripod and follow the leveling procedures
described on p.22, Chapter II-5.
(2) Rotate the alidade 180°.
(3) Check to see if the bubble remains in the center of the vial. If a
displacement is detected it should be adjusted. Refer to the
following adjustment procedure.
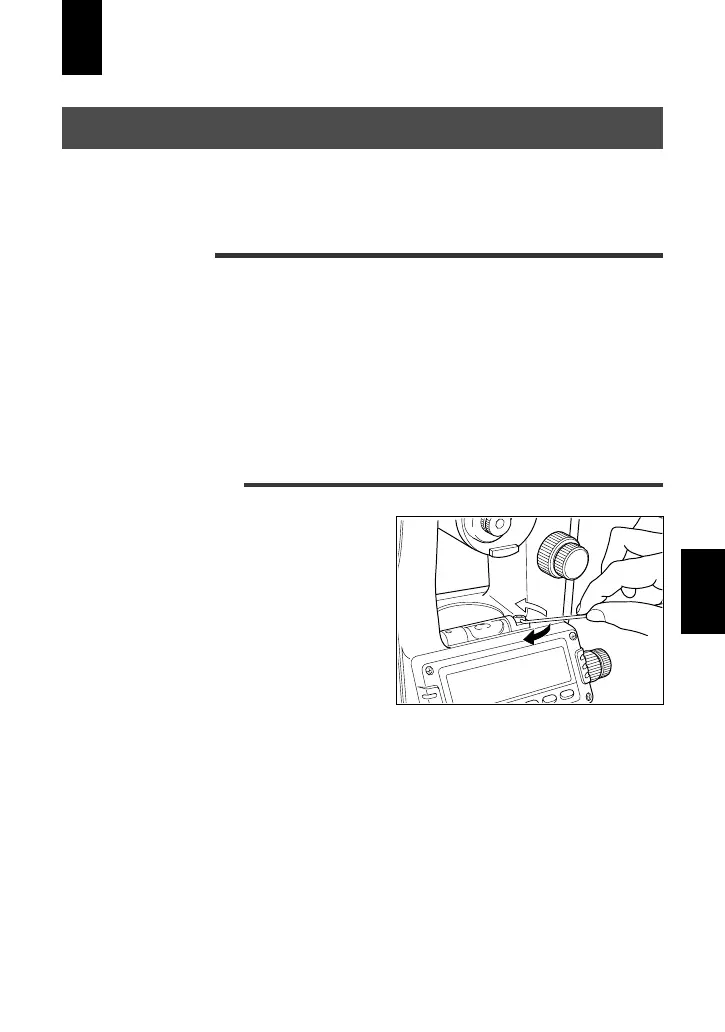
2) Adjustment
(1) Using the adjusting pin supplied,
rotate the plate level's adjustment
screw to move the bubble to
eliminate half of the displacement
detected.
(2) Take up the remaining
displacement with leveling screw
A (refer to Figure on p.22),
centering the bubble.
(3) Recheck, and repeat if necessary.