F
Service / Repair
NEPTUNE 1&2_EN_Ver.2.1_45/2014 74
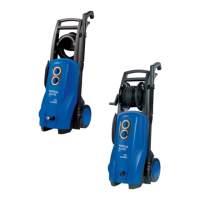
To take out the valves remove the six screw
plugs (17 mm wrench).
Pull out the valves by means of a nose pliers.
Bear in mind the o-ring.
Inspect valves/seats and replace if necessary.
Grease o-ring lightly.
Fig.F.13: Valve Block 3 ~ - Plug removal
Valve Maintenance 3~
Fig.F.14: Valve Block 3 ~ - Valve replacement
Inspect valves/seats and replace if
Necessary as described in Fig.F12.
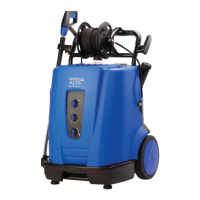
Fig.F.15: Valve Block – Valve replacement -
Grease O-rings lightly.
Place the valve in the valve chamber.
Press down firmly on top of the valve.
Fit screw plug applying Loctite 243.
Torque 44Nm (33ft.lbs).
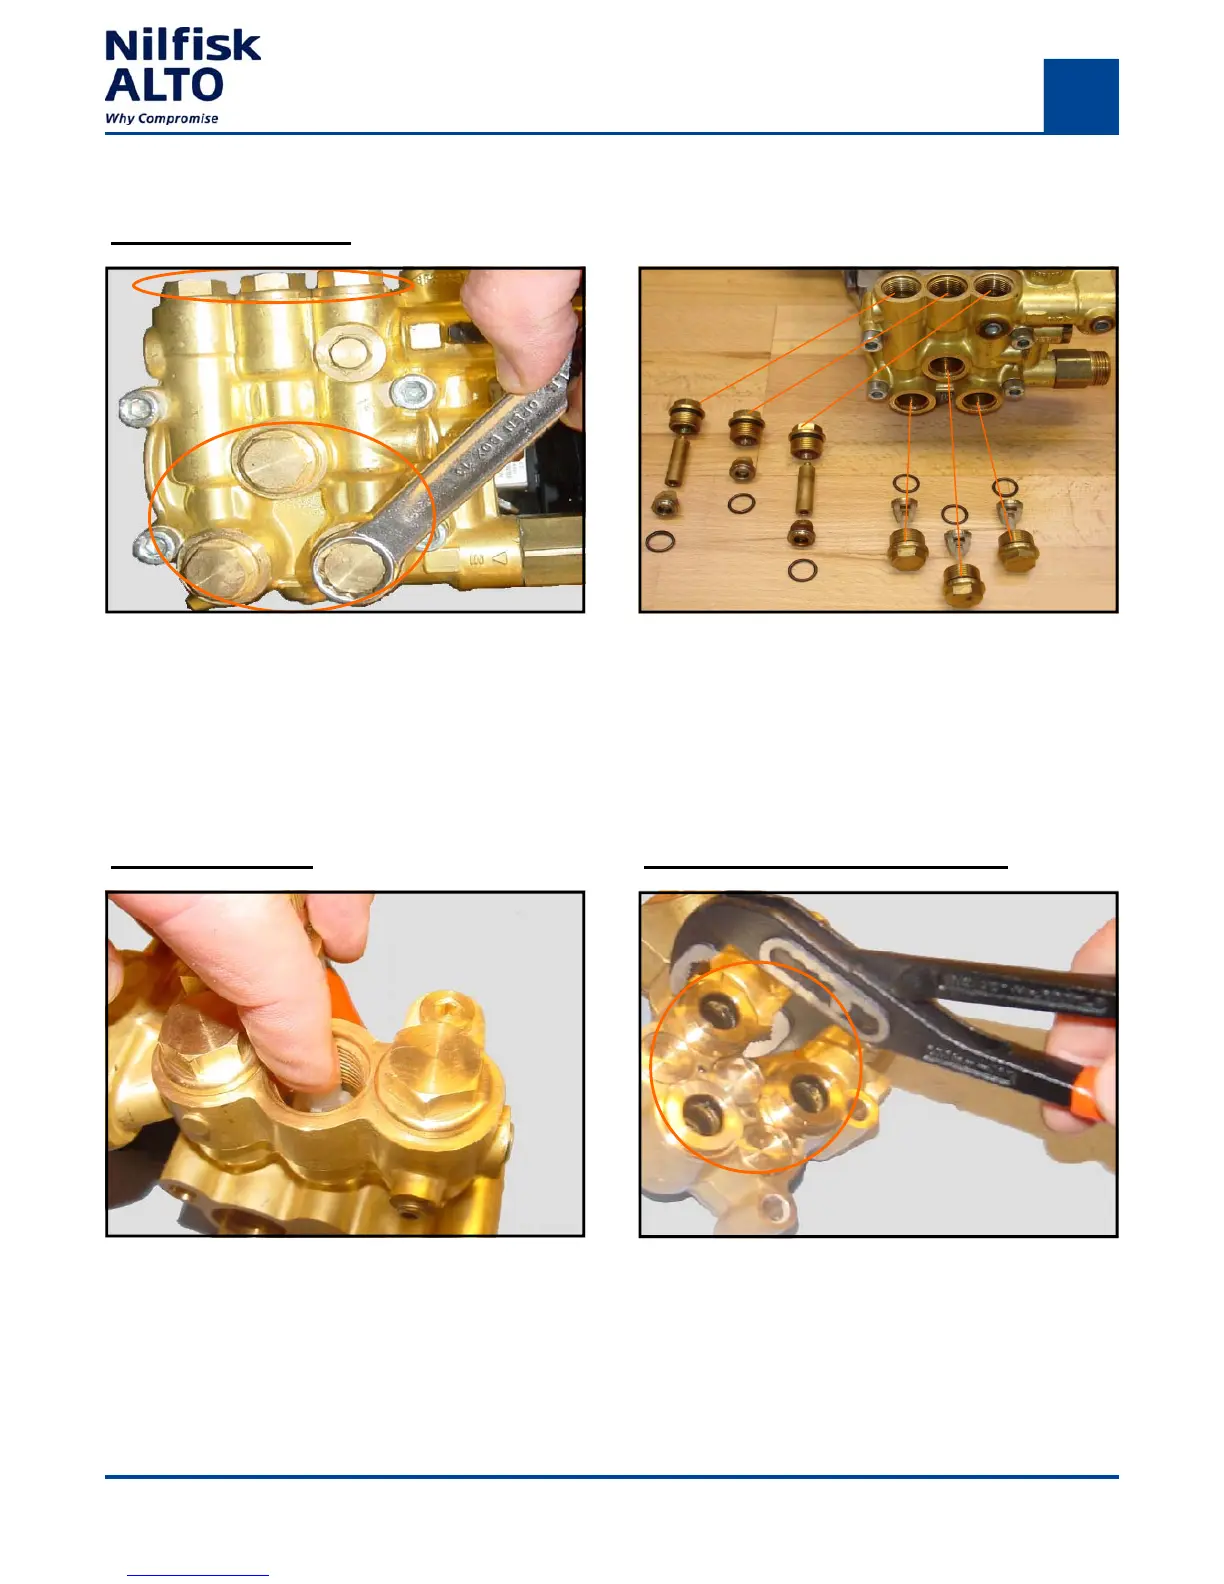
Valve Maintenance Seal and V - Packing Maintenance
Fig.F.16: Valve Block - Thrust Collar Removel
The seals and V - packings are identical for
the 1 ~ and 3 ~.
By use of a combination pliers remove the
thrust collar.
Beware not to damage the packing ring.
Inspect the seals and packings for wear and
replace them if necessary.
Neptune 2
 Loading...