6
Running a first test
Before you start developing, program and run a simple application on your development board to
ensure that the board functions as expected and the communication between your computer and your
development board works.
Before you begin, download the latest compatible version of the nRF5 SDK. For information about which
SDK supports which IC revisions, check the compatibility matrices.
The nRF5 SDK contains precompiled HEX files of the most common examples. Extract the zip file into a
folder of your choosing.
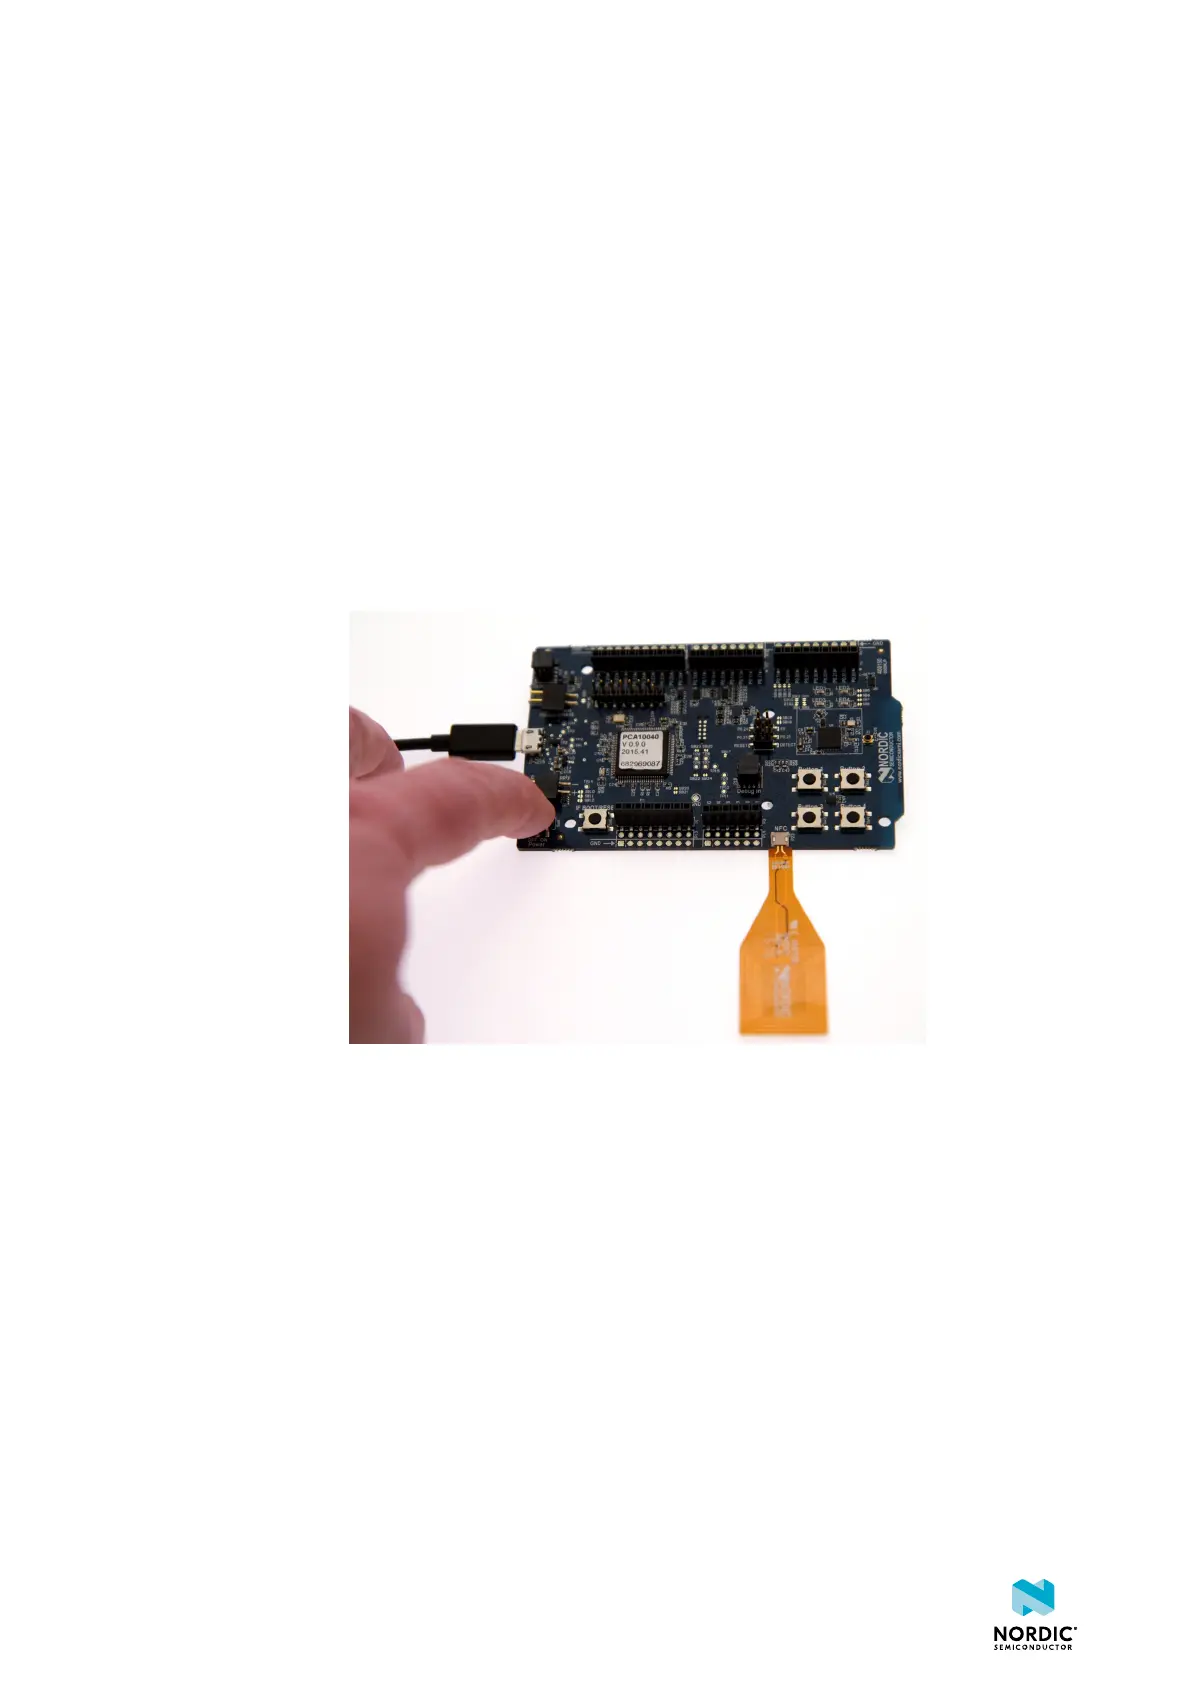
1. Power up the nRF5 Series development board:
a) Connect one end of a micro-USB 2.0 cable to the USB connector on the board and the other end to
one of your PC's USB host ports.
b) Slide the power switch to "ON".
Observe that LED1 starts blinking.
2. Open a file explorer and confirm that the development board has appeared as a removable drive
named "JLINK".
3. In the folder where you extracted the nRF5 SDK, navigate to examples\peripheral\blinky
\hex.
4. Select the HEX file that corresponds to your development board and copy it to the JLINK drive.
The development board will now restart and run the application.
If the LEDs on the board start blinking, you have successfully programmed your first application! Next,
continue to set up your development toolchain and program a more advanced application.
1159720_163 v1.1
9
 Loading...