Connecting & Disconnecting the Portable Battery
17 Connecting & Disconnecting the Portable Battery
The Optune
®
Treatment Kit comes with 4 rechargeable batteries. Batteries slide into the device. The battery should be
inserted until you hear a “click”, indicating the battery is in place. Take care not to drop the battery in place or force it
into the battery slot. Optune uses one battery at a time. The other three batteries should stay in the battery charger.
Each battery lasts 2 to 3 hours. Replace the battery each time it runs out (when the yellow low Battery indicator light
is on, as described in Section 22). If you plan to be away from home for more than 2 hours, carry extra batteries or a
power supply.
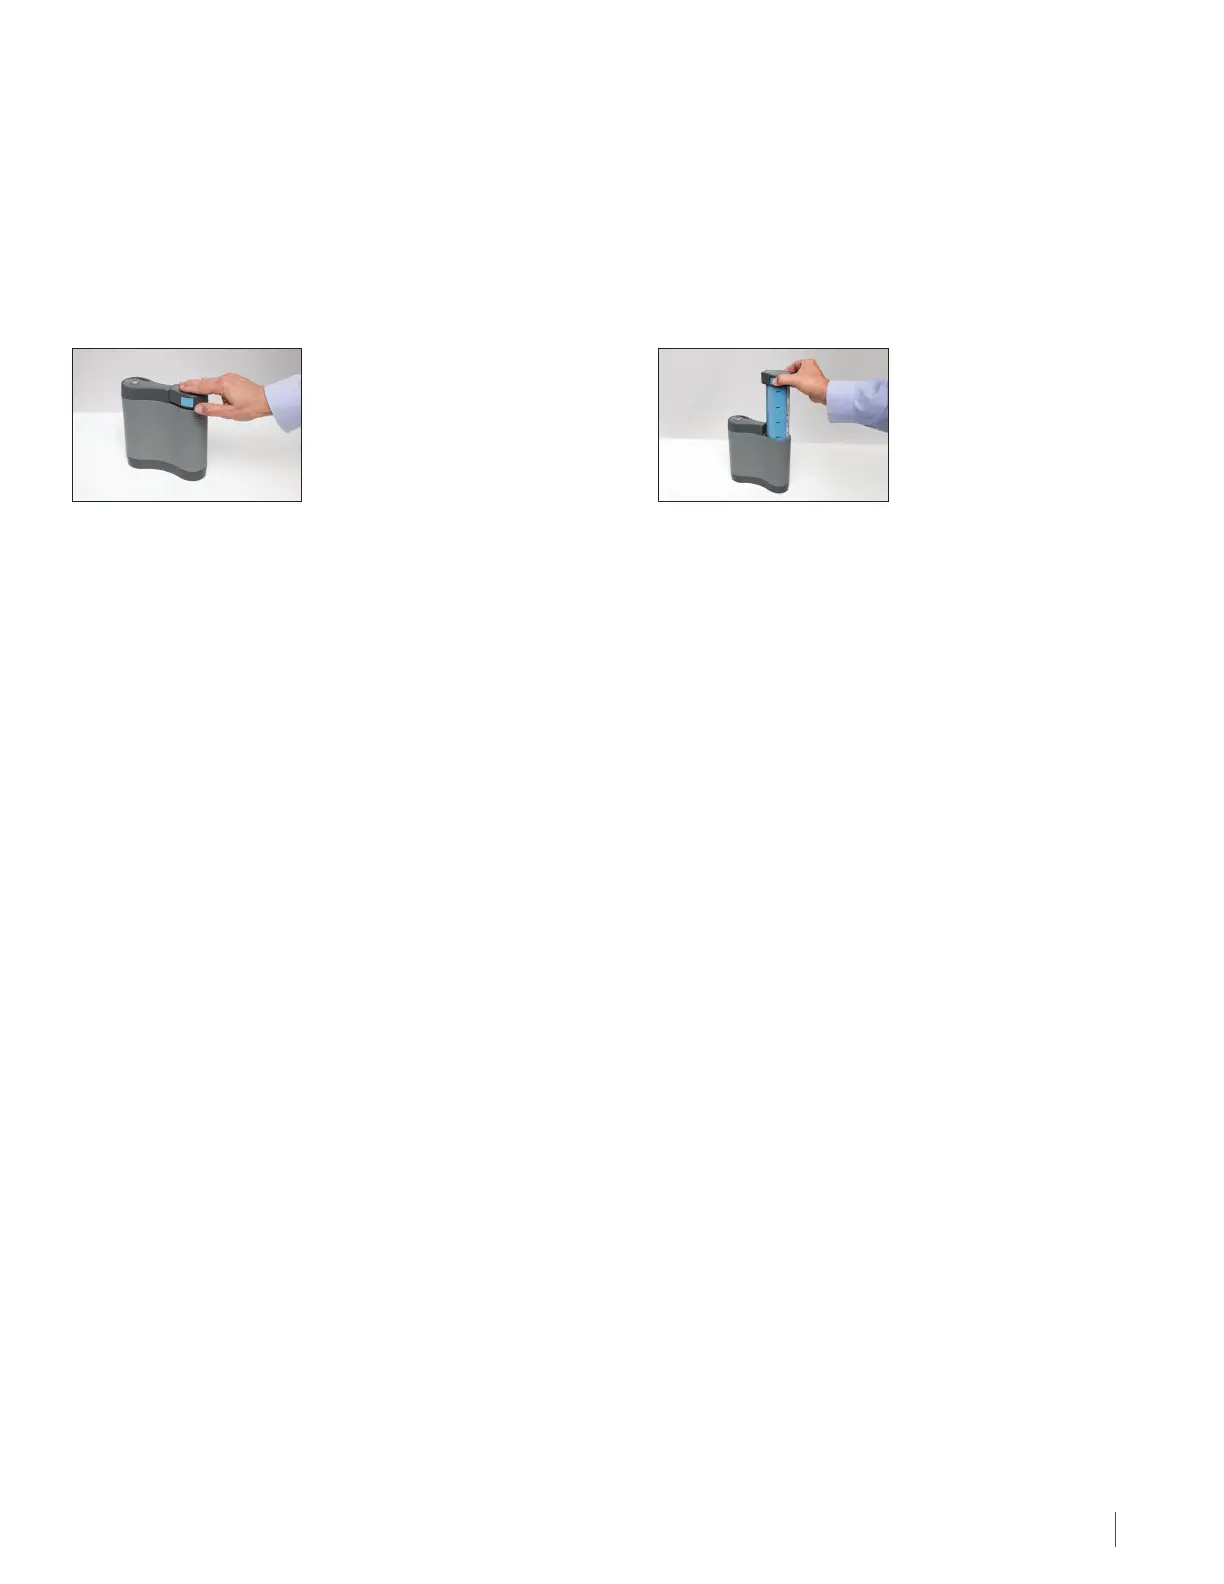
Gently press down to lock the
battery in place. Make sure the
battery latch is fully engaged.
The battery light will turn from green to yellow when the battery charge falls below a threshold. This is an indication
that the battery should be changed soon. The treatment will continue to run while the yellow low battery indicator
is illuminated until the audible alarm sounds and the red error light illuminates. Once this happens the treatment will
stop and the device must be turned o and the battery replaced.
When the yellow low Battery indicator light lights up, there are two ways you can replace the depleted battery with
a charged battery
Option One: (to be used if near the direct wall power supply) allows you to change the battery without interrupting
therapy. This can be used before the battery is completely depleted, and before the device has alarmed. Please follow
these steps:
1. Plug in the wall power supply to bottom of the Optune device. (See Section 19).
The lights on the display panel will indicate you are no longer running on battery power.
2. Remove the battery from the battery slot by pressing the blue buttons on the side of the battery and lifting
the battery cartridge out of the slot.
3. Select a fully charged battery from the charger or device bag.
4. Slide the fully charged battery in the battery slot, gently push down to lock the battery in place.
5. Remove the power cord from the bottom of the device.
The battery light on the display panel will illuminate indicating you are no longer running on wall power.
See the next section to check the battery gauge.
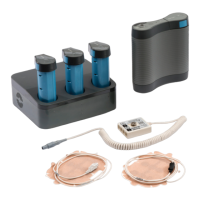
To remove the battery
from the slot, press both
blue buttons on the side
of the battery and lift up.
Recharge the batteries in the charger (see Section 18) for two to four hours. The batteries will keep most of their charge
after being removed from the charger for several days but eventually will lose their charge. It will not hurt the batteries
to keep them in the charger after they are fully charged so you can leave them there if they are not needed. You can
charge and use the batteries many times for about six to nine months. Over time, the length of time that the batteries
can run the device (before the yellow low battery indicator light illuminates and the alarm beeps) will get shorter. If the
time from treatment start with a full battery to low battery alarm falls below 90 minutes contact technical support (see
Section 27) to get replacement batteries.
22\\DC - 099263/000001 - 12620961 v1