12
7
Using the Ultrasonic Mode
7-1 Water System Setup
Using the Bottle
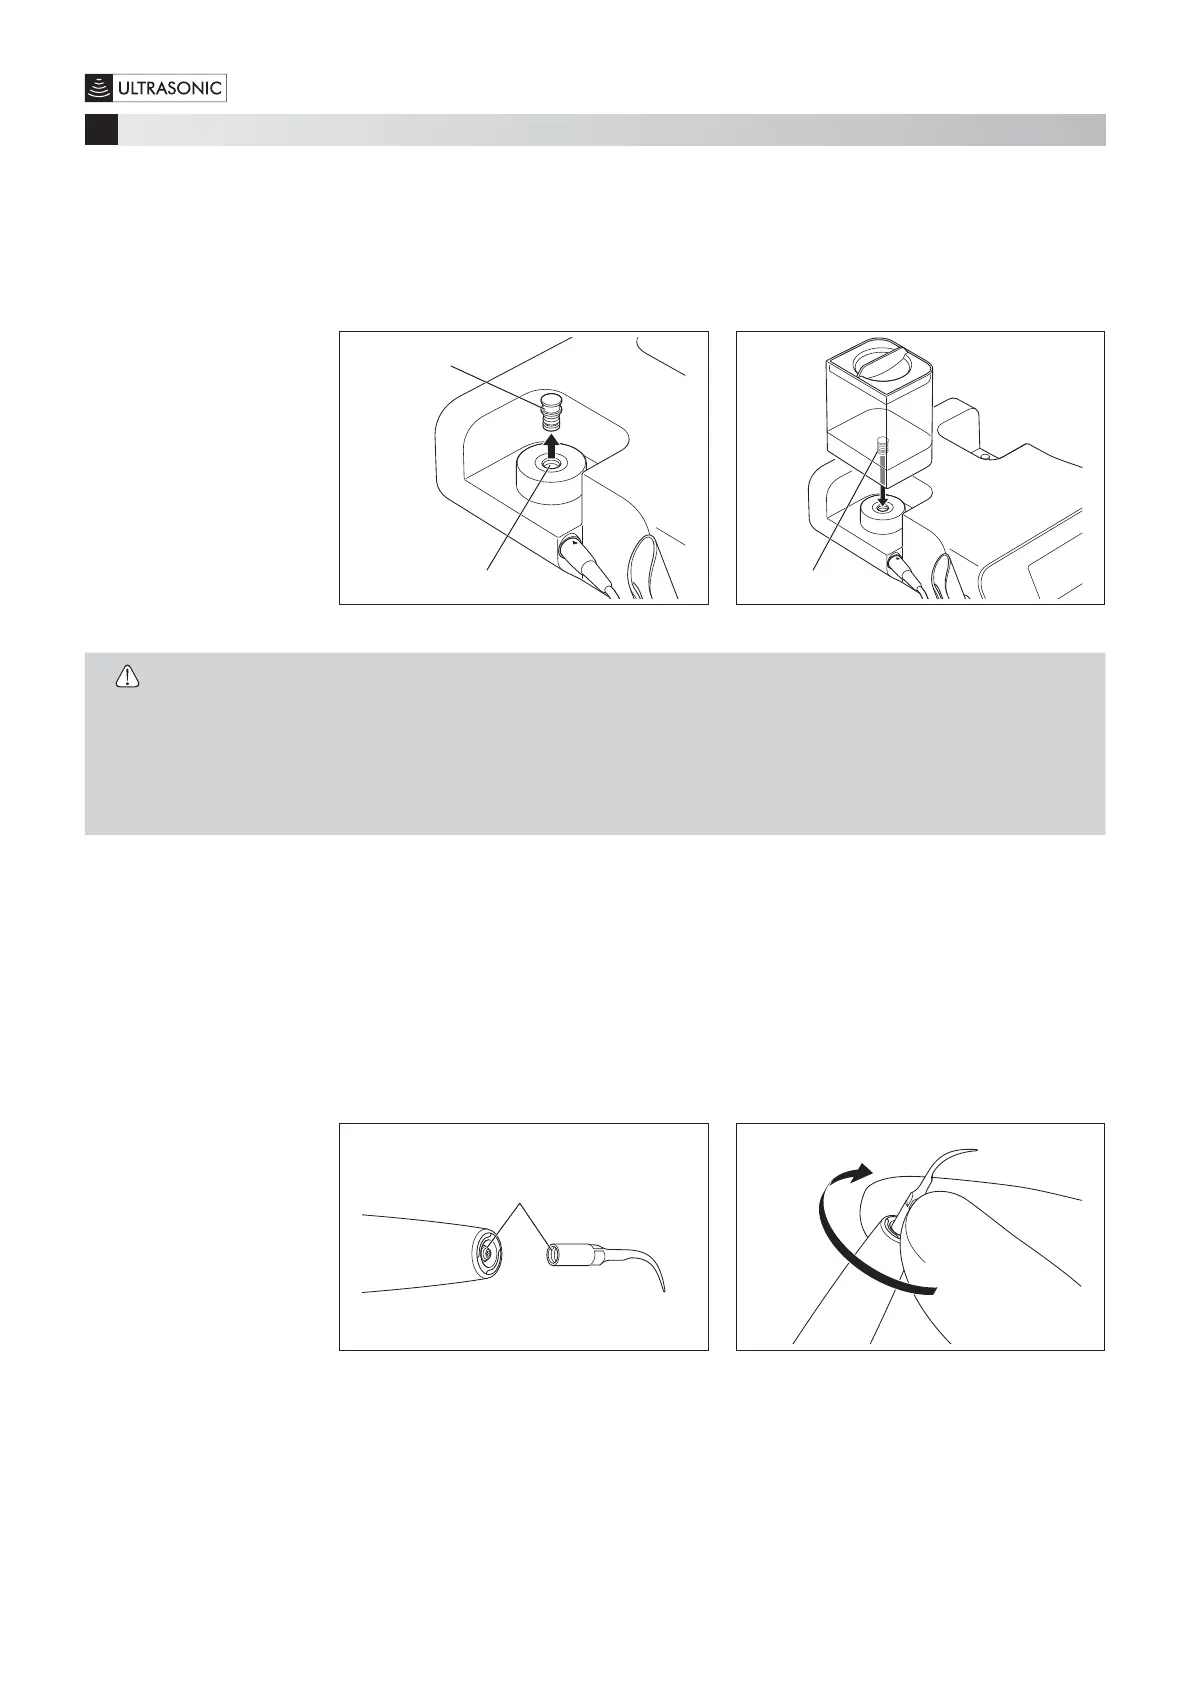
1) Remove the Dust Cover from the Irrigation Bottle Base Connector (Fig. 12).
2) Remove the Irrigation Bottle Cap and fill the Bottle water or disinfectant solution to the desired level.
3) Close the Irrigation Bottle Cap securely and insert the Bottle Joint straight into the Irrigation Bottle Base Connector (Fig. 13).
Pull the Irrigation Bottle straight up to remove it.
Dust Cover
Irrigation Bottle Base Connector
Fig. 12
Joint
Fig. 13
CAUTION
tOnly use the dedicated Varios Combi Pro series bottle.
tInsert the Irrigation Bottle straight. Failure to do so may damage the O-ring.
tClean the Irrigation Bottle and the Irrigation Bottle Cap with clean water after use and before storage.
tAttach the Dust Cover to the Irrigation Bottle Base Connector when the Irrigation Bottle is not mounted.
tEnsure the liquid temperature is below 35˚C.
tDo not put strong acids (such as highly acidic water, superacid water, or electrolysis water) or hypochlorous acid water in the
Irrigation Bottle as they may cause water clogging or metal corrosion.
Using Tap Water
1) Make sure that the Water Tube is firmly connected to the Water Tube Connector of the Control Unit. Refer to “5-7 Connecting the Water
Tube” for details.
2) Open the water valve of the dental unit and set the water pressure between 0.1 - 0.3MPa (1.0 - 3.0kgf/cm
2
). If the water pressure
exceeds 0.3MPa, use a Water Pressure Reducing Valve (option) to adjust the water pressure to within the specified range. Refer to “20
Option Parts List” for details about the water pressure reducing valve.
7-2 Mounting the Tip
1) Check that the screw parts of the Handpiece and Tip are clean (Fig. 14).
2) Push the Tip into the distal end of the Handpiece and screw the Tip until it is lightly tightened (Fig. 15).
Screw Part
Fig. 14
Fig. 15
 Loading...