Restoring the DGX-2 Software Image
DGX-2 System User Guide
51
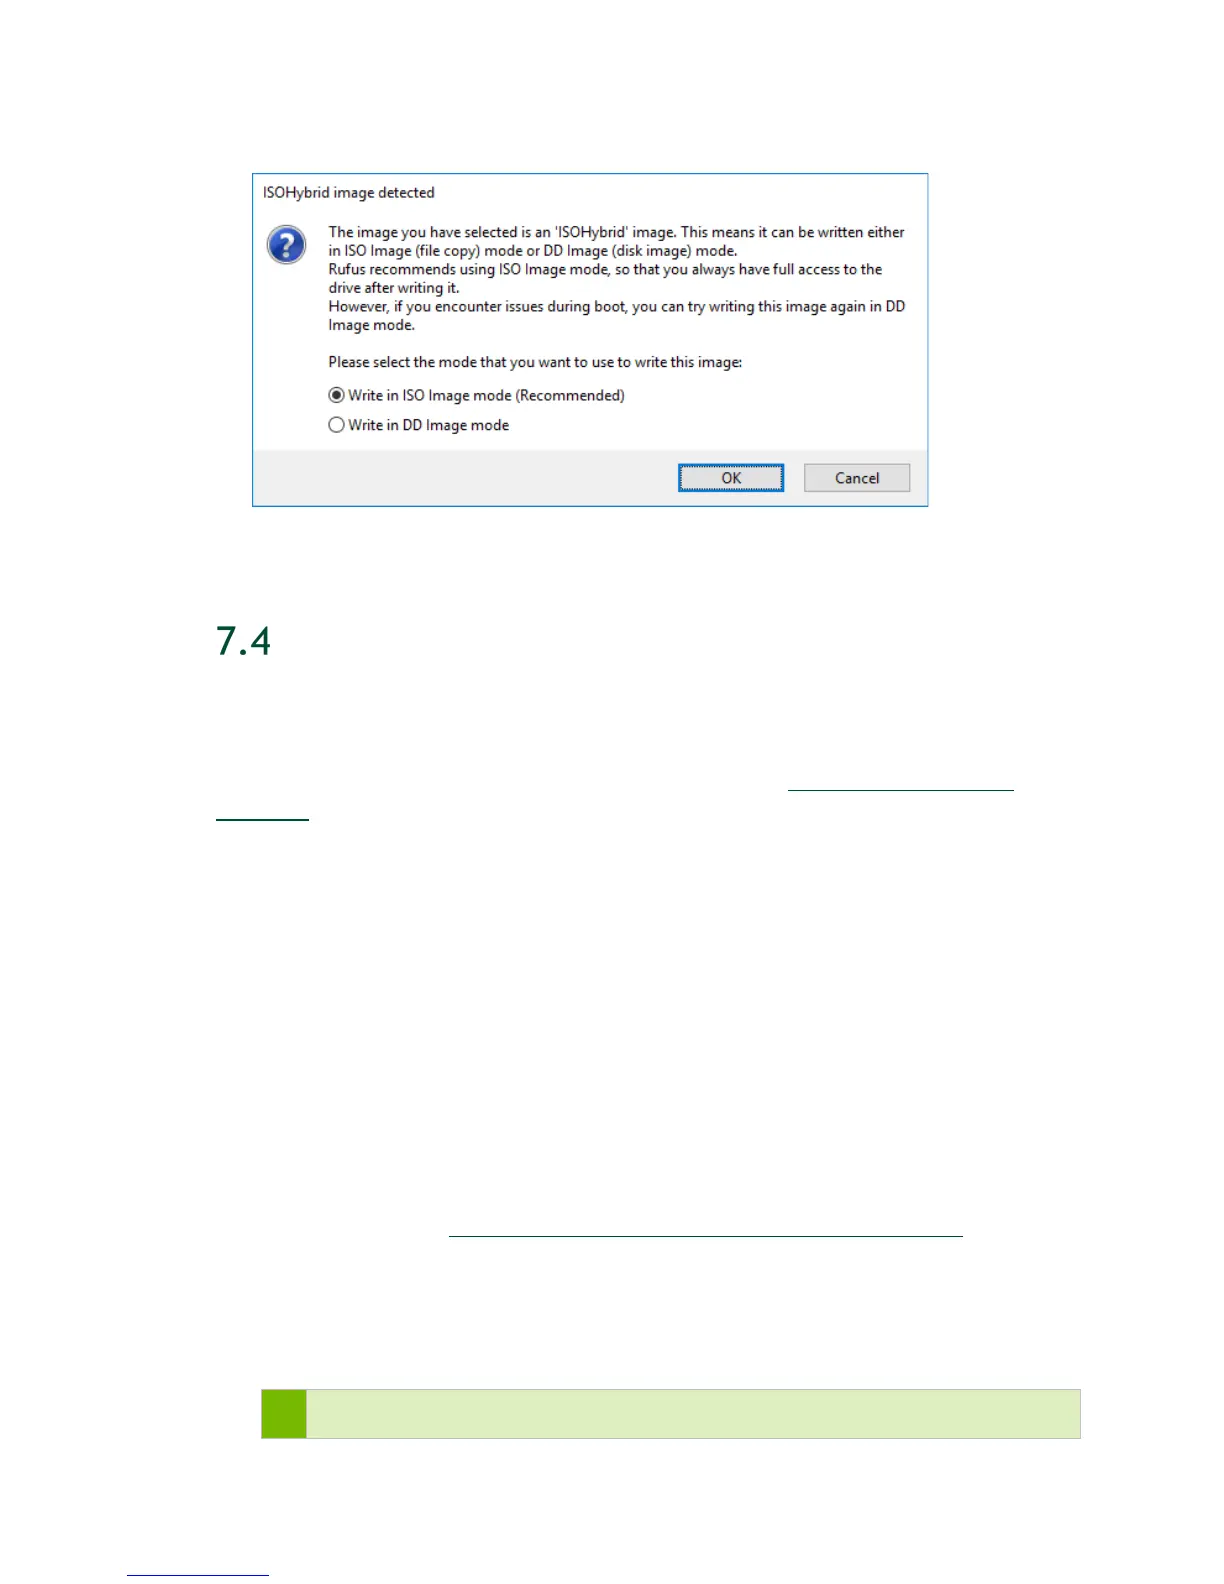
mode.
7. Select Write in ISO Image mode and click OK.
RE-IMAGING THE SYSTEM FROM A USB FLASH
DRIVE
These instructions describe how to re-image the system from a USB flash drive. For
information about how to restore the system remotely, see
Re-Imaging the System
Remotely.
Before re-imaging the system from a USB flash drive, ensure that you have a bootable
USB flash drive that contains the current
DGX-2 software image.
1. Plug the USB flash drive containing the OS image into the DGX-2 System.
2. Connect a monitor and keyboard directly to the DGX-2 System.
3. Boot the system and press F11 when the NVIDIA logo appears to get to the boot
menu.
4. Select the USB volume name that corresponds to the inserted USB flash drive, and
boot the system from it.
5. When the system boots up, select Install DGX Server on the startup screen.
If you are an advanced user who is not using the RAID disks as cache and want to
keep data on the RAID disks, then select
Install DGX Server without formatting
RAID.
See the section Retaining the RAID Partition While Installing the OS for more
information.
6. Press Enter.
The DGX-2 System will reboot and proceed to install the image. This can take more
than 15 minutes.
Note: The Mellanox InfiniBand driver installation may take up to 10 minutes.