EasyManua.ls Logo

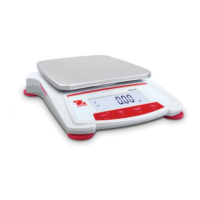
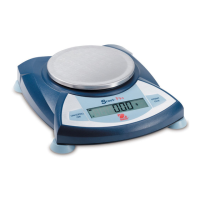
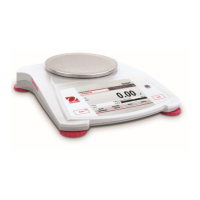
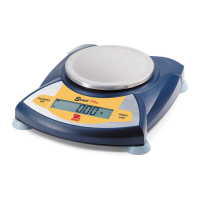
OHAUS Scout SPX User Manual

OHAUS Scout SPX
5 pages
To Next Page IconTo Next Page
Page #1 background imageLoading...
Page #1 background image
Quick Start Guide Scout
SPX Balances
Ohaus Corporation www.ohaus.com i Scout
SPX Balances
UNPACKING
Carefully remove your Scout balance and each of its components from the
package. Store the packaging material to ensure safe storage and future transport.
Included Components:
Balance
Pan
Quick Start Guide
Calibration Mass (only for models up to 620g
capacity)
Warranty Card
AC Adapter & Plug
SELECTING THE LOCATION
Place on a firm, steady surface with sufficient space. Avoid excessive air current,
vibrations, heat sources, or rapid temperature changes.
PREPARATION FOR USE
Step-1
Release the red Transportation
Lock on subplatform of the
balance
Turn the pointer 90 counter-
clockwise.
Step-2
Install the Pan
Rectangular pan: Place diagonally
on sub-platform and rotate
counter-clockwise until it locks.
Round pan: Set straight down on
subplatform.
Step-3
Connect Power
Connect the AC Adapter to the
balance input jack.
Battery Installation
Install the Four “AA” (LR6)
batteries (not included) with
polarity as shown in the battery
compartment.
Step-4
Level the balance
Level the balance before using by
adjusting the feet until level
bubble is center
AC Adapter Jack
Battery
Compartment
Transportation
Lock Pointer
Unlocked
Position
Locked
Position
Visit www.scaleman.com to purchase the Ohaus Scout SPX Scales
See the entire line of Ohaus Scales at www.balances.com
Question and Answer IconNeed help?

Do you have a question about the OHAUS Scout SPX and is the answer not in the manual?

OHAUS Scout SPX Specifications

General IconGeneral
BrandOHAUS
ModelScout SPX
CategoryScales
LanguageEnglish

Summary

UNPACKING

SELECTING THE LOCATION

PREPARATION FOR USE

Release Transportation Lock

Release the red transportation lock on the balance's subplatform by turning the pointer 90° counter-clockwise.

Install the Pan

Place the rectangular or round pan on the sub-platform and ensure it locks into place.

Connect Power

Connect the AC adapter to the balance and install batteries if needed.

Level the Balance

Adjust the balance feet to ensure the bubble is centered for accurate readings.

SAFETY PRECAUTIONS

General Safety Precautions

Read all safety warnings before installing, connecting, or servicing to prevent injury or damage.

CONTROLS

Button Functions

Details the functions of each button on the balance control panel.

CALIBRATION

Initiate Calibration Menu

Press and hold Menu until [MENU] is displayed.

Display Calibration Mode

Release button to show [C.A.L] and accept.

Accept Calibration Mode

Press Yes to accept [SPAN] display.

Begin Span Calibration

Press Yes to begin span calibration; zero reading is stored.

Perform Span Calibration

Place calibration mass, press Yes to accept weight or No for alternate.

OPERATION & APPLICATIONS

Supported Applications

Lists and describes applications like Weighing, Counting, Percent, Check, Totalization, and Hold.

MENU STRUCTURE

ADDITIONAL FEATURES

Connecting the Interface

Instructions for connecting the balance to external devices via optional kits.

Weigh Below Hook

COMPLIANCE

INSTRUCTION MANUAL

Related product manuals