3
Network Installation
Windows (cont’d)
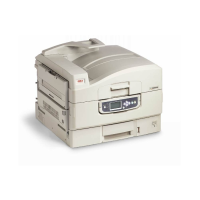
2 Connect the Ethernet Interface
1. Switch off the printer and computer.
2. Remove the protective cover from the network connector on
the printer.
3. Connect the Ethernet cable between the print and the
Ethernet hub.
3 Assign an IP address to the printer
If you are not using DHCP, you need to obtain an IP Address
from your network Administrator and enter it using the front
panel:
1. Confirm that the printer displays Ready to print.
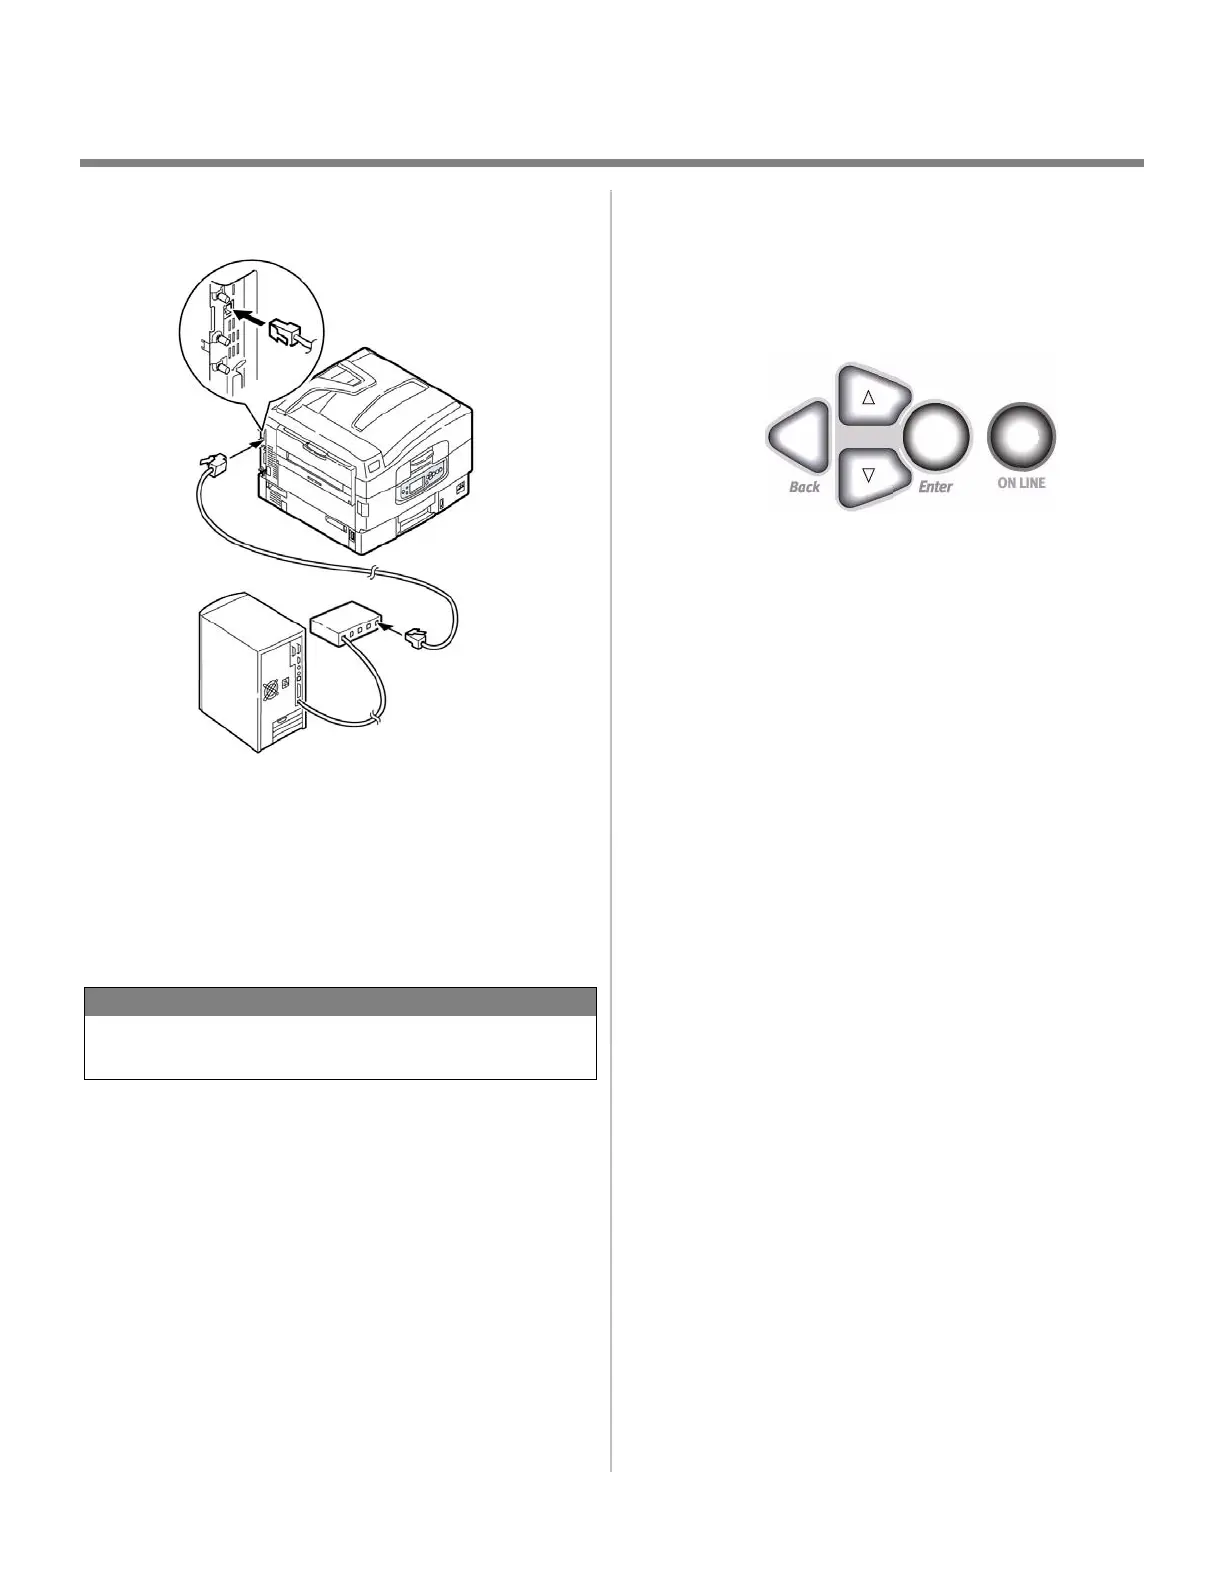
2. Press
∇ until Admin Setup displays.
3. Press
ENTER.
4. Enter the password.
Press either
∆ or ∇ to enter the first figure of the password.
Hold down the key more than two seconds to fast forward.
Press
ENTER to proceed to the next figure.
5. Press
ENTER again after completing the password.
6. Press
∆ until Network Setup displays.
7. Press
ENTER. Slot1: 100/10 Base displays.
8. Press
ENTER.
9. Press
∇ until IP Address displays.
10. Press
ENTER.
11. Press either
∆ or ∇ to set the first figure of the IP address.
Hold down the key more than two seconds to fast forward.
12. Press
ENTER to proceed to the next character.
13. Repeat steps 11 through 12 to set all digits.
14. Press
䊴 and repeat steps 9 through 13 to set the “subnet
Mask” and “Gateway Address.”
15. Press
ONLINE until Ready to print displays.
NOTE
For more information, see the Print Server User’s Guide
on CD2.
 Loading...