- 74 -
Scanning to Shared Folder
4
Scanning
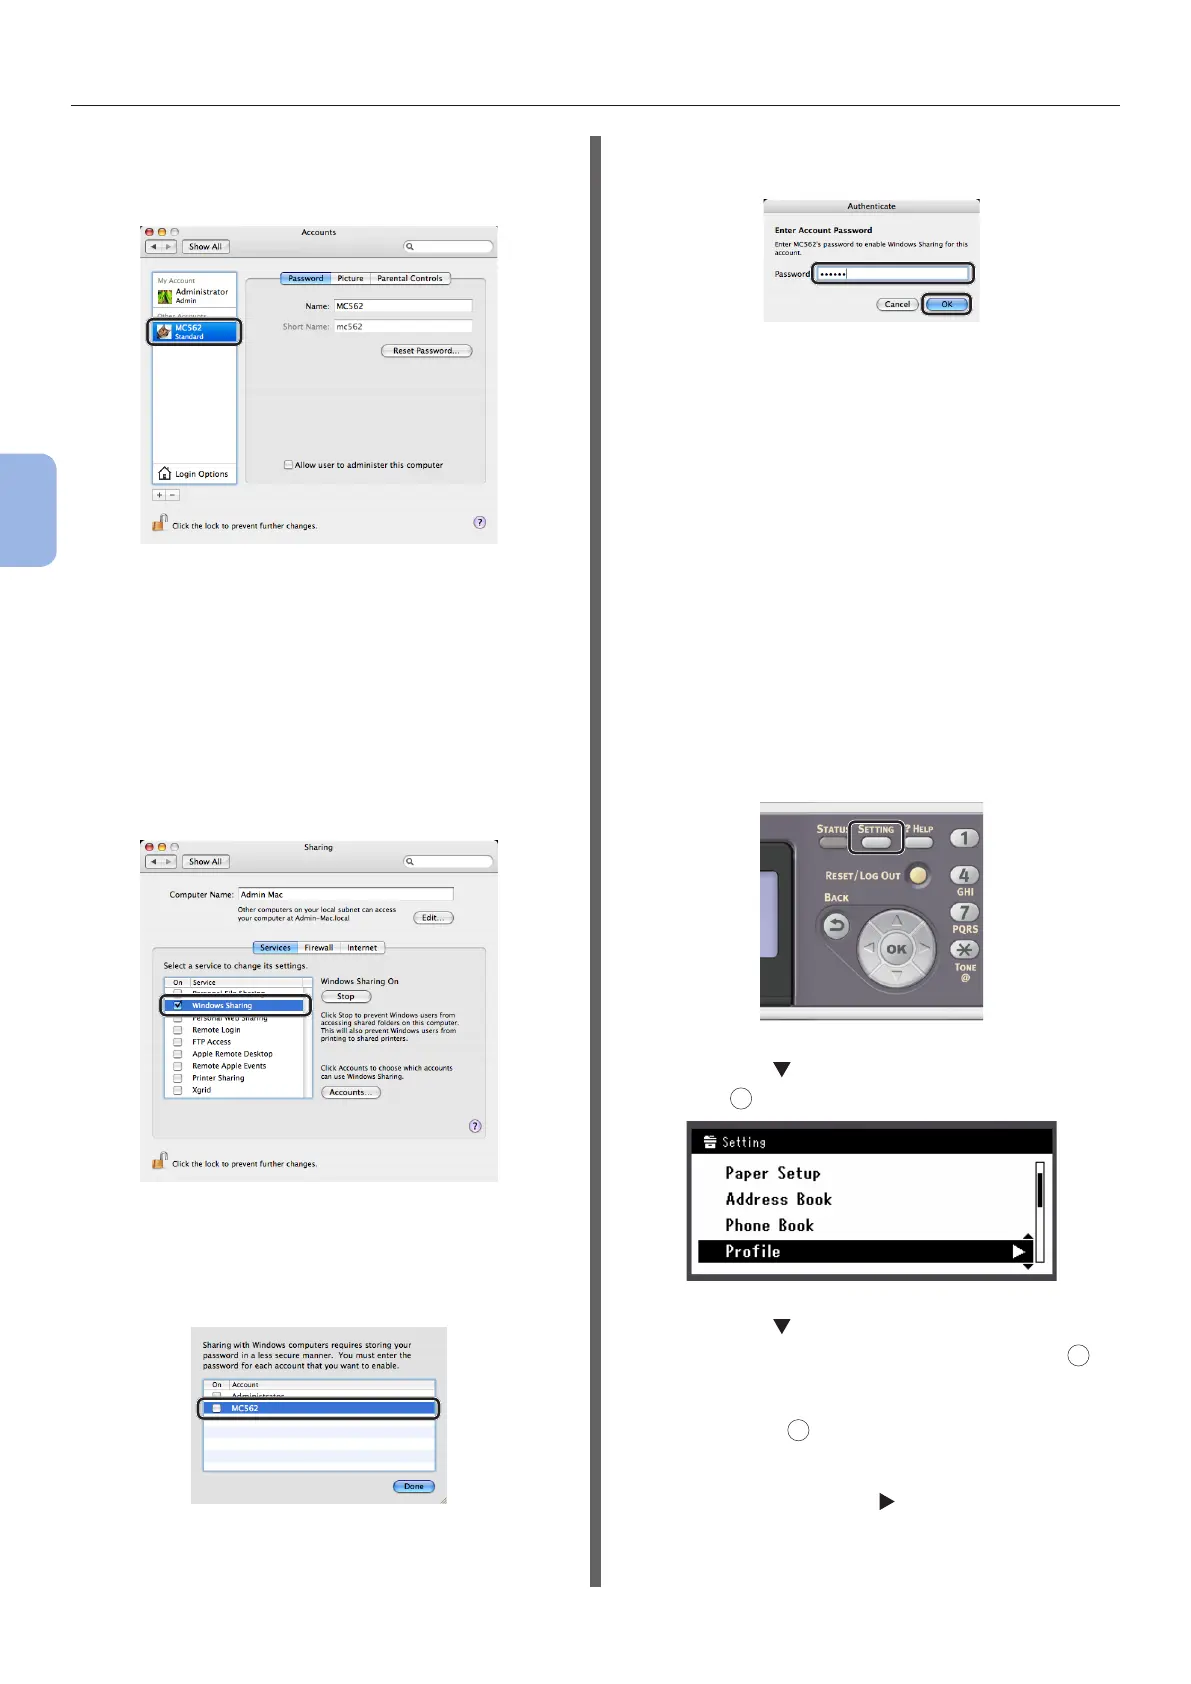
8 Check that an account is added to
[Other Accounts] with the name of
C-2, and close [Accounts].
9 Create a new folder on the computer
with the name entered in C-5.
10 From the Apple menu, select [System
Preferences].
11 Click [Sharing].
12 Select the checkbox of [Windows
Sharing].
13 Click [Accounts...].
14 Select the checkbox for the account
created in the step 7.
15 Enter the value in C-3 in [Password]
and click [OK].
16 Click [Done].
17 Close [Sharing].
Proceed to “Step 2-4 Creating a Prole for Scan
to Shared Folder” P.74.
Step 2-4 Creating a Prole for
Scan to Shared Folder
Register the information on the Setup
Information Form on the machine as a prole. It
is necessary to specify the prole to send data
when you perform Scan to Shared Folder with
the computer.
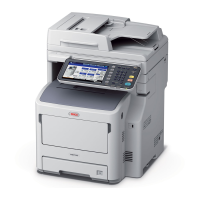
1 Press the <SETTING> key on the
operator panel.
2 Press the to select [Prole] and then
press
OK
.
3 Press the to select the prole number
you want to register and then press
OK
.
4 Check that [Register] is selected and
then press
OK
.
5 Check that [Prole Name] is selected
and then press the .
6 Enter the information in C-4.