5
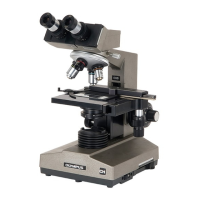
4 Mounting the Objectives
(Fig. 6 & 7)
#First raise the revolving nosepiece slightly to remove the transporta-
tion pad on the nosepiece’s base.
}Keep the transportation pad in a safe place. You will need it when the
equipment is sent for repair or transported to another location.
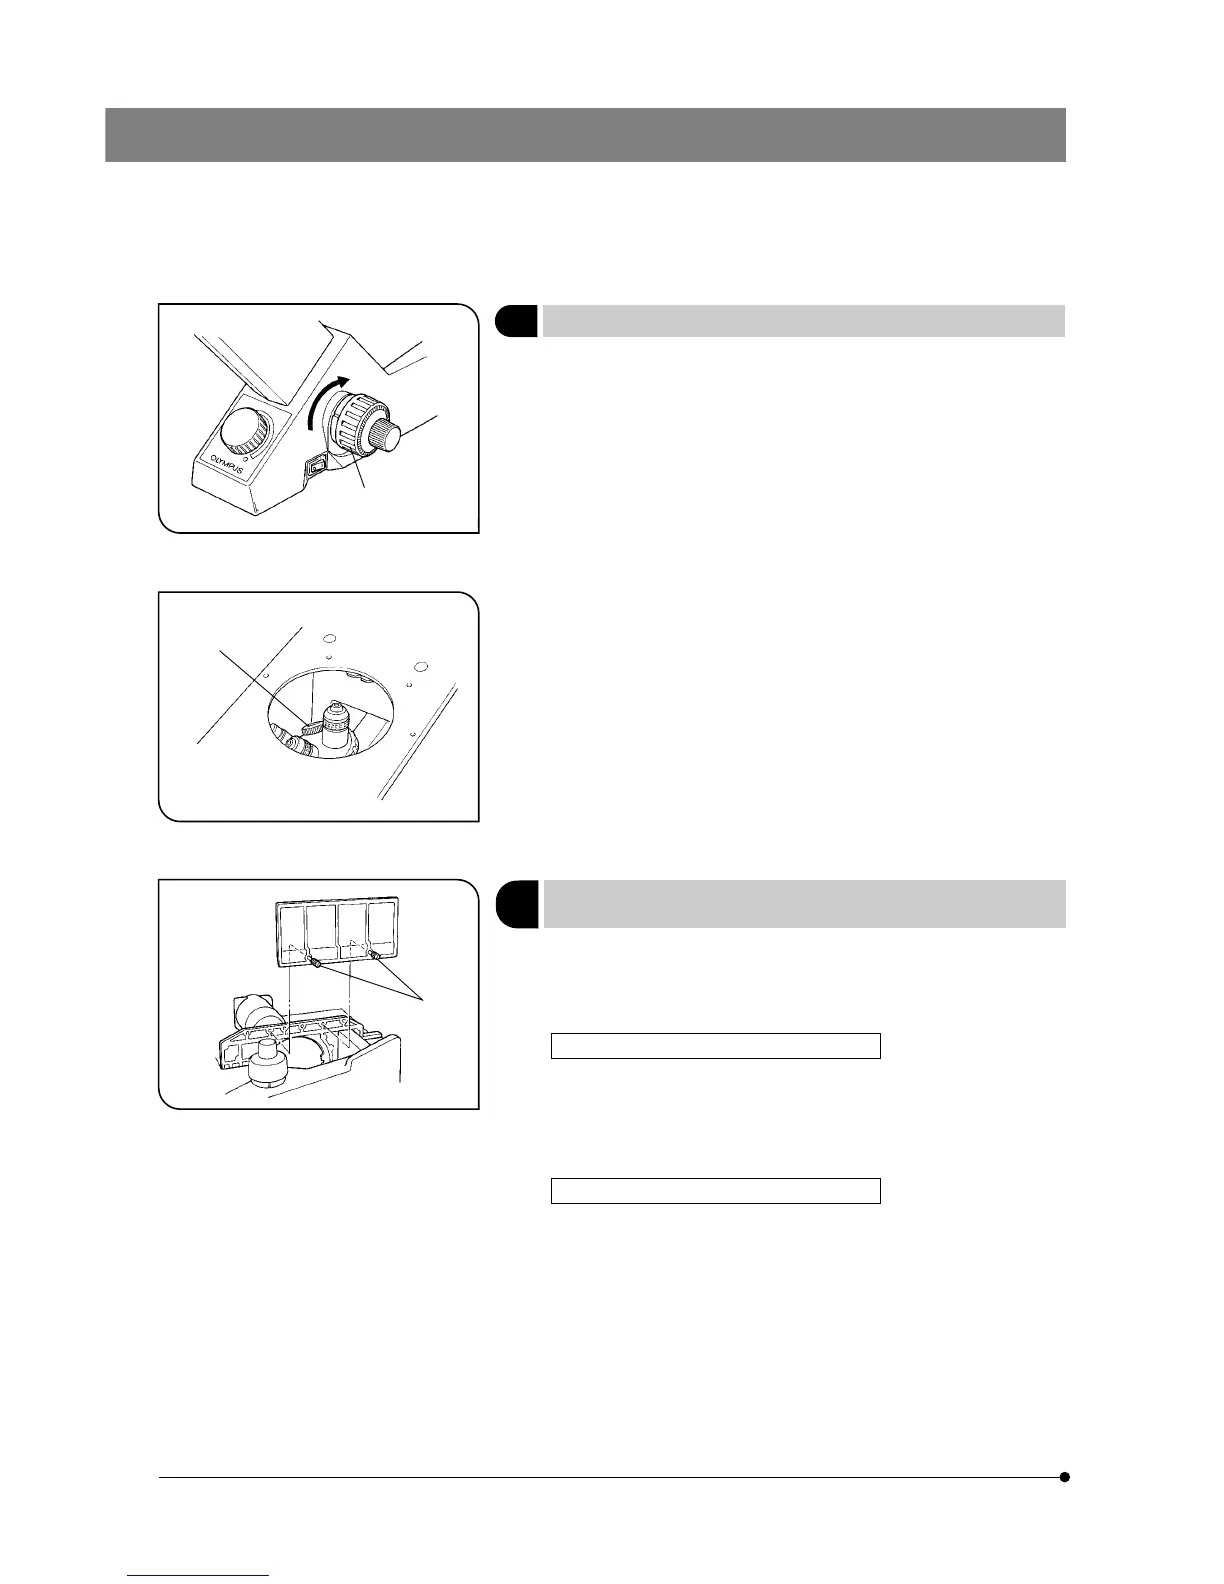
1. Turn the coarse adjustment knob @ towards the back until the revolving
nosepiece is set at its lower limit. (Fig. 6)
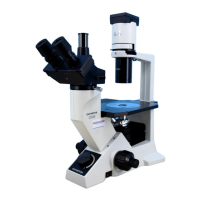
2. Screw the objective with the lowest magnification into the revolving nose-
piece from the left side. Then turn the nosepiece clockwise and mount
the remaining objectives in order of magnification –– from low to high.
}Mounting the objectives this way makes it easier to change magnifica-
tion.
}With the CK40, the objectives can be mounted through the opening on
the stage.
#Clean the objectives periodically. The objective tips on a culture
microscope are susceptible to dust.
#Be sure to cover any unused threaded holes with the objective cap
² to prevent dirt and dust from getting inside. (Fig. 7)
5
Mounting the Stage Extension
Plate/Mechanical Stage
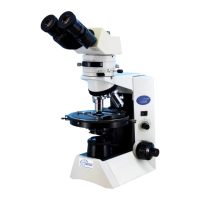
(Fig. 8)
}The stage extension plate can be mounted on the left or right side of the
stage to expand the stage surface. However, the stage extension plate
and mechanical plate cannot be used simultaneously on the same side.
Mounting the CK2-SS Stage Extension Plate
Screw the clamping screws @ into the stage extension plate and then
into the plain stage from above on the right side or from below on the left
side. Tighten them with a coin or similar tool until the plate is securely
attached.
Mounting the CK40-MVR Mechanical Stage
}This can also be mounted on either the left or right side of the stage.
Mount it in the same way as the stage extension plate.
Fig. 6
Fig. 7
Fig. 8
@
²
@