No. Parts name Screw
Grease Adhesive Remark
COVER
(A)
(B)
(C)
(D)
(E)
3PUTB2X4SB, 3pcs. (*1)
COVER
COVER
INDICATOR PLATE
(G)
3PUTB2X4SB, 3pcs. (*2)
Attach it with double coated
adhesive tape.
PRISM ASS’Y
PRISM ASS’Y
CUK3X8SA, 2pcs. (*9)
CUK3X8SA, 2pcs. (*10)
(J)
WASHER
(M)
MOUNT
(N)
RING
(O)
(Q)
(R)
(S)
PRISM MOUNT-R
WASHER
PRISM MOUNT-L
RING
SHAFT
OT3189
OT3189
OT3189
HELICOID ASS’Y CUK3X6SB, 2pcs. (*7)
Left/right optical axis:
Follow the adjustment procedure
on D-8.
Push it in the arrow directions
during assembling.
Exit pupil center:
Follow the adjustment procedure
on D-8.
Same as the above
Apply grease to the contacting
surface only.
Absolute optical axis:
Follow the adjustment procedure
on D-8.
CUTB3X10SA, 2pcs. (*3)
BINOCULAR TUBE
CUKK3X6SA, 4pcs. (*4)
(I)
(T)
(U)
(V)
FIXING PLATE
PRISM
CUK3X6SA, 2pcs. (*12)
(F)
DIOPTER RING
ACU3X3SA, 2pc. (*5)
Since the mounting procedure is
the samet as that of CKX31,
(K)
TORQUE PLATE AWU3X4SA, 2pcs. (*11)
(L)
SPRING WASHER
Since the adjustment is the same
refer to C-6.
SLEEVE ASS’Y CUK3X6SB, 2pcs. (*8)
(H) Revolving axis:
Follow the adjustment procedure
on D-8.
as that of CKX31, refer to C-6.
OT3189
Tension: standard 5-15N
* In this manual, left ( right) sleeve indicates the left (right) side with the observed condition.
C-8
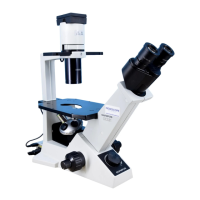
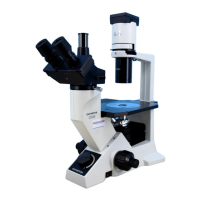
CKX31/CKX41 C. DISASSEMBLY AND ASSEMBLY PROCEDURES
(OT3223)
(P)
HU3X4SA, 1pc. (*6)
Refer to D-2.